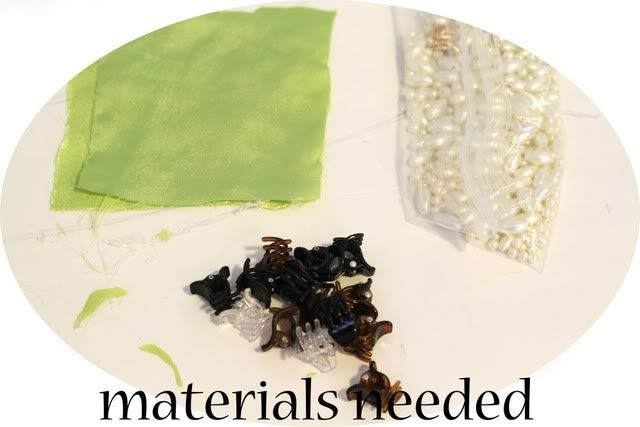
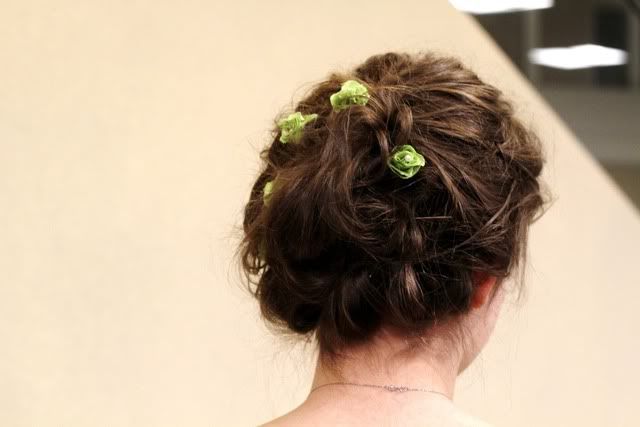
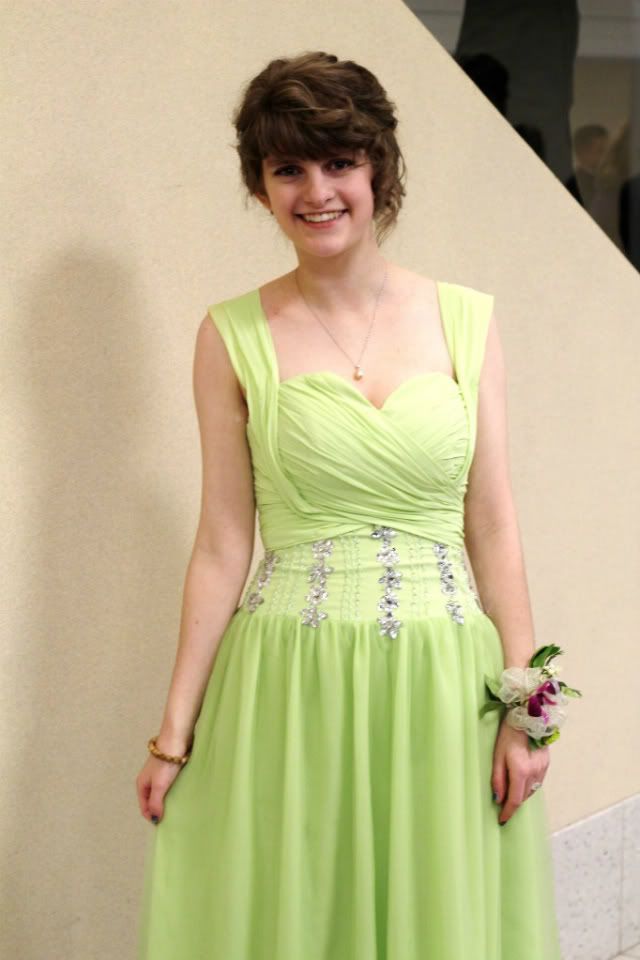
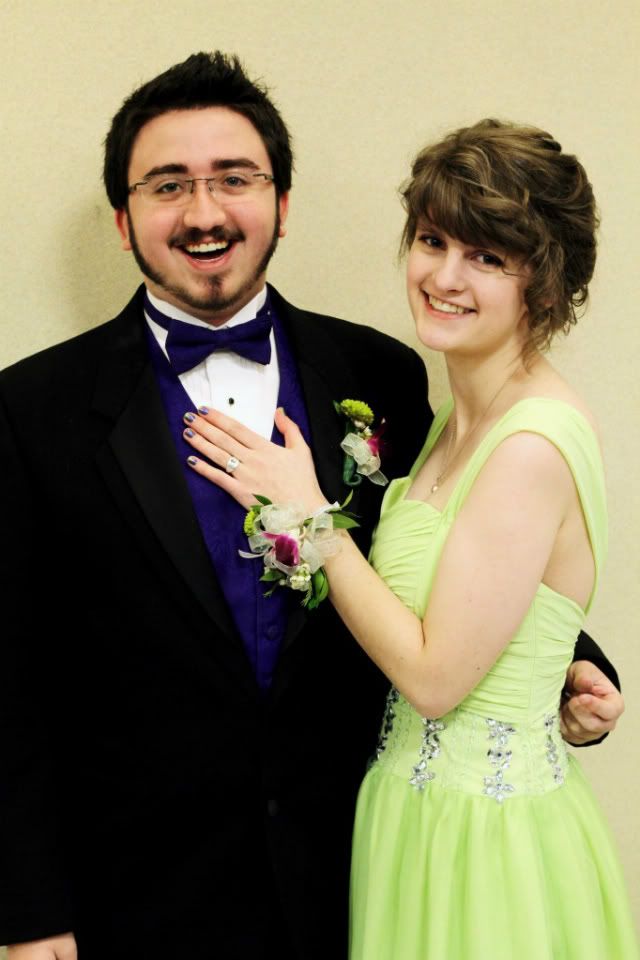
Woohoo! finally my first diy! For homecoming I really wanted something special to put in my hair to kind of match the fairy tale theme, and what better represents all things fairy tale than flowers? Nothing, that's what. So for this DIY you will need the following materials:
1. Fabric (I used the extra fabric from the bottom of my dress)
2. Mini hair clips
3. Hot glue gun
4. Scissors
Optional:
5. Pearl beads
6. Sewing machine
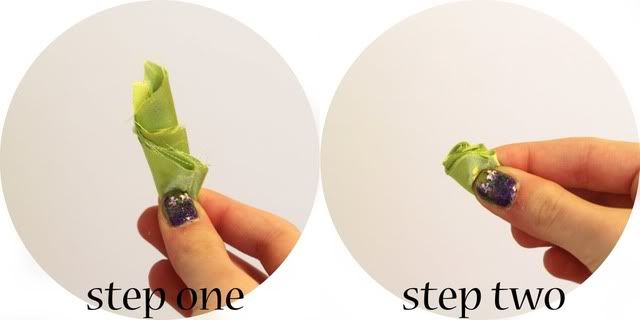
STEP ONE;
You'll need to cut your fabric into squares. Mine were about 2 inches by 2 inches, but you can make them bigger or smaller depending on what size flower you want. After you cut your fabric into squares, just fold it in half, then in half again, and again.
STEP TWO;
After you fold it up, just snip off the edges so that you have a smooth half moon look. At this point you could use a sewing machine to hem it, but I found that the fabric doesn't come undone too badly when you cut it in a half moon shape. Plus if you're only planning on wearing them for one night, it won't be necessary to hem.
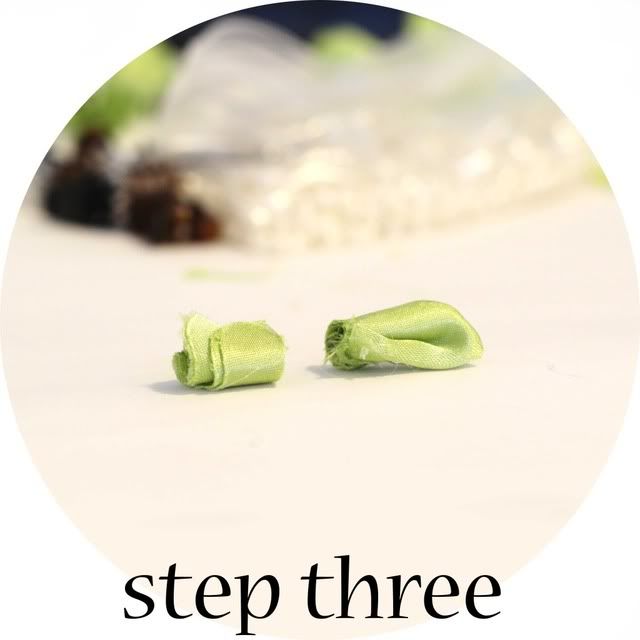
STEP THREE;
Then you'll need to hot glue all the edges together, making sure that little or no glue is visible. You can always fold the fabric the way you want it, but just remember that this is going to end up being the inside of the flower. After the hot glue dries, just cut off the bottom! You won't need this piece any more.
STEP FOUR;
Set the inside flower piece to the side and repeat steps one and two. (This will become the outer portion of your flower.)

STEP FIVE;
At this point instead of hot gluing this fabric square together, you will just cut off the bottom (it's easier to unfold the fabric so that you have a little more room to get a nice rounded cut).
STEP SIX;
Put a little dot of hot glue on your hair clip, and with the petal part of the fabric (not the square part you just cut off), wrap it around the hair clip, adding hot glue where necessary. Now you have a nice little cone of fabric flower petals.
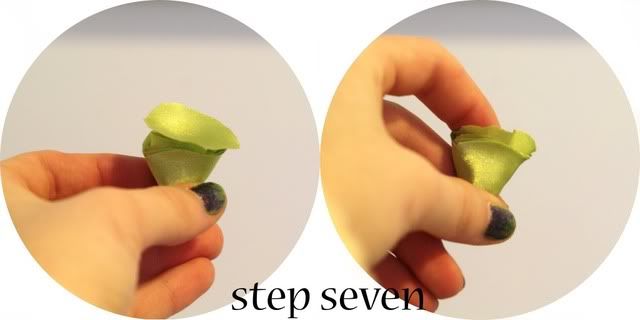
STEP SEVEN;
Now you will put some hot glue on the fabric inside the flower you've just created (be sure to try to not get the glue on the hair clip itself, as it will make the clip harder to open). Then with the little square you cut off earlier, you'll press it into the middle of your flower. This will serve as a sort of cup for the first flower piece you set aside and another layer of petals.
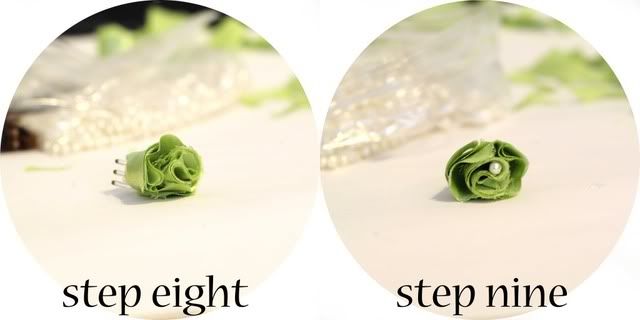
STEP EIGHT;
Remember that first inside flower you made? Take the hair clip, add hot glue to the inside of the flower cup, and stick the inside flower to it. Be sure to hot glue down any awkward layers sticking out so that they will stay in place nicely.
STEP NINE;
Now that your flower is complete, you can add little embellishments like crystals or pearls to make them extra fancy.
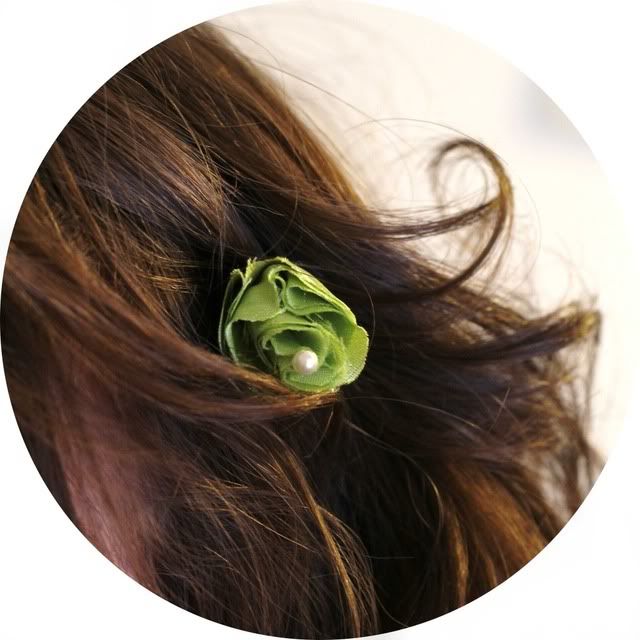

And there you have it! You now have cute little flowers to put in your hair. I found it was difficult to get the hair clips open, probably due to the fact that hot glue was inhibiting the springs, but they were still able to go in my hair and stay all through the night.
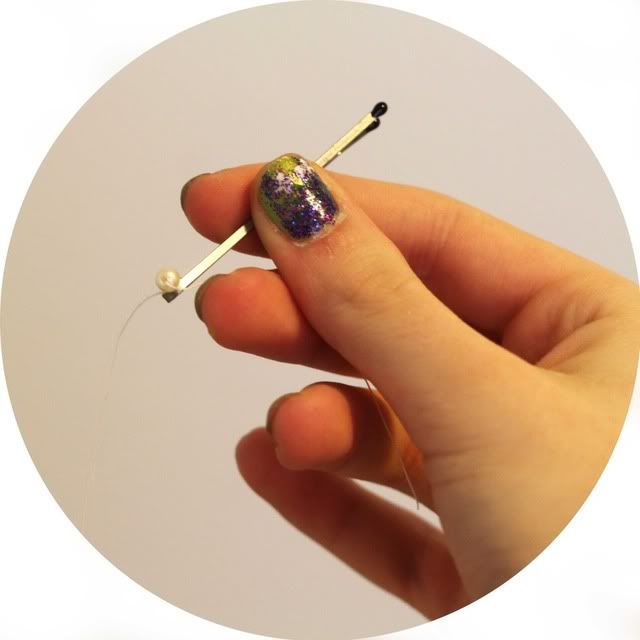
I also made a little pearl headband bobby pin just by hot gluing some string (after tying it) to a bobby pin and a pearl and then stringing pearls, but I ended up not wearing it for homecoming.
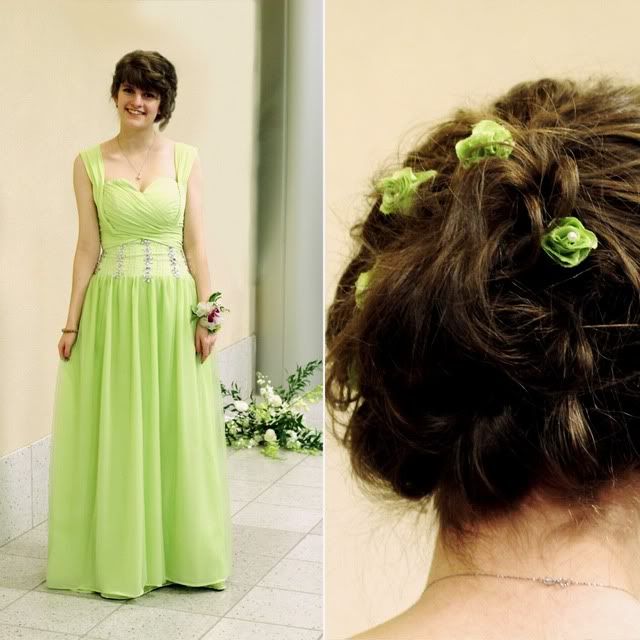

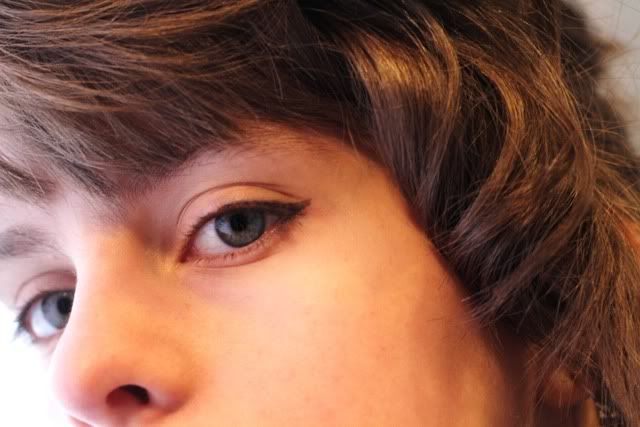
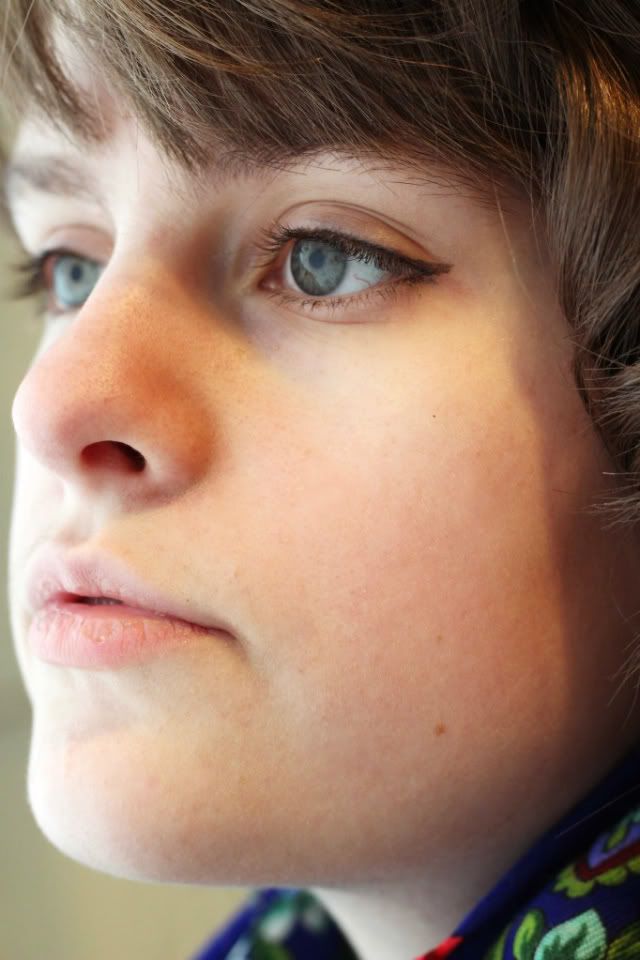
I think I'm coming out of my no-makeup phase, at least a little bit. I've always loved the way eyeliner looks on me, but usually I'm too lazy to wear makeup. I did however wear some for homecoming. The only thing that was annoying was that I had to keep reminding myself not to rub my eyes, haha!

No comments:
Post a Comment