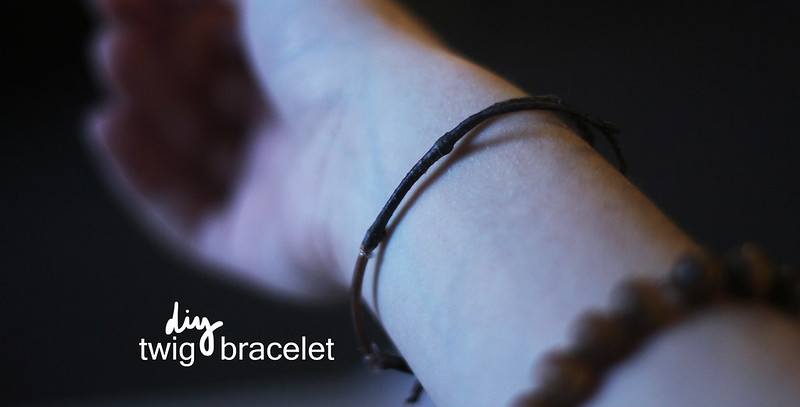
Today I'm bringing you a super fun diy that is really easy to do and costs virtually no money. It's the diy twig bracelet, and it's an awesome way to combine the great outdoors with more modern, metallic feelings.

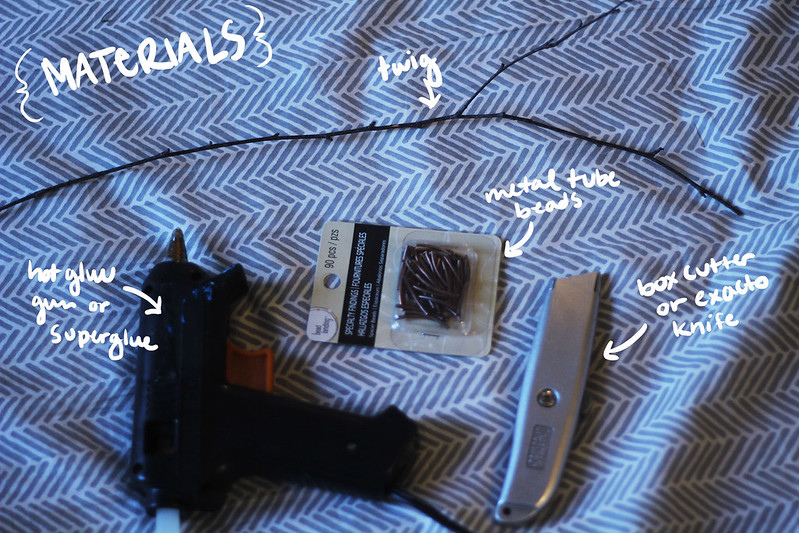
First and foremost, there is a list of materials you will need:
1. Twig of considerable length, preferably wet from the rain (It has to go around your wrist at least once and will need to be formed into a circular shape.)
2. Metal tube beads (I got mine at Michael's for about $3. Just make sure the holes are thick enough for the twig to be able to go through.)
3. Box cutter or exacto knife
4. Hot glue gun or super glue (Super glue will work better, but I didn't have any on hand so I used a glue gun.)
step one; measure your wrist.
This is a pretty straightforward step. Make sure you'll be able to get the bracelet on and off easily. You should gently mold the twig into the rounded shape that you desire, as it is easily breakable at this stage.. Then cut the twig at the appropriate length.

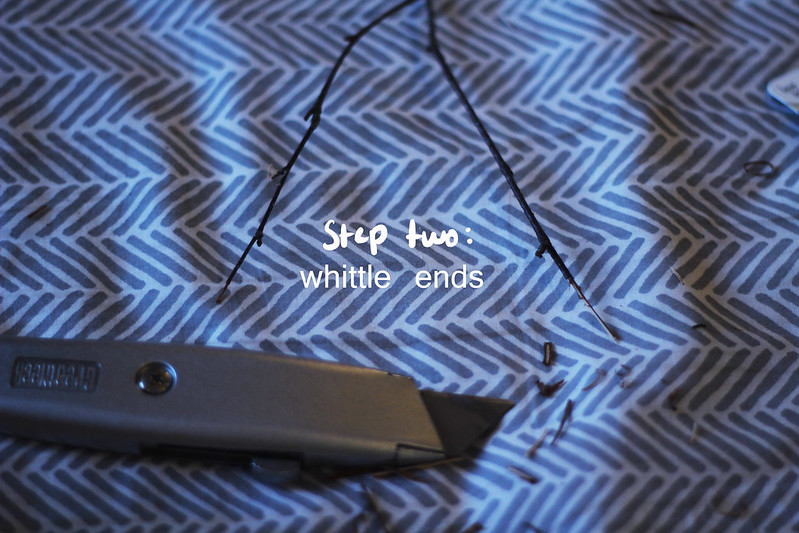
step two; whittle ends.
Trim down both ends of the twig so that they fit nice and comfortably in the bead. Each end should take up half the space in the bead, so that when you glue everything together, both sides will be attached securely.

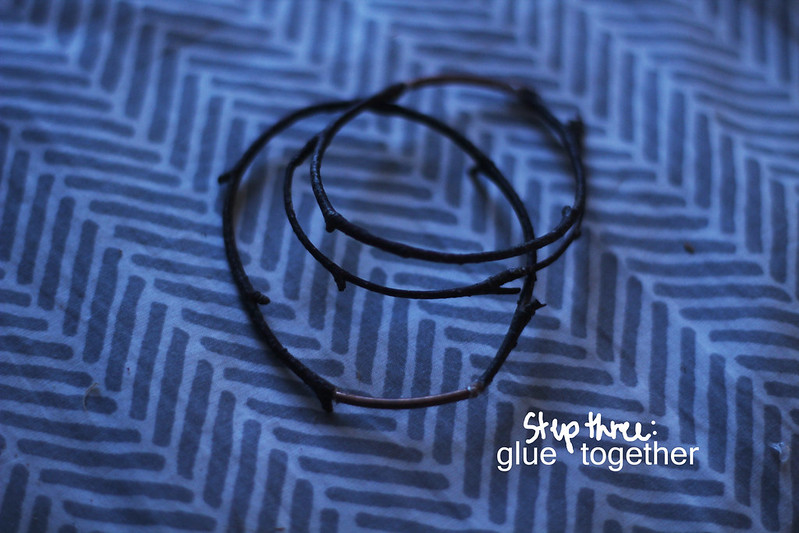
step three; glue together.
Take one whittled end of the twig, put hot glue/super glue on the end, and slide it into the bead. Seal it with a little bit of glue. Allow it to dry, and then do the same thing do the other end.

And there you go! You have a beautiful twig bracelet that all your friends will be jealous of. If you have any questions, please don't hesitate to ask.
Have a great day!

No comments:
Post a Comment