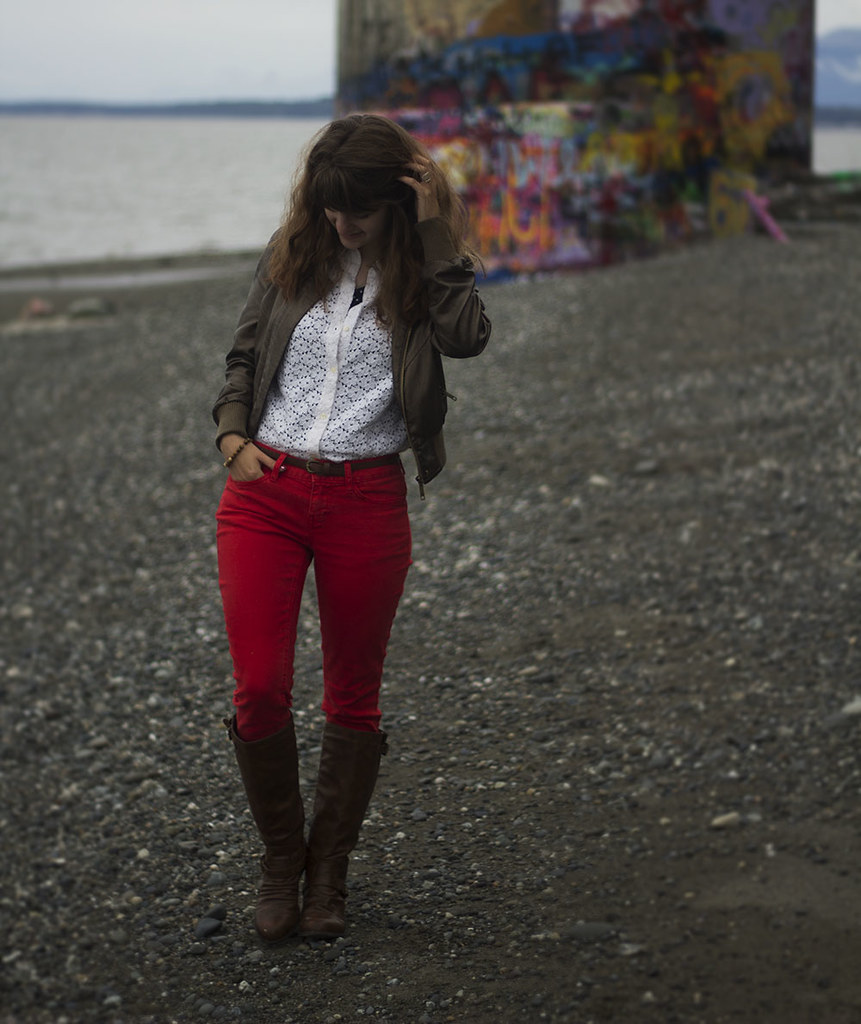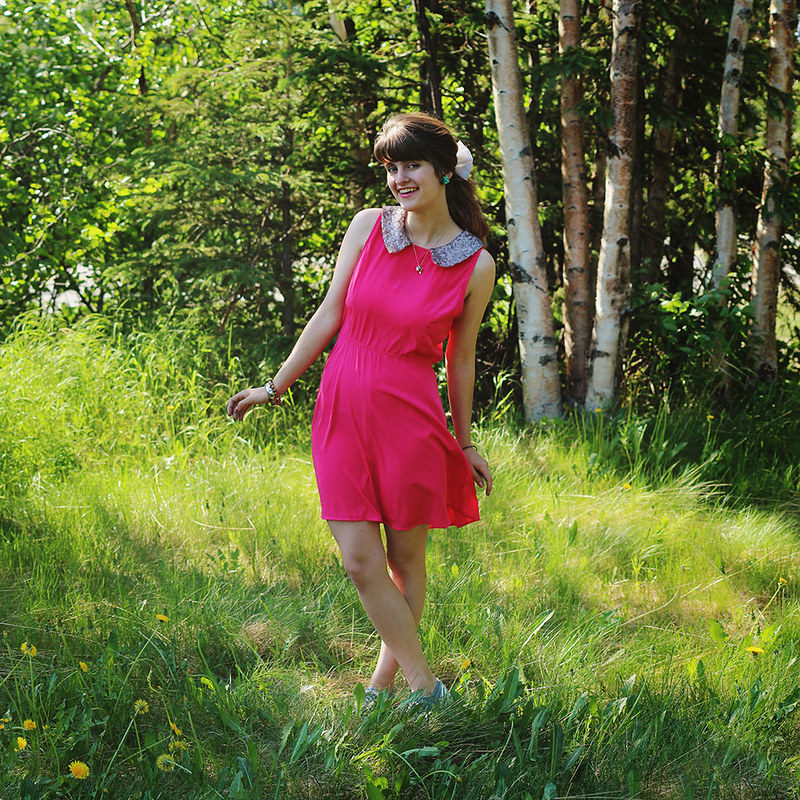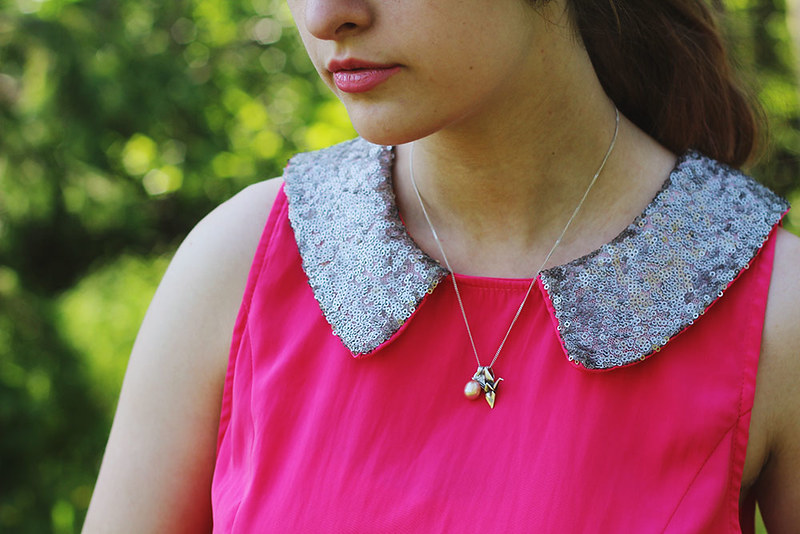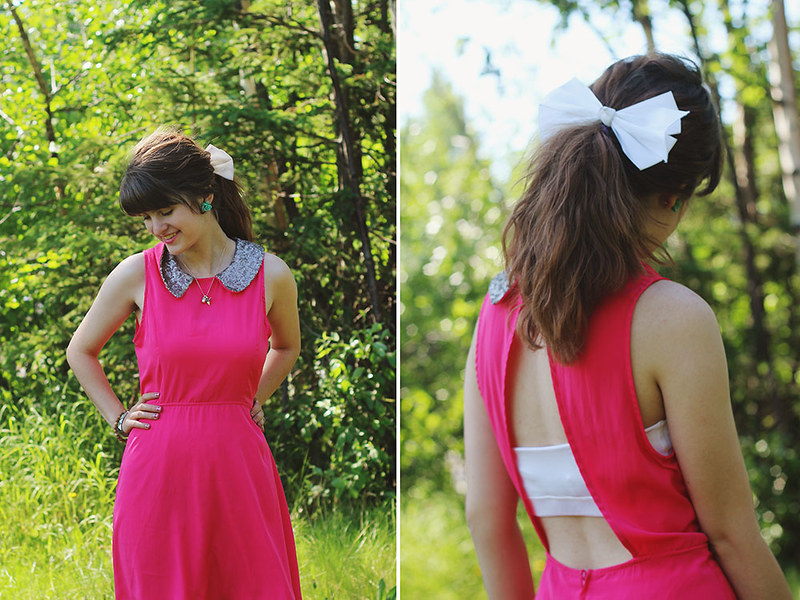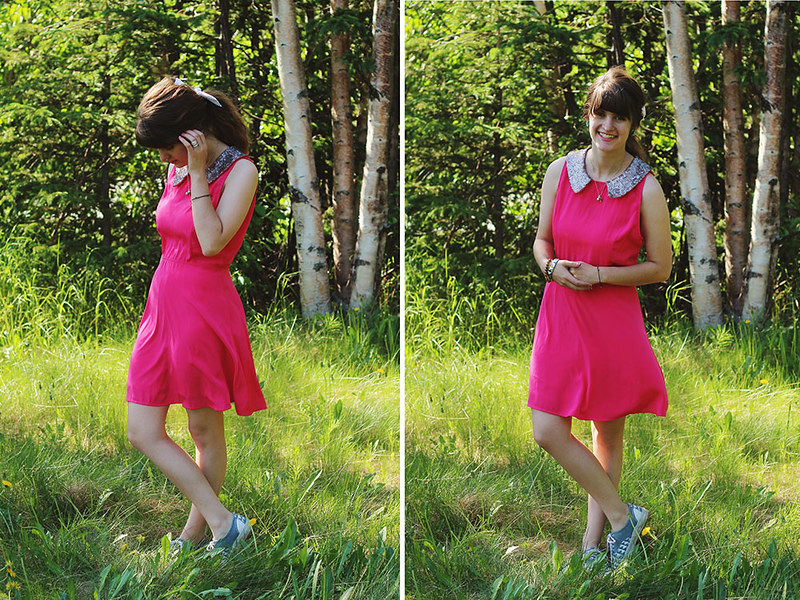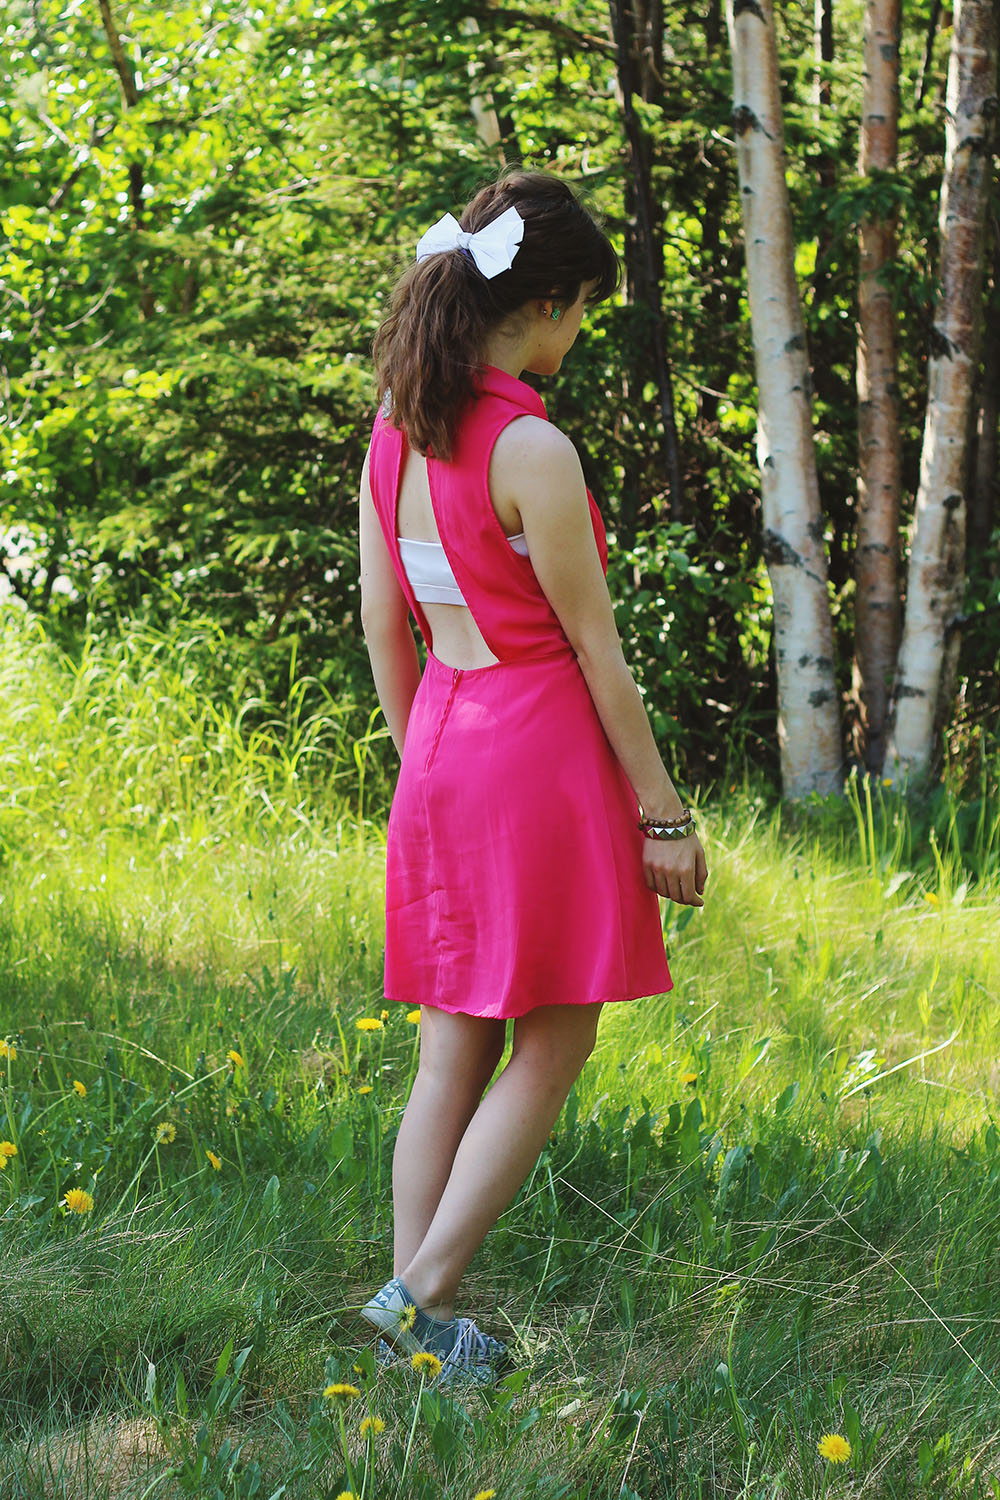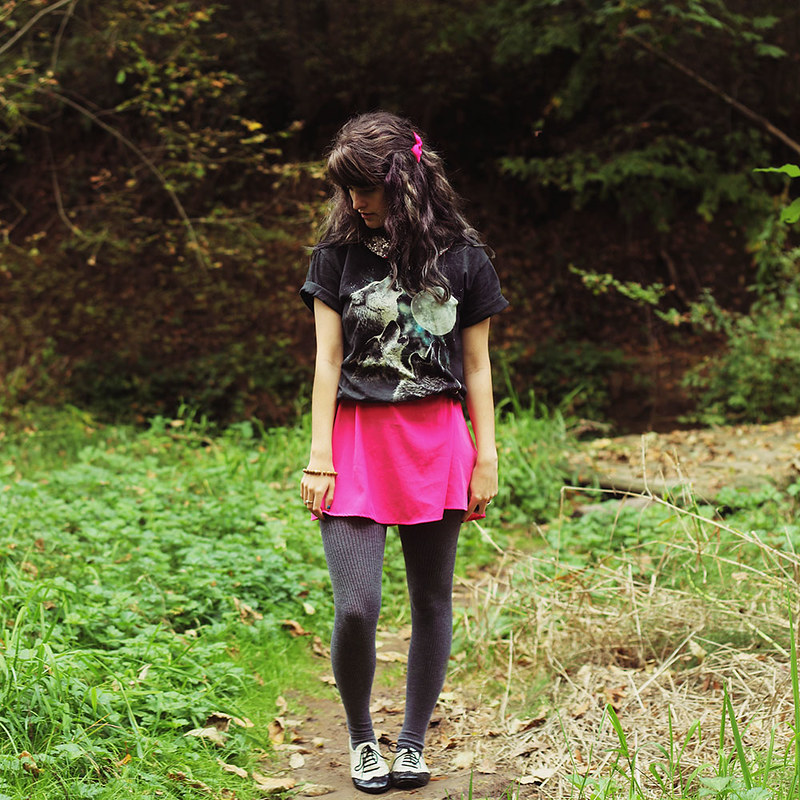
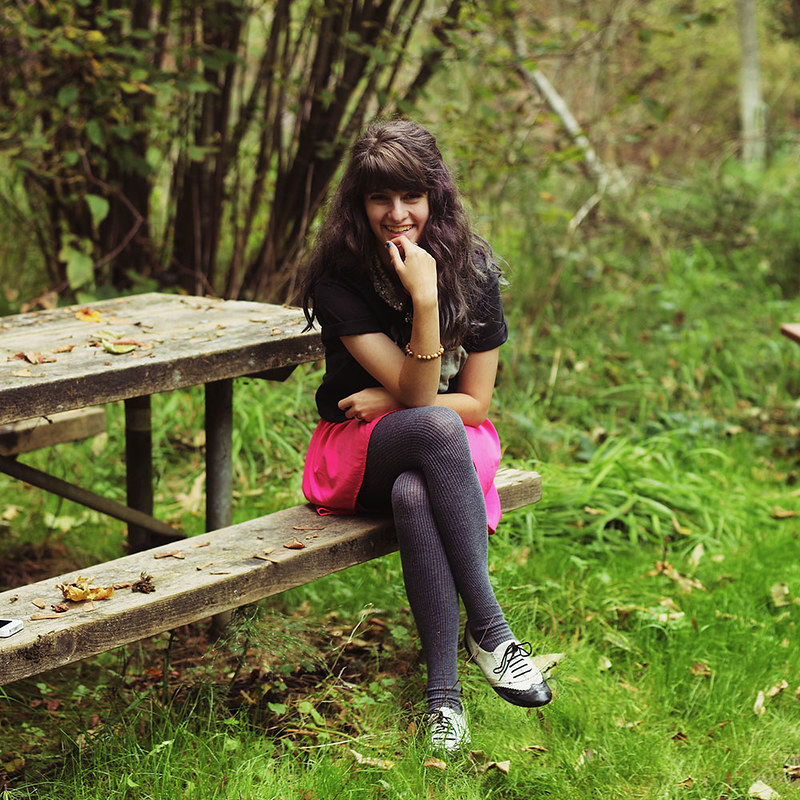
dress: Someone like you // shirt/shoes: borrowed // tights: forever 21
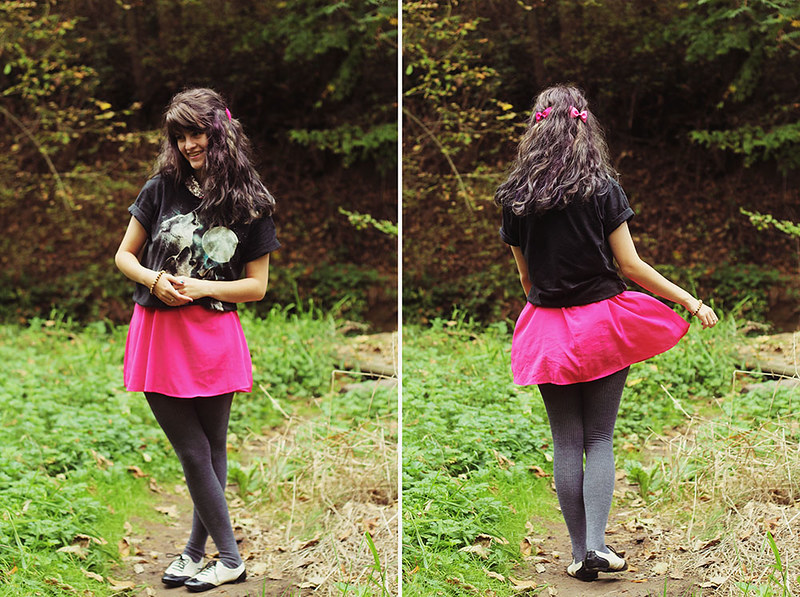
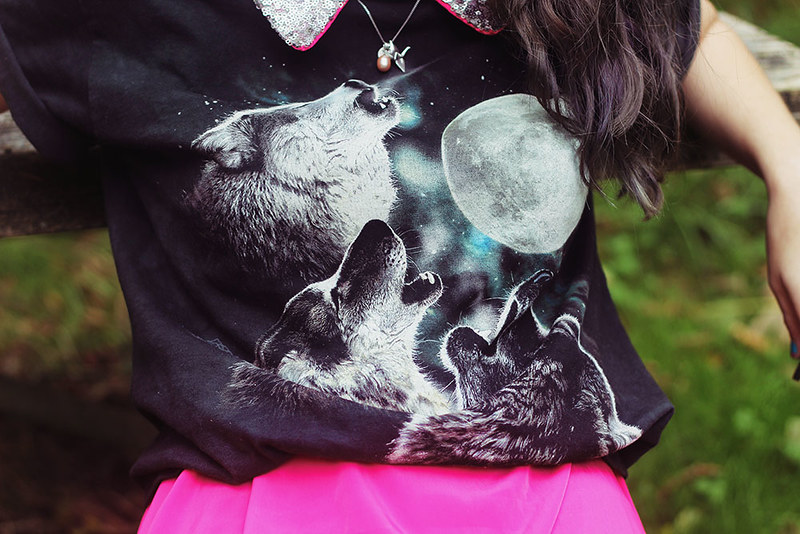
This post could also be titled, "The anti-hipster" or something with a similar connotation since I'm the last person in the world to jump on the grand bandwagon that is the Three Wolf Moon Shirt. Matt was all too kind in making fun of me for being such a flaming hipster, he's probably scared that my life will soon be overrun with mason jars, tacky sweaters, and weird music (too late, that's already happened. But in my defence, I was doing the whole mason jar thing long before it became a thing because my parents love to can--easy access--and I love random jars with which to put random crap inside. I can't say anything for the music and fashion choices though ...) But needless to say, the moment I put this shirt on, it truly did become the luckiest day ever. First of all, my class got canceled leaving me with a free evening. That was normal enough, but then I got an email saying I won the European lottery and was immediately given money by a guy who came to my door in a fancy black suit. Then during dinner, the kitchen staff came out and brought me a giant plate of macaroni and cheese and garlic mashed potatoes, a starchy heaven. Then a wizard came to me in a vision, which granted me powers to call upon ancient dragons and harness not only their powers, but themselves. So with my love beside me, I flew into the sunset on the back of a golden dragon. All while wearing the Three Wolf Moon shirt.
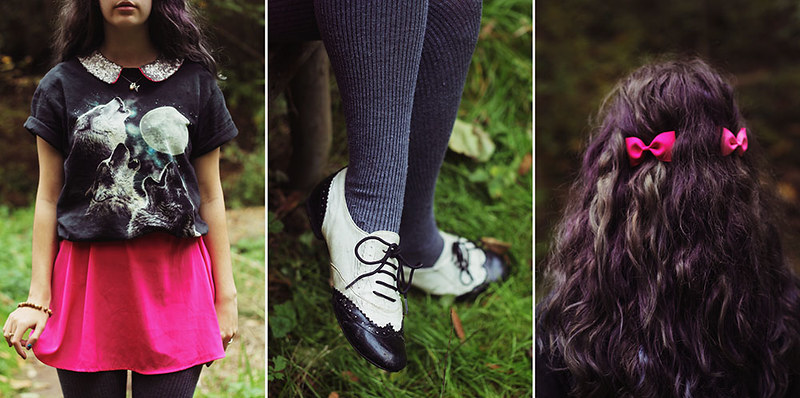

So next time you need a really fantastic day, just wear this shirt, and all your dreams will come true.
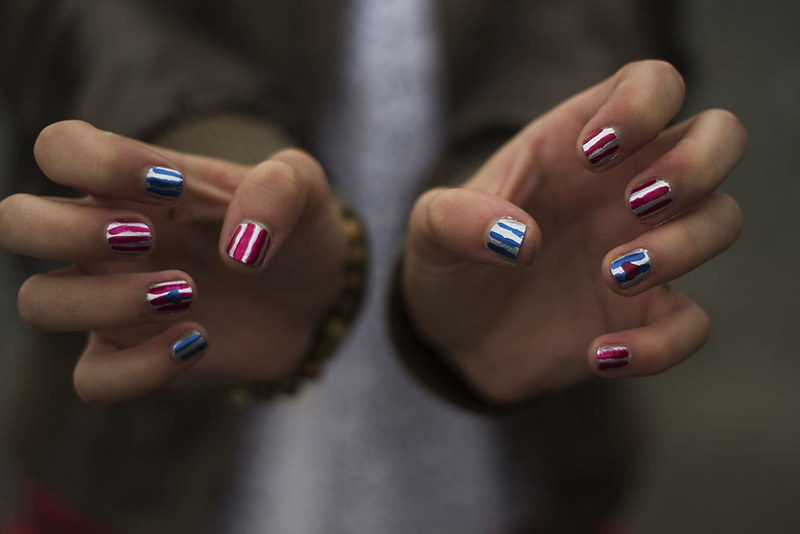
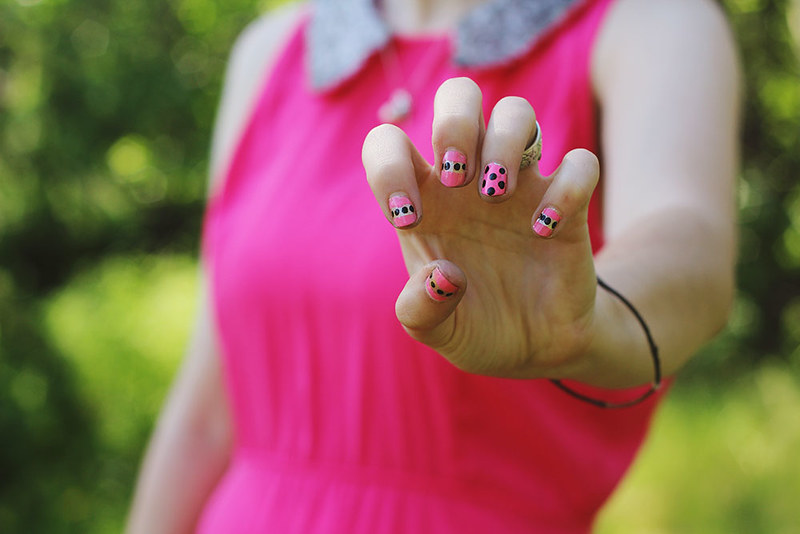
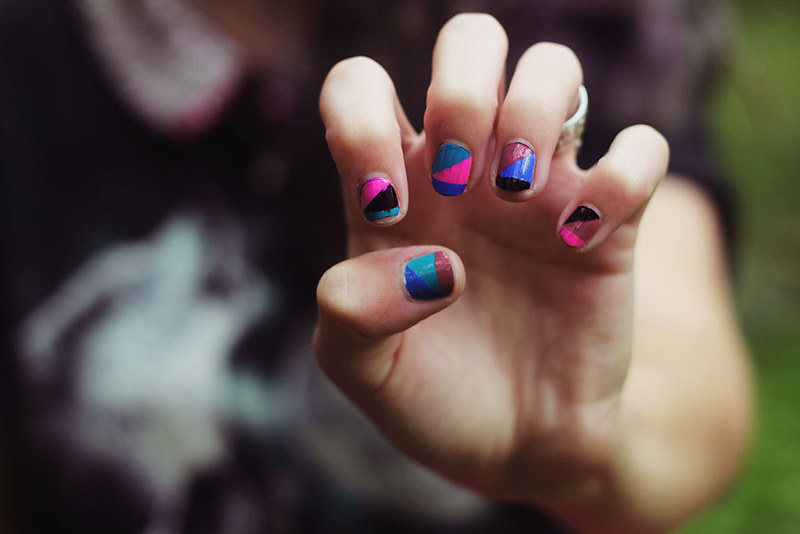
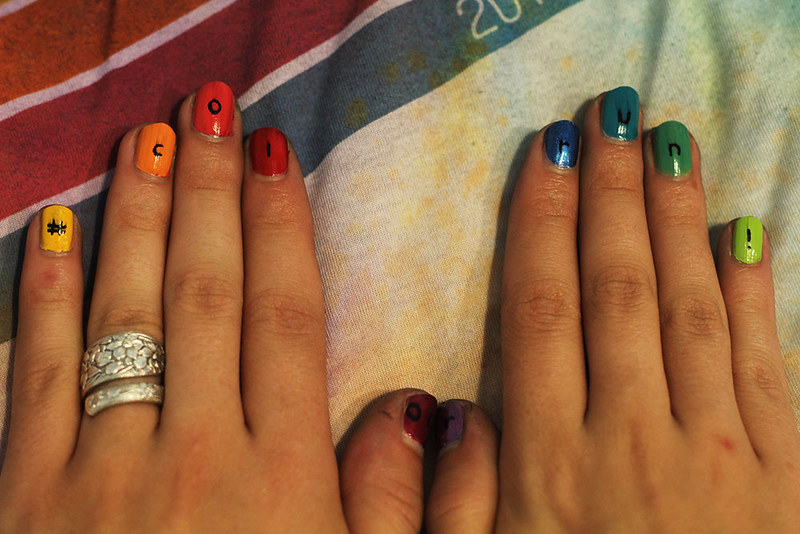
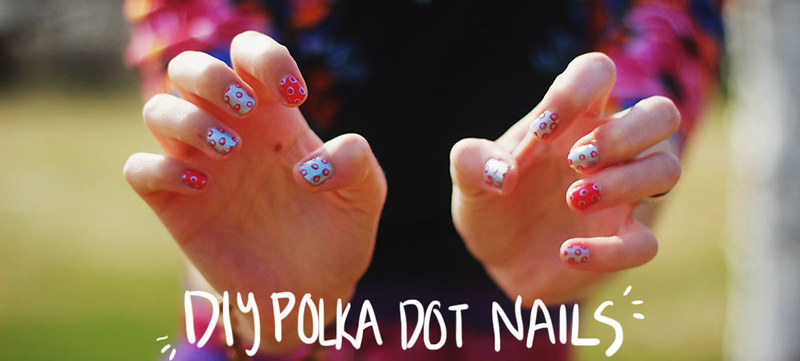
I'm so excited to share with you a fun nail diy! First of all, I must apologize for the blurriness of some of these photos. Left-handed Lauren + right-handed camera does not always get perfectly in focus photos. These are probably my favorite nails yet and they're so fun and colorful! I can never keep polish perfect on my nails for very long though as I'm always running around doing random things, so I didn't get to enjoy them very long. After you get the hang of creating this design, it's fairly easy, though time consuming, but I always do it in front of the tv as a relaxing thing to do.
First things first, I'm starting to be obsessed with the Milani brand. I've made it my personal mission in life to own all of their neon laquers because they're so fun and bright. For this design I used the Fresh Teal, Pink Hottie, and Totally 80's shades, as well as their Yellow Whiz fast dry polish. The orange was gifted to me (and at the moment I don't recall the brand, but it's not very good). For the white I used another random polish that I can't recall the brand of. For the black I actually used a Prismacolor premier pen that I had laying around, which is so much easier than black nail polish and a toothpick. For a topcoat I used good ol' Milani again.
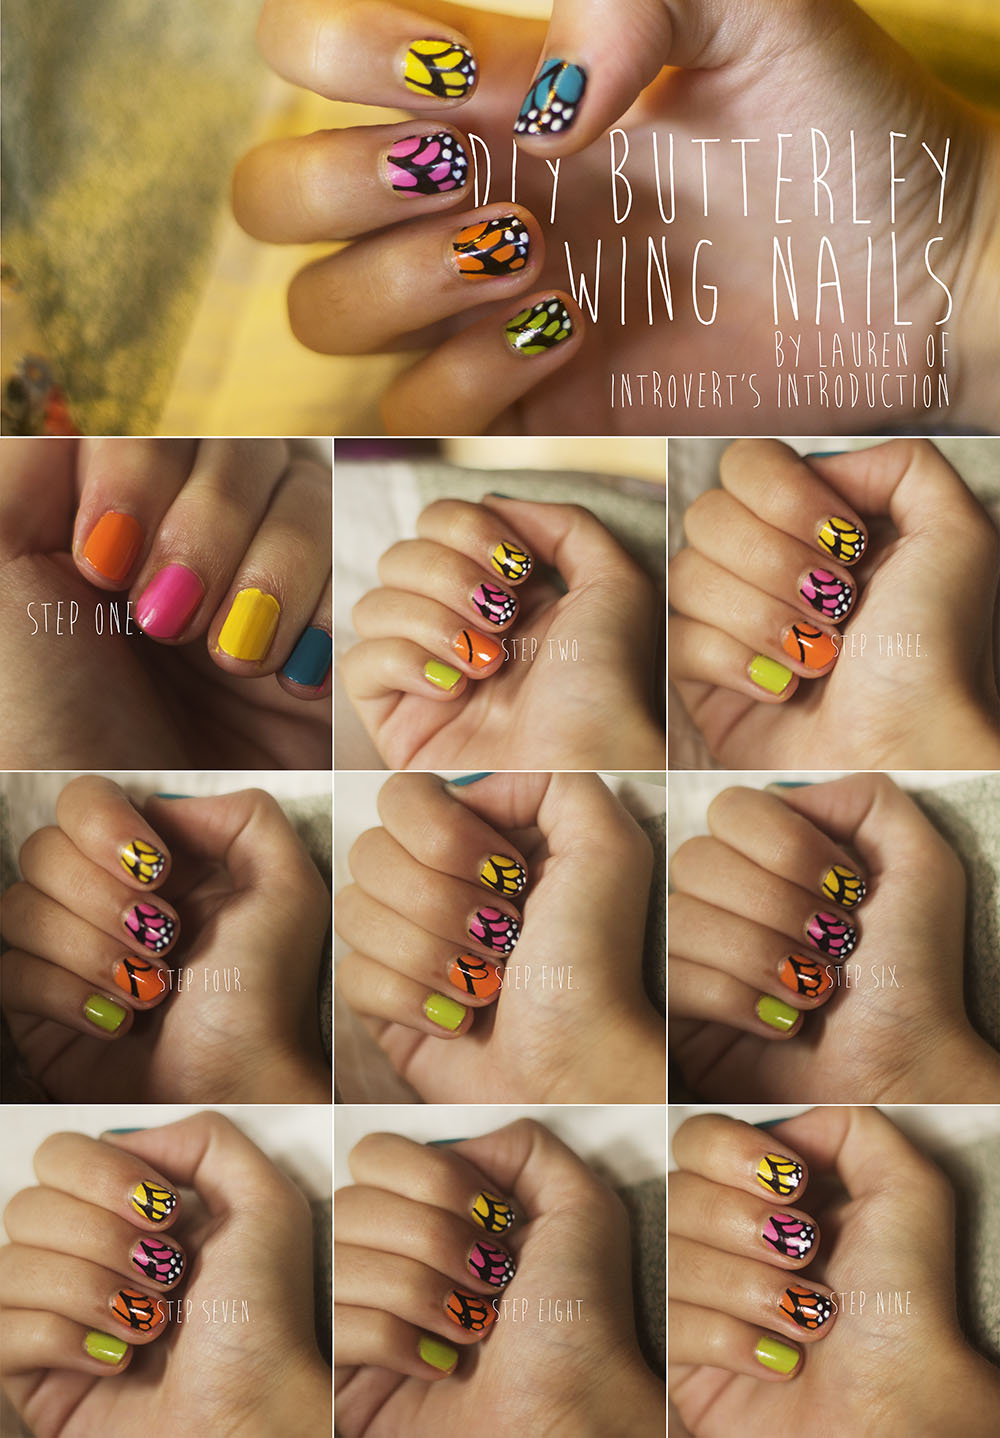
Step one: Base coat! First of all, I always paint a clear coat underneath my base color so as not to stain my nail. For a design as crazy as this, you just have to go all out with the color and paint every nail a different one. It's only fitting.
Step two: Draw a curvy line from the middle of your cuticle to about 2/3 down the side of your nail.
Step three: Then draw a smaller curved line down to about the halfway point on the opposite side of your nail.
Step four: Thicken the first line just a bit.
Step five: Then you'll add the next section of the wing by drawing a slightly crooked "U" shape.
Step six: Create two more "U" shapes, making each one just a little bit smaller.
Step seven: Following the connecting line of the last two "U" shapes, you'll draw a slight diagonal line to the 1/3 point of the remaining negative space.
Step eight: Then draw two curving lines on either side of the diagonal line.
Step nine: Fill in the remaining space, and add polka dots!
Step ten: Then simply add your top coat. If you go the sharpie/pen route like I did, there will be a bit of bleeding from the pen reacting with the top coat. Once the top coat dries, just touch up a bit on your color, add another top coat, and you'll be good to go!
If you have any questions about this tutorial, please don't hesitate to leave a comment or shoot me an email.
Have a great day!
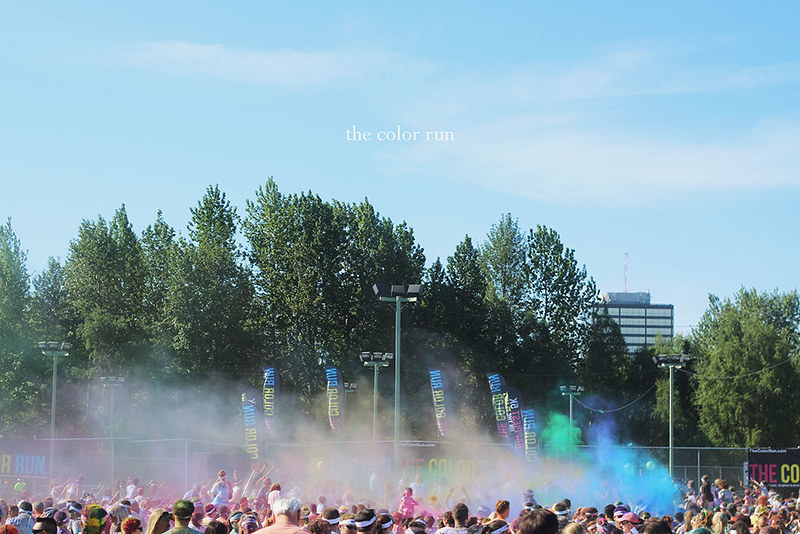

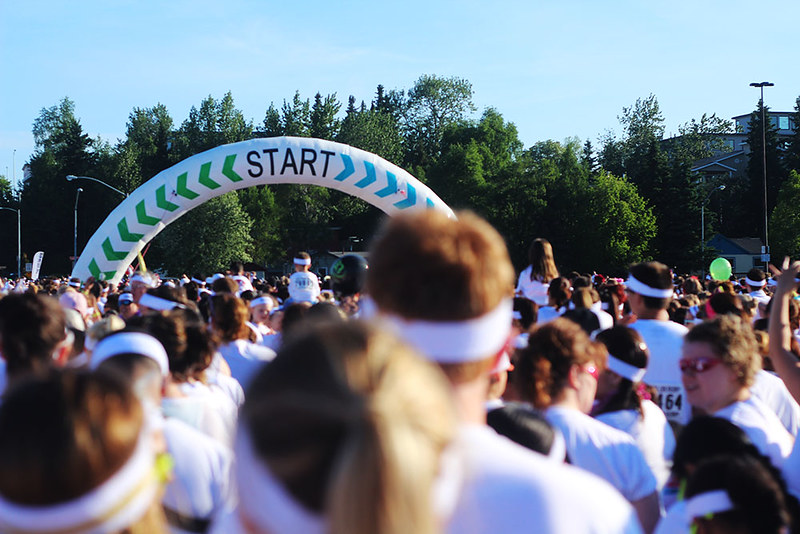
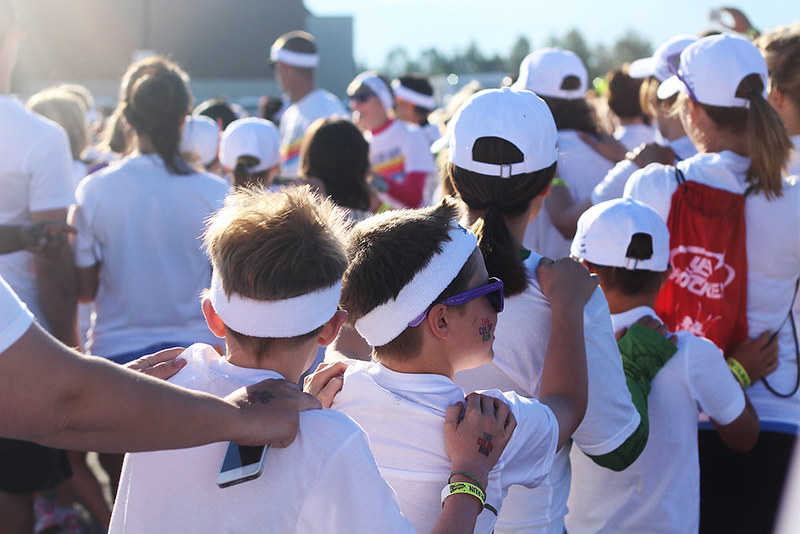
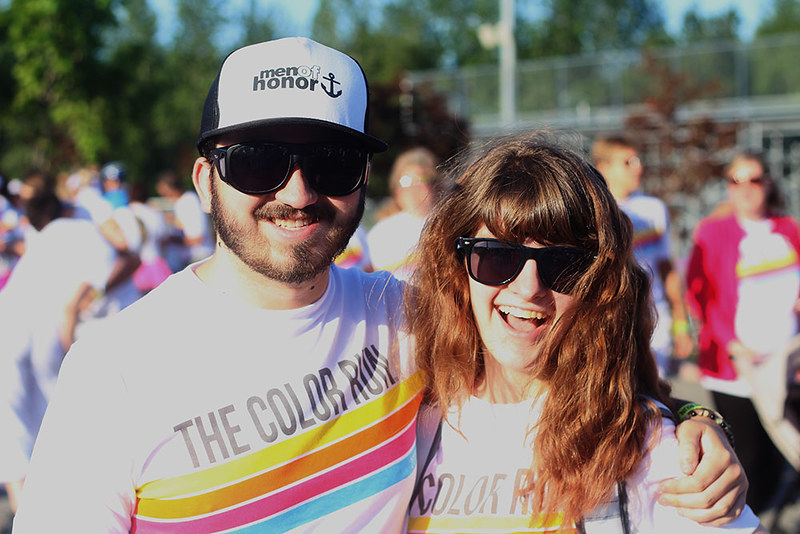
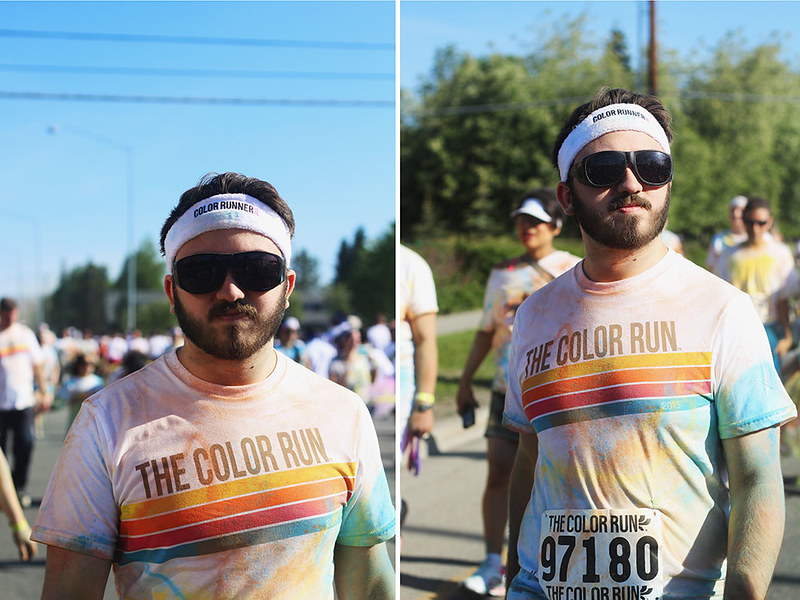
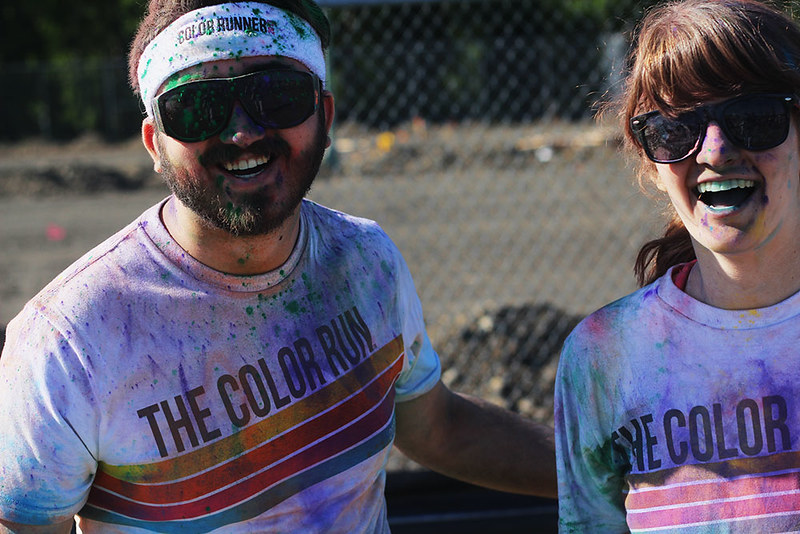
Saturday was the color run! It's been a dream of mine ever since I knew about events like this to actually attend, and finally I was able to, alongside some of my best friends. It was so much fun being able to do it with Matt and Joel and Marquel. I love being able to do exciting things with people I love just because we can share something together. Matt almost wasn't able to do it because of work, and I was so disappointed when I thought he couldn't do it with us. But thankfully everything worked out. It was so great to run beside him and get sprayed with fun colors. This was definitely high up on the list of best dates ever. I love you, Matt! You're the best ever and I'm so glad we got to do this together. :)
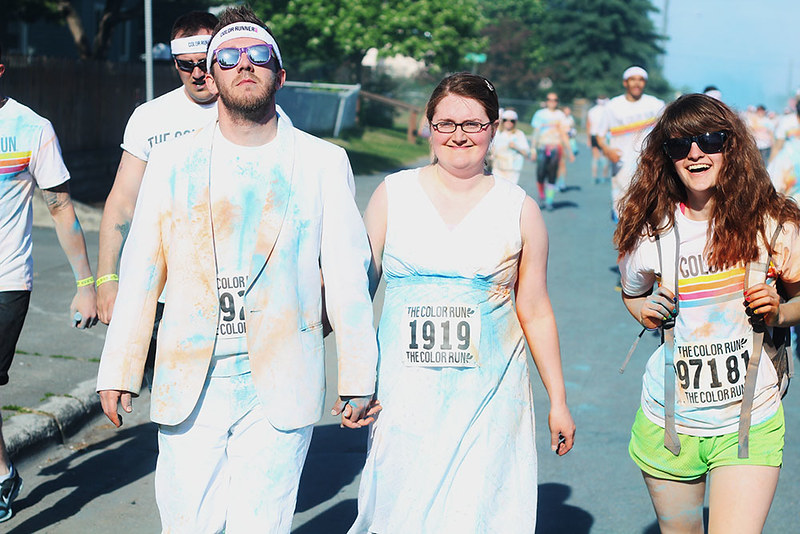
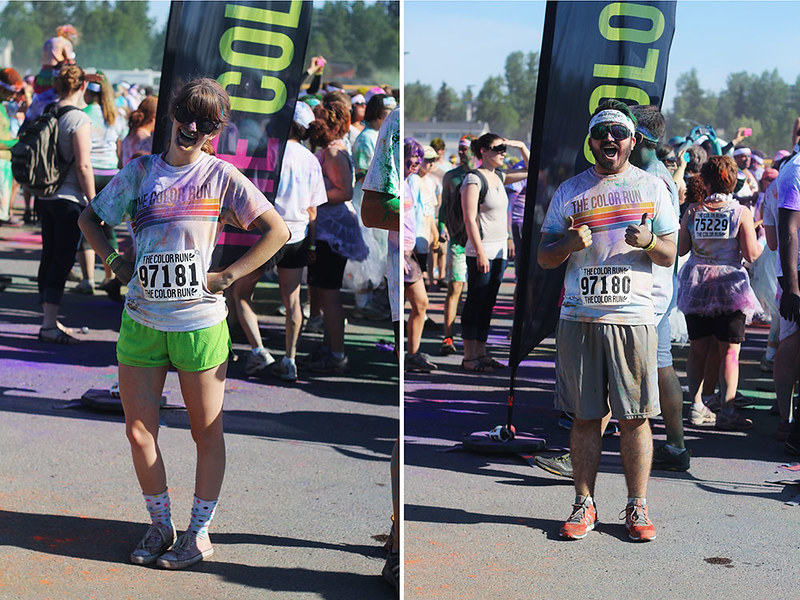
Joel, Marquel, and I
Joel and Marquel were celebrating one year of marriage and dressed up in wedding attire. (Also later on this day, we all got to eat dinner together and I got to hold their new baby ... soo cute!)
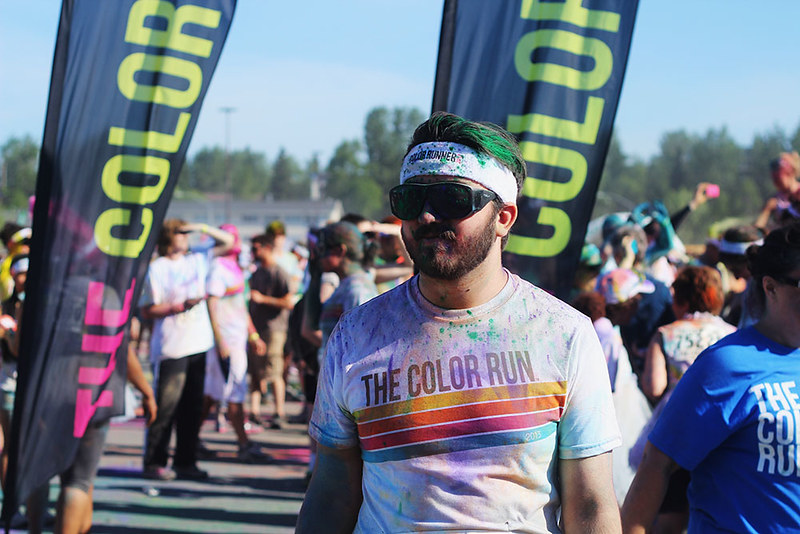
There's something awesome about you and 15,000 strangers gathering for a fun experience, and the event certainly disappoint. There were familys with little kids, friends, and co-workers all together to hang out and have fun. For the actual run, there were different color stations throughout the course where people sprayed the runners with color. You could see the cloud of color and when you were in it, everywhere you stepped puffs of color burst up from under your feet. It was so magical. The great thing about the color run is that even though it's a 5k, it's a pretty laid back one. We actually only ran for about a fourth of the way total, and jogged the rest of the time. I think it is a great first 5k for anyone interested in getting into running or marathons or triathlons. And now I can say that I've done a 5k!
What a babe.
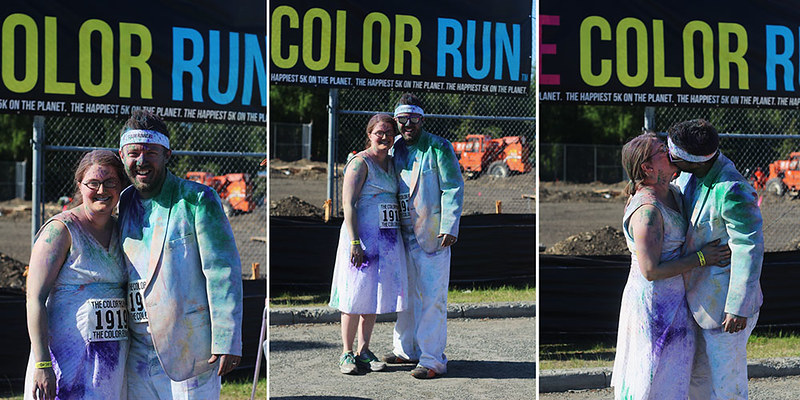
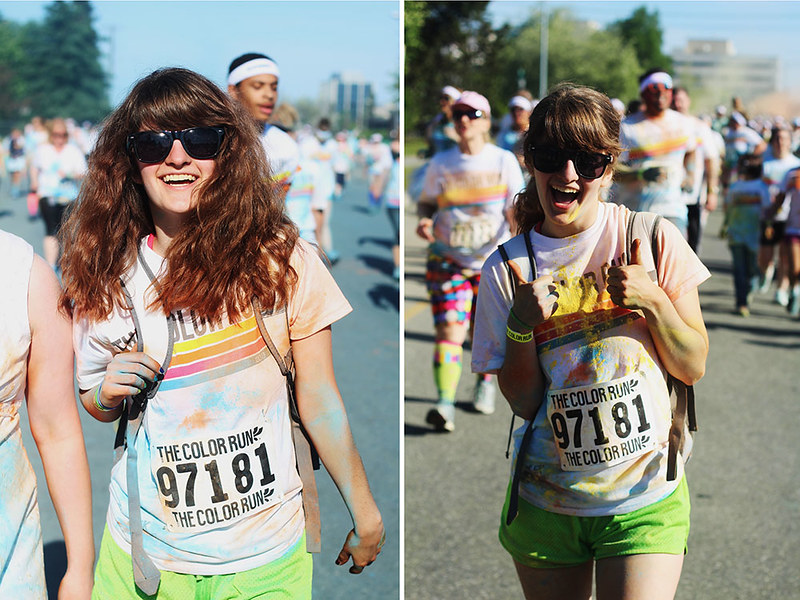
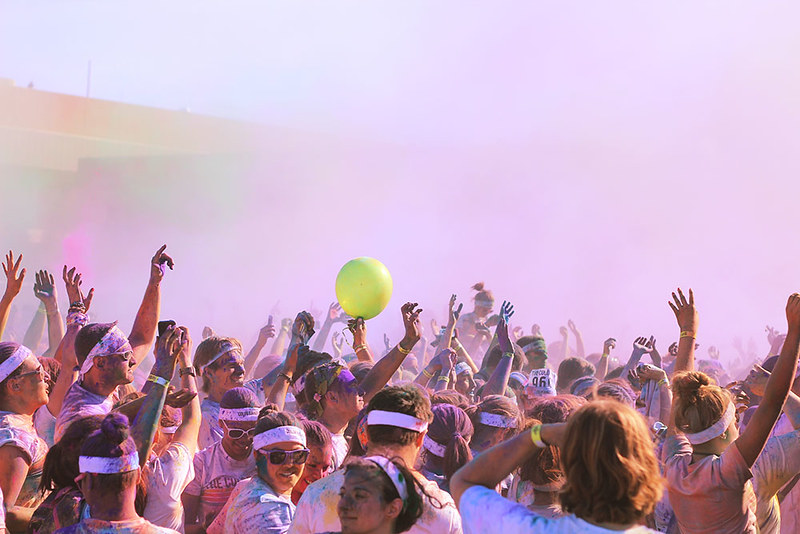
After the run, there was a huge after party with people throwing packets of color everywhere and jumping around (as white people do) and dancing and having fun. It was really magical being engulfed by colors. I felt like I was a little kid again in an atmosphere of pinks, blues, greens, and yellows.
The only downside of the color run? Having colored boogers days after the event. I'm still blowing gunk out of my nose, haha. Was it worth it though? Most definitely. One hundred million percent. I can't wait for next year when we can do it again!

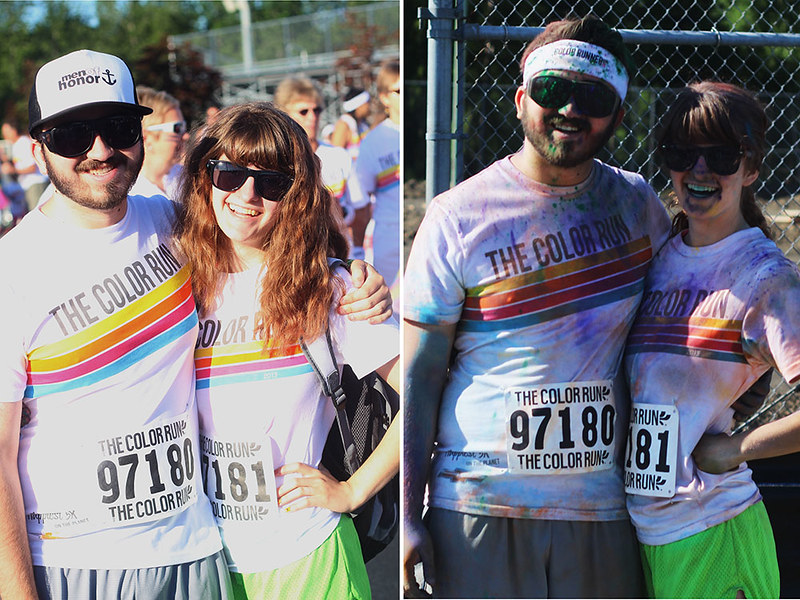
before and after!

Today I'm bringing you guys a really simple nail tutorial! People ask me all the time how I do my polka dot nails, and really it's quite simple. I went through a phase of my life where I painted my nails all the time, and then one day I switched my lifestyle and didn't do my nails, didn't wear makeup, and didn't use any products on my skin or hair (except for shampoo and sculpting cream, since this was when I had short hair), and then just as quickly as I stopped using products, I started using them again. Now though, I'm pretty minimal when it comes to things, and still try to maintain a level of naturalness, I guess you could say. Painting my nails is one of those things that I'm glad I'm doing again. Firstly, it's really therapeutic. I love painting, and being able to paint right on myself, however weird that sounds, is a pretty cool thing. It's also a fun way to express myself and add extra color. So now I shall reveal the deep secrets of polka dot nails.
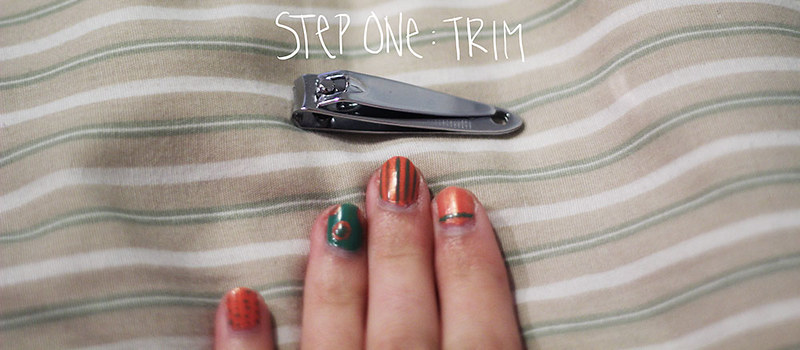
Step one: trim
Pictured is nail polish that is starting to chip. That's the sign that I probably should repaint. I paint my nails about once a week, as I'm always doing things with my hands and the paint chips off pretty quickly. First I trim my nails. This step is dependent upon how long my nails are. I hate having long fingernails and like to keep them as short as possible. Plus with short nails you get less dirt and junk underneath the tips.

Step two: remove
Then I use a cotton ball and remove all the nail polish from my nails. After I'm dong removing the polish, I was my hands with soap and water and sometimes put lotion on my hands.
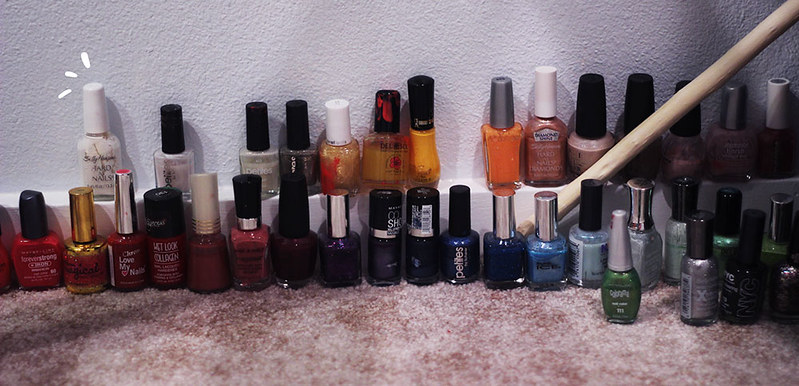
Next I pick out my polish. This is my entire collection of colors minus a few bottles. Eventually I would love to add more shades and end up with a huge selection like Kaylah, but for now I am pleased with how much it's grown over the years.
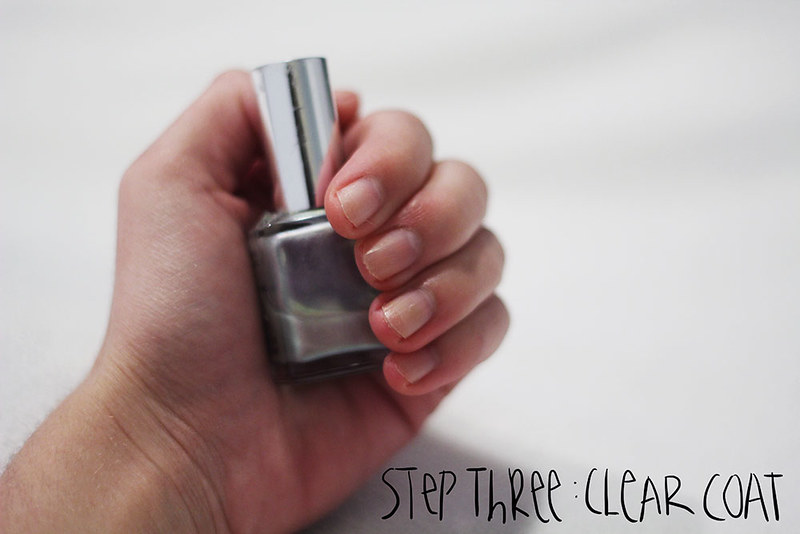
Step three: clear coat
Before I paint any actual color on, I paint a clear coat. That way my nails don't get stained with whatever color I put on them. Especially during the summer, I like doing cut out designs where you can see parts of the nail, and having nasty orange nails is never a good thing. Currently I'm actually out of clear coat, so for this tutorial I used a translucent shade of silver/gray.
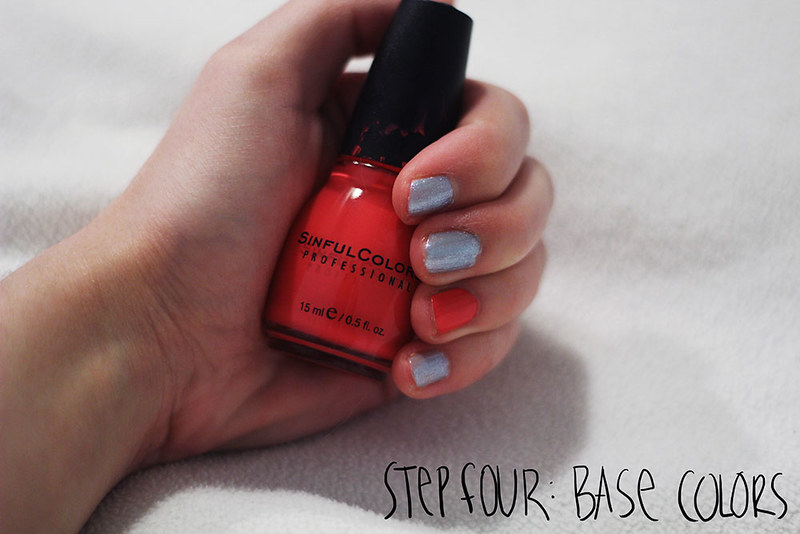
Step four: base colors
I like to alternate my colors on my fingers. Generally on my right hand I paint my index finger and my pinky, and on my left hand I paint my ring finger. The very first time I ever alternated colors, I painted my middle finger, and only realized later the implications. Whoopsies!
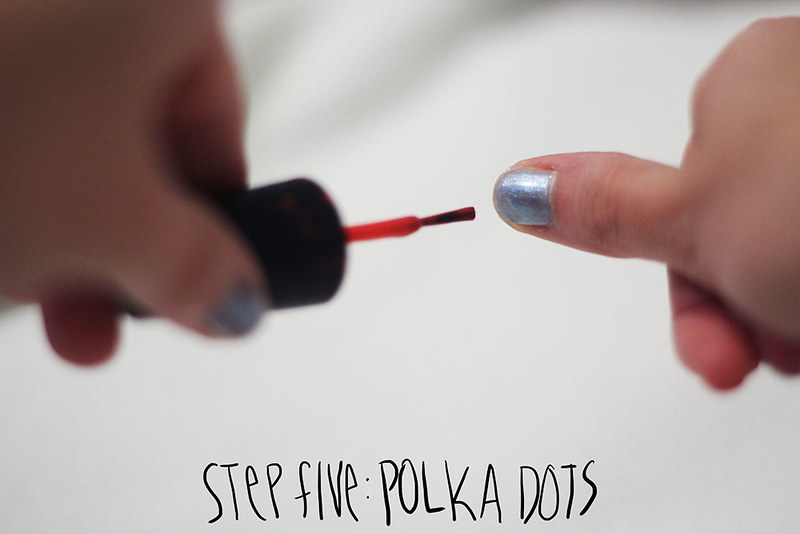
Step five: polka dots
Now on to the polka dots! Instead of using the side of your brush like you generally use to apply the base coat, you use the flat rounded bottom of your brush to make the polka dots. I try to leave a tiny bit of excess polish on the tip of the brush so the circles are nice and opaque. Just don't rush through it. These things take a steady hand.
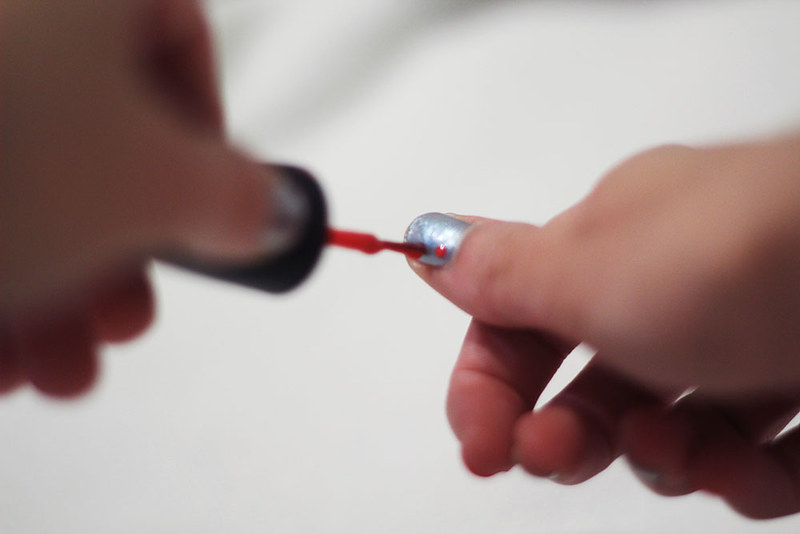
After I painted the initial polka dots on, I went back and added smaller ones on top. You can do this several ways. I was extra careful and just used the brush of my polish, leaving less excess polish on and angling it slightly so that the entire bottom didn't touch the nail. You can also use a toothpick by using your brush to create a palette on your hand or a piece of paper to dip your toothpick in. Also, you can use a colored sharpie to create smaller circles. Just make sure with the sharpie that the polish is completely dry.
Once your nails are dry, simply add a top coat (if you used sharpie, you should note that running a top coat brush over it several times will cause it to start running), and you're done! Now you have really fun polka dot nails that everyone will be jealous of!
If you have any questions, feel free to ask them! And I would love to see your results of this tutorial. You can post a picture in the comments or email a link to a post.
I hope that you enjoyed this diy and that you have a great day!