
Today I'm bringing you guys a really simple nail tutorial! People ask me all the time how I do my polka dot nails, and really it's quite simple. I went through a phase of my life where I painted my nails all the time, and then one day I switched my lifestyle and didn't do my nails, didn't wear makeup, and didn't use any products on my skin or hair (except for shampoo and sculpting cream, since this was when I had short hair), and then just as quickly as I stopped using products, I started using them again. Now though, I'm pretty minimal when it comes to things, and still try to maintain a level of naturalness, I guess you could say. Painting my nails is one of those things that I'm glad I'm doing again. Firstly, it's really therapeutic. I love painting, and being able to paint right on myself, however weird that sounds, is a pretty cool thing. It's also a fun way to express myself and add extra color. So now I shall reveal the deep secrets of polka dot nails.
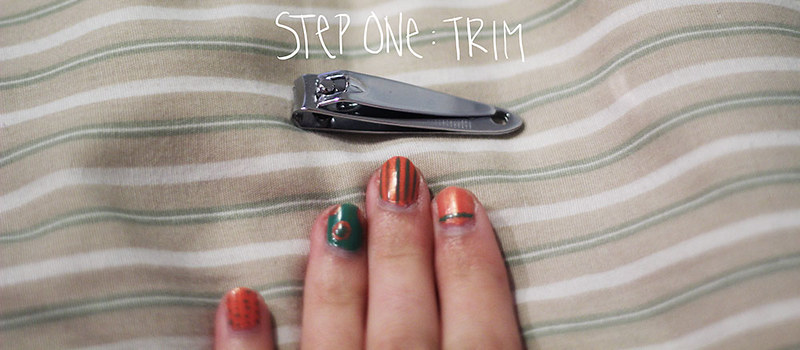
Step one: trim
Pictured is nail polish that is starting to chip. That's the sign that I probably should repaint. I paint my nails about once a week, as I'm always doing things with my hands and the paint chips off pretty quickly. First I trim my nails. This step is dependent upon how long my nails are. I hate having long fingernails and like to keep them as short as possible. Plus with short nails you get less dirt and junk underneath the tips.

Step two: remove
Then I use a cotton ball and remove all the nail polish from my nails. After I'm dong removing the polish, I was my hands with soap and water and sometimes put lotion on my hands.
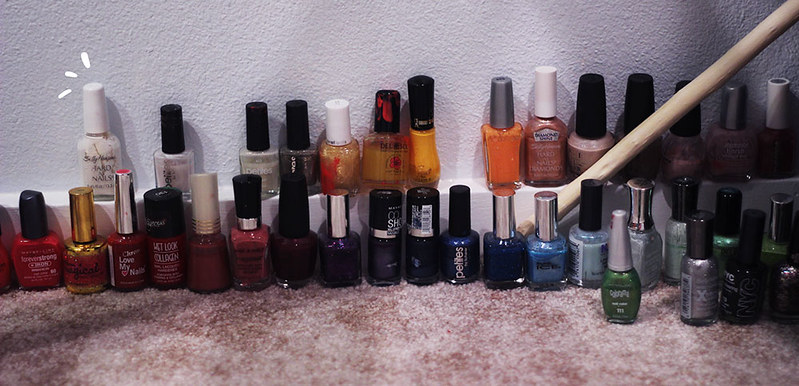
Next I pick out my polish. This is my entire collection of colors minus a few bottles. Eventually I would love to add more shades and end up with a huge selection like Kaylah, but for now I am pleased with how much it's grown over the years.
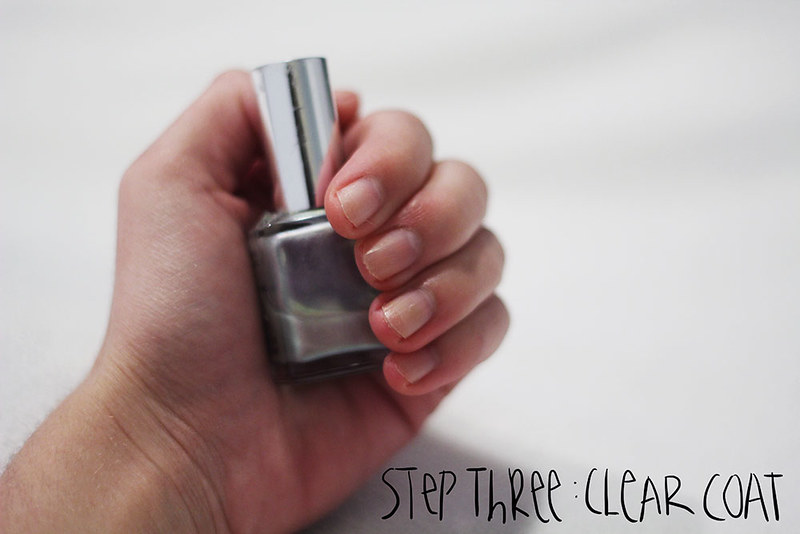
Step three: clear coat
Before I paint any actual color on, I paint a clear coat. That way my nails don't get stained with whatever color I put on them. Especially during the summer, I like doing cut out designs where you can see parts of the nail, and having nasty orange nails is never a good thing. Currently I'm actually out of clear coat, so for this tutorial I used a translucent shade of silver/gray.
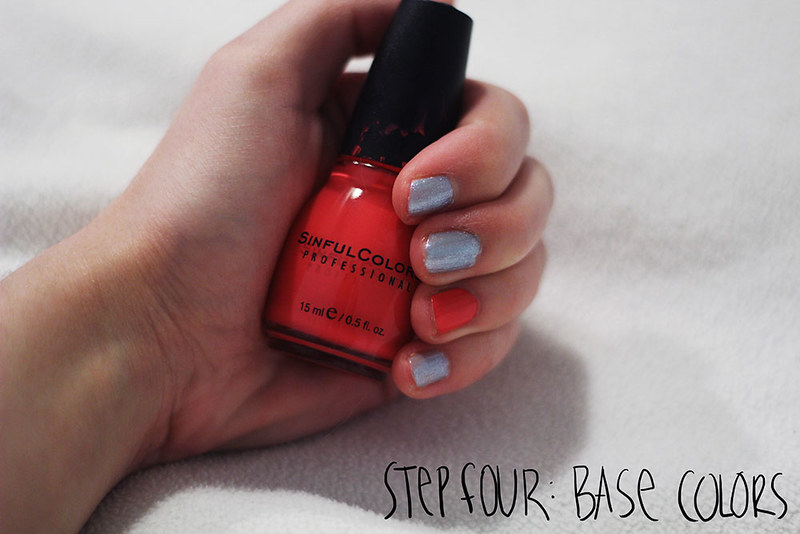
Step four: base colors
I like to alternate my colors on my fingers. Generally on my right hand I paint my index finger and my pinky, and on my left hand I paint my ring finger. The very first time I ever alternated colors, I painted my middle finger, and only realized later the implications. Whoopsies!
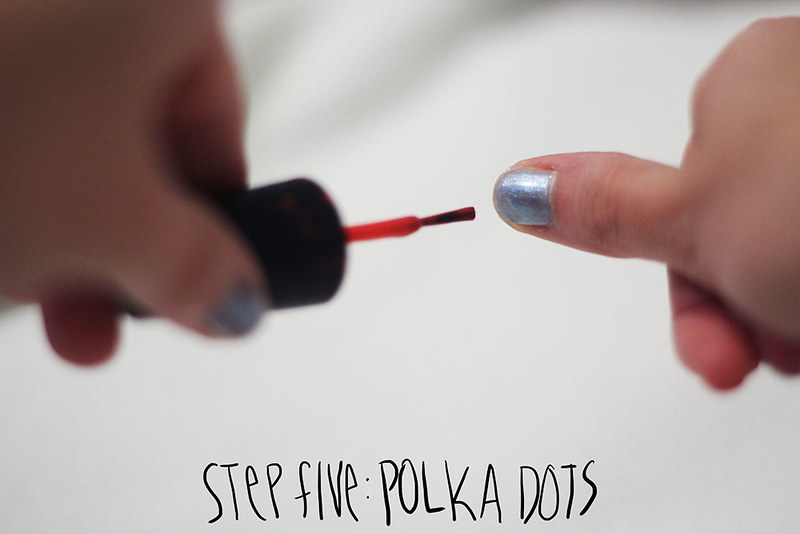
Step five: polka dots
Now on to the polka dots! Instead of using the side of your brush like you generally use to apply the base coat, you use the flat rounded bottom of your brush to make the polka dots. I try to leave a tiny bit of excess polish on the tip of the brush so the circles are nice and opaque. Just don't rush through it. These things take a steady hand.
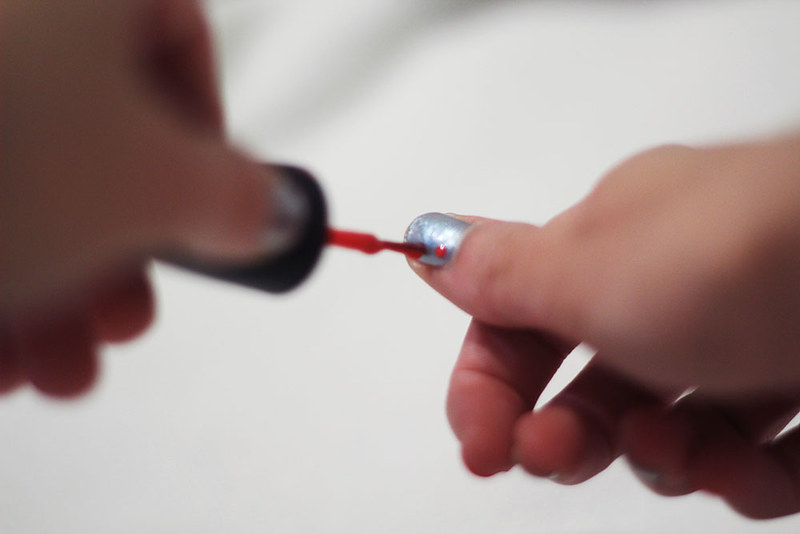
After I painted the initial polka dots on, I went back and added smaller ones on top. You can do this several ways. I was extra careful and just used the brush of my polish, leaving less excess polish on and angling it slightly so that the entire bottom didn't touch the nail. You can also use a toothpick by using your brush to create a palette on your hand or a piece of paper to dip your toothpick in. Also, you can use a colored sharpie to create smaller circles. Just make sure with the sharpie that the polish is completely dry.
Once your nails are dry, simply add a top coat (if you used sharpie, you should note that running a top coat brush over it several times will cause it to start running), and you're done! Now you have really fun polka dot nails that everyone will be jealous of!
If you have any questions, feel free to ask them! And I would love to see your results of this tutorial. You can post a picture in the comments or email a link to a post.
I hope that you enjoyed this diy and that you have a great day!