
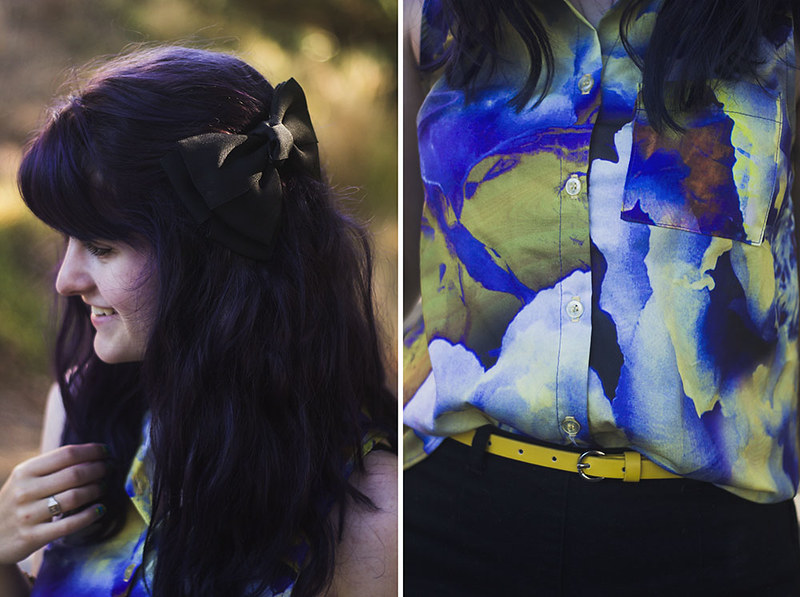
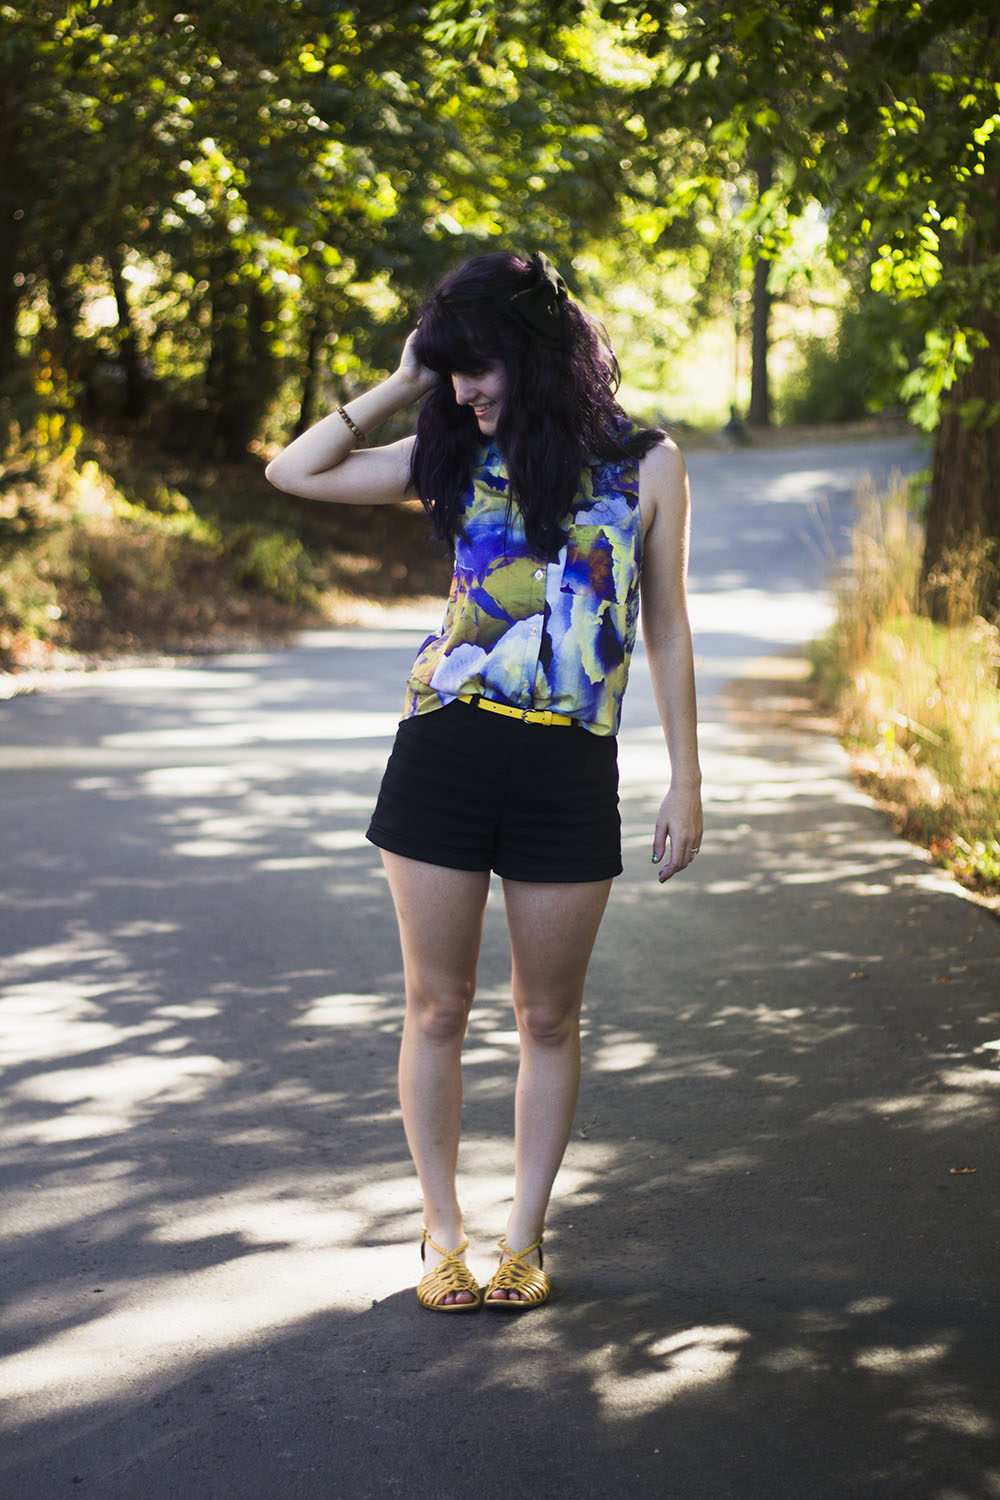
dress (as shirt): UO // belt/shorts: forever 21 // shoes: payless // photos taken by Matt
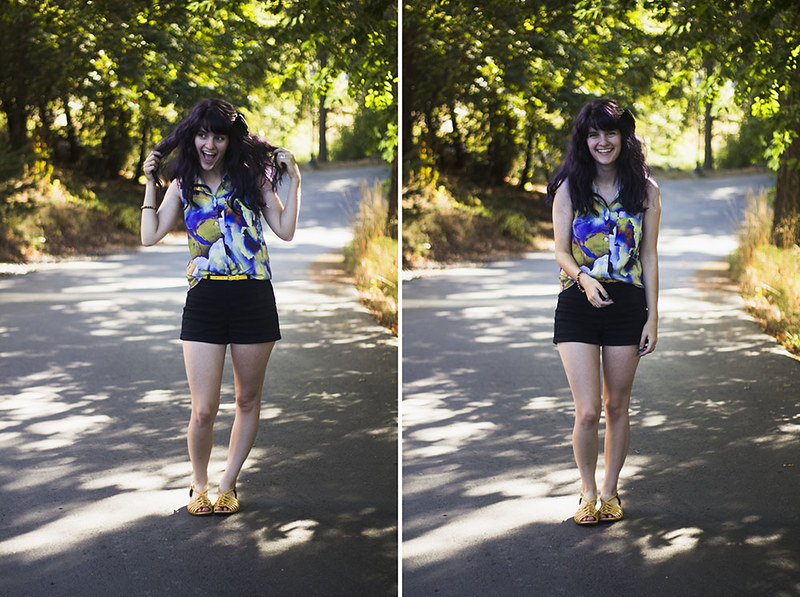
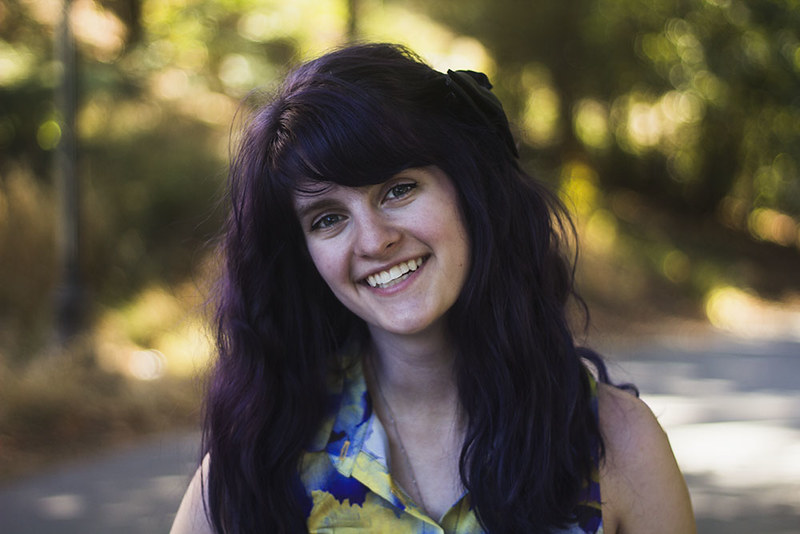
Hello beautiful people! If you follow me on instagram, then this is old news, but I just dyed my hair purple! Last year at the start of school, I did the whole "sit in a chair in the bathroom surrounded by my floormates and have a dying party" thing and ended up with really fun purple hair, but that first color had more red undertones and I just dyed it once and let it fade back to my normal color. This time around, I did a lot of research on dyes and how to care for hair because I want to try to maintain the color, so this dye has more blue undertones. And I'm basically in love with it. It still catches me off guard when I pass by a mirror, but it's super fun and looks different colors in different lights and I've already gotten a lot of positive feedback, including one fun comment, "you are my hair inspiration!" It's really exciting and I'm super happy with the results.
Also I'm finally moved in to my new apartment and will be starting classes bright and early today. It shall take a bit of time to get into a normal schedule, so things may be kind of quiet around the blog for a couple of days. But all in all, it's really good to be back in Oregon.
Have a great day everyone!
Ever wondered how I manage my crazy hair? Well look no further than this blog post, because that is precisely what I'm going to share with you today. I've done many different routines with my hair, from straightening it exclusively, to putting way too much sculpting cream in when it was short. My current routine is so easy and stress free, and I can guarantee its success (on me) every time so I'm never worried about how it will turn out. As always, your hair will be slightly different than mine, so results will vary. It's taken me nineteen years to figure out my hair, so don't worry if how I do it doesn't work out for you. Everyone's hair is different and you'll fine tune every tutorial online to fit your preferences and style.
My own hair is very thick, and pretty curly. I have little ringlets some places and awkward straight pieces other places, so my hair pretty much does what it wants in its complete natural state.
This routine has also been done on my friend who has super straight hair, and it turned out pretty nice. Again, just play around with this until you find a method that suits your hair.
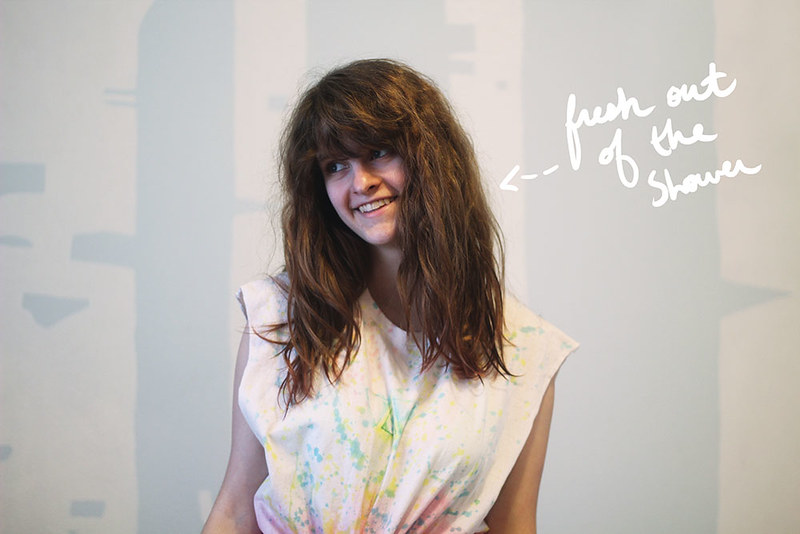

I shower at nights so that my hair has enough time to air dry and because I like going to bed clean. Right after I get out of the shower, I brush through my hair. In the shower I use shampoo and conditioner, and recently I've been putting in my little sister's leave in conditioner (ssh, don't tell her!), which makes brushing out my hair a lot more manageable. After I brush my hair, I let it air dry for about 15 minutes before I move onto the next step.

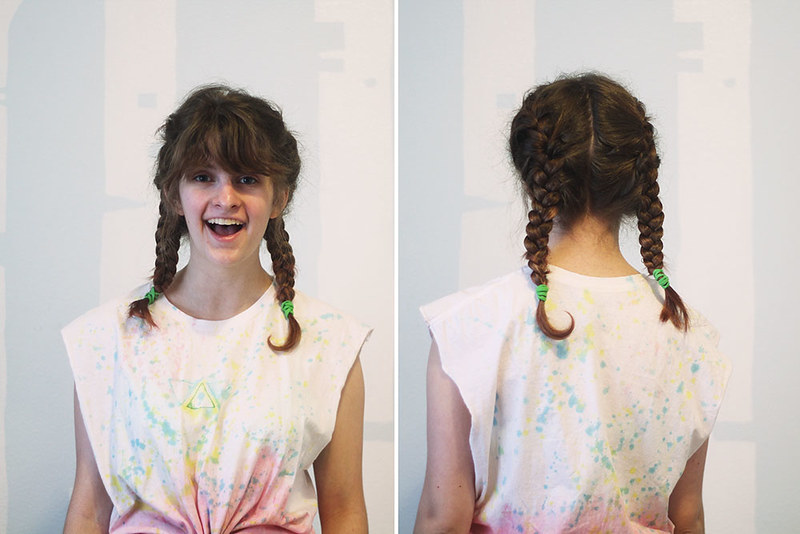
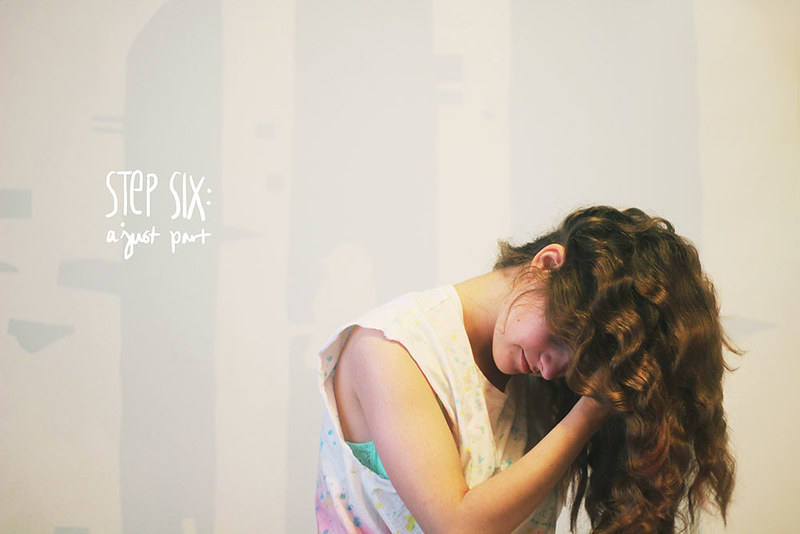
After the (roughly) 15 minutes are up, I part my hair into two sections right down the middle. I part the top with my brush, and the back with my fingers. This by all means doesn't have to be perfect. Then I set aside one section by securing it with a hair tie.
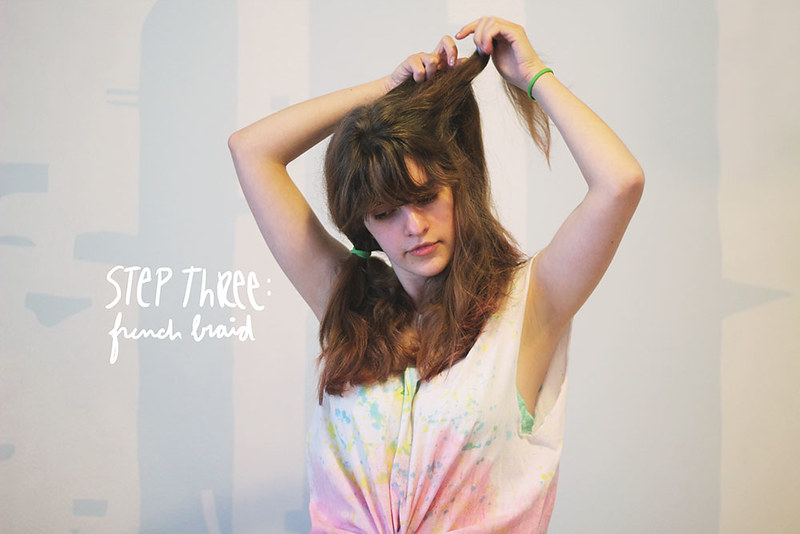
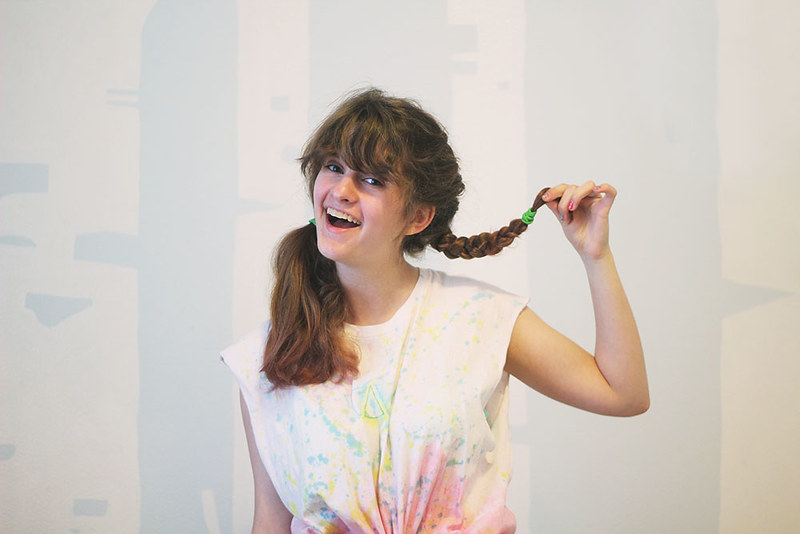
Then I french braid my hair. I'm not very good at making it look pretty, but thankfully it doesn't have to be. Once I'm done french braiding the first section, I move on to the other.

The final step for the night is to straighten my bangs. I do this partly because I usually won't have to do it in the morning or if there are any annoying fringe hairs from when I straighten it, I can press it down with a bobby pin, sleep on it, and in the morning it turns out normal. I also do it partly because my weird natural dry fringe is really annoying.
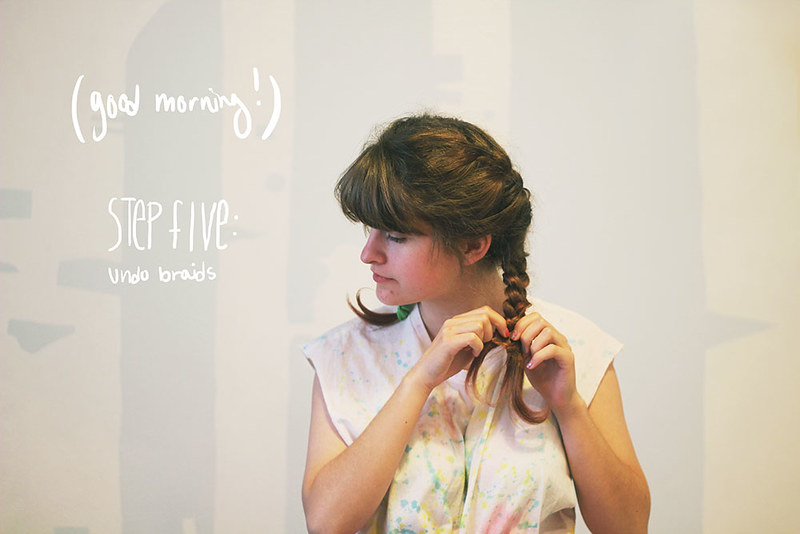
In the morning, I undo the normal braided part of my hair by simply unweaving the sections. The part that's french braided, I shake out with my fingers. I do this because my hair is usually still a little damp in the morning and I don't want to lose the wave that the braid gave.
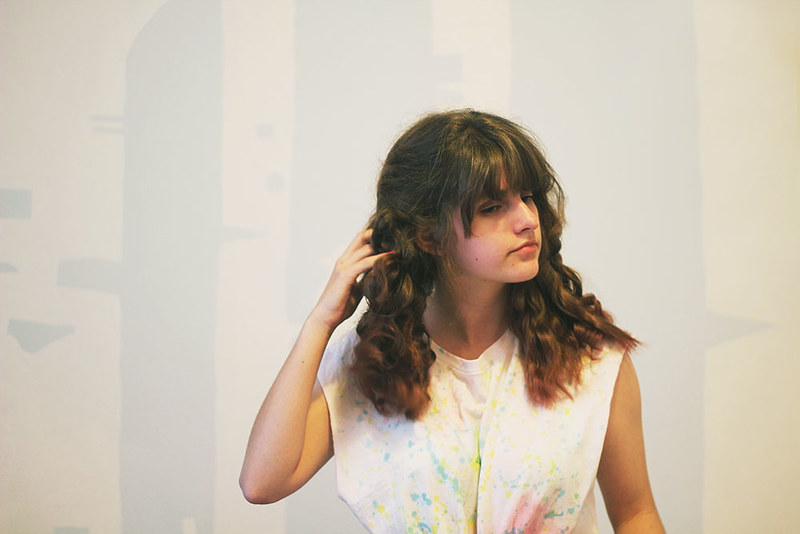
I don't actually have a middle part, but force my hair to part in the middle for this routine so that when I put it back at its natural part, I have added volume on top of my head. I shake the hair in the back with my fingers and then toss my hair over my head to shake the middle part away and make my hair not look so separated. Then I flip back over and adjust my part as needed.
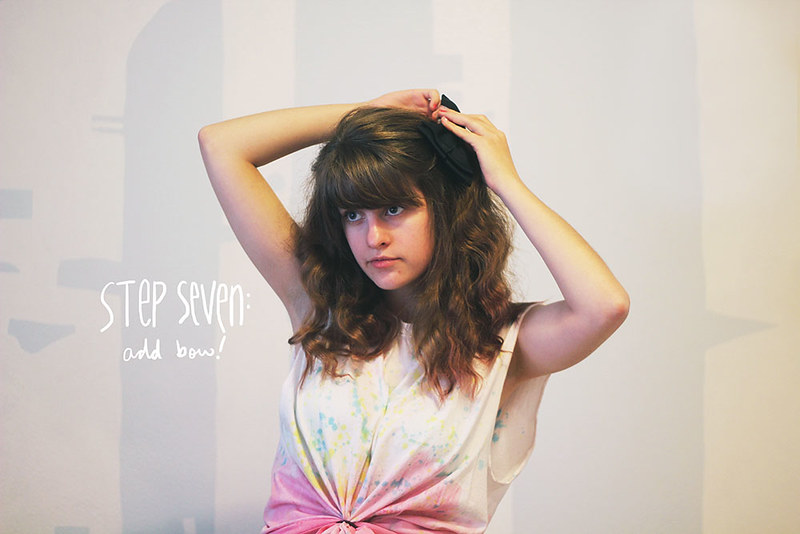
And of course the routine is not complete without a bow! I usually wear a bow on the first day after washing my hair because it is extra poofy and needs to be pulled back a little bit.
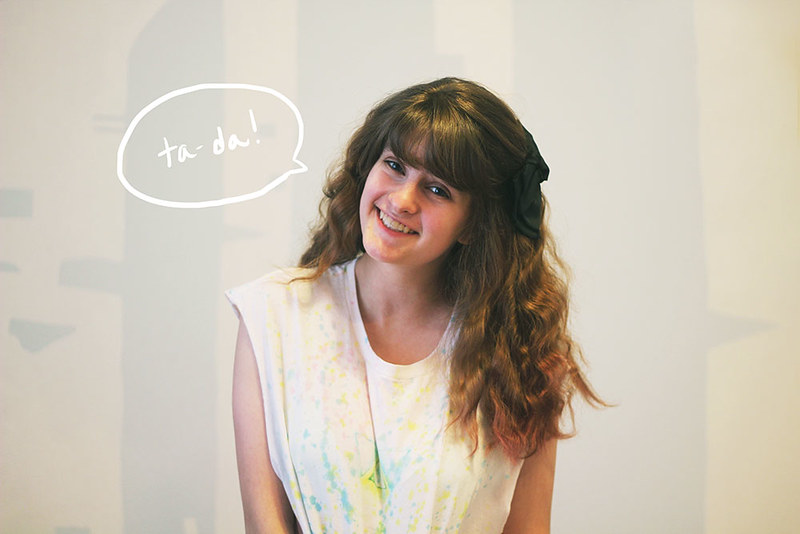
And that's all! I generally wash my hair twice a week in three day increments, sometimes four if I'm feeling extra lazy, but by that time my hair is really oily.
If you have any questions about my routine, questions in general, or suggestions for future posts, please don't hesitate to contact me.
Have a great day!
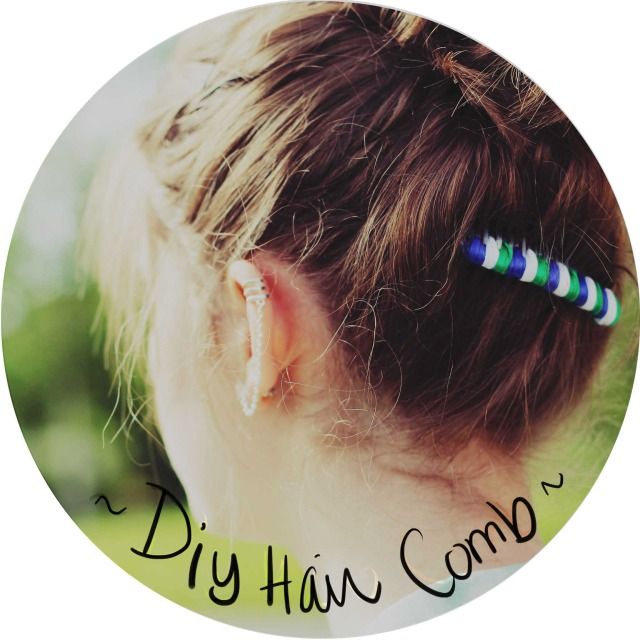
You read that right! I've got a simple diy project to share with you today. I find myself wearing this hair comb all the time. It's perfect for pinning those baby hairs up and still staying cute.
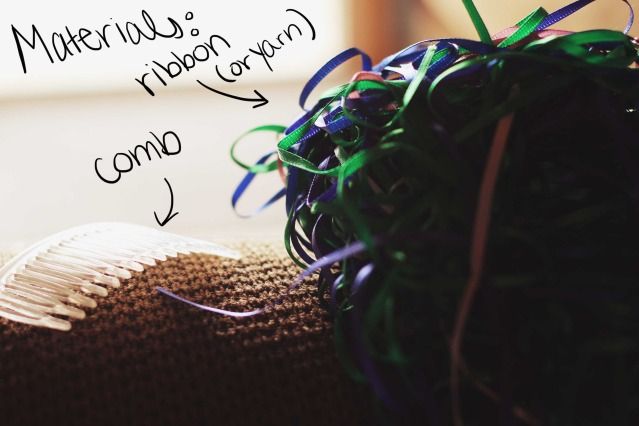
All you'll need is a comb and some ribbon or yarn, as well as a hot glue gun. The comb was leftover from one of my many high school productions (it still smells a bit like hairspray and stage lights). Previously I had used some fuzzy yarn, the cool kind that changes color, but I didn't quite like the colors it had so I decided to go with some fun ribbon! You can use as many or as few colors as you like. For this tutorial I'll use three, but know that if you only use one color, you'll only need one string of it tied to your comb.
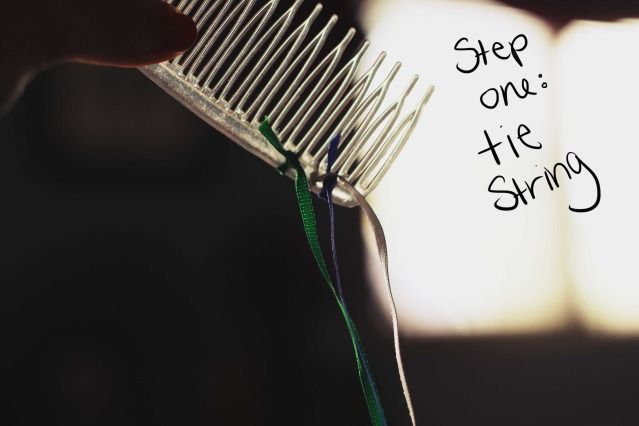
Step one: tie string. Skipping the first notch (aka hole) of your comb, tie the various colors on the second, third, and fourth notch.
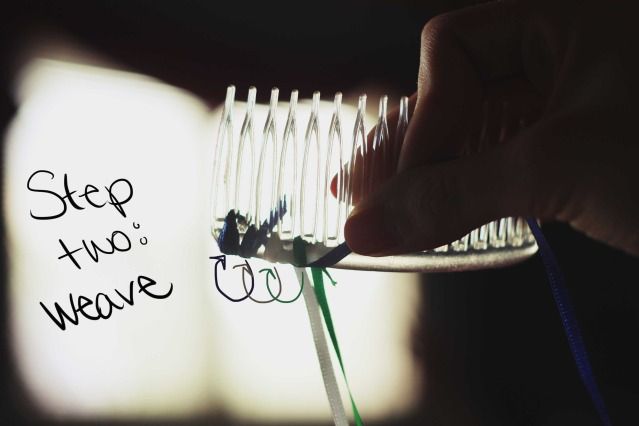
Step two: weave. You're going to be working backwards for just a bit. You'll weave the blue string (on the second notch) on the first notch, the white string (on the third notch) on the third notch, and so on. Then after that it's time to move forward.
It reminds me a lot of making friendship bracelets, where you bring the strings that you're not currently weaving off to the side. Continue to do this until you reach the end of your comb.
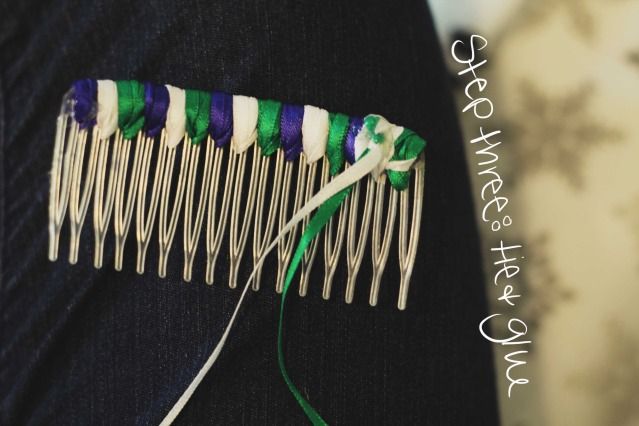
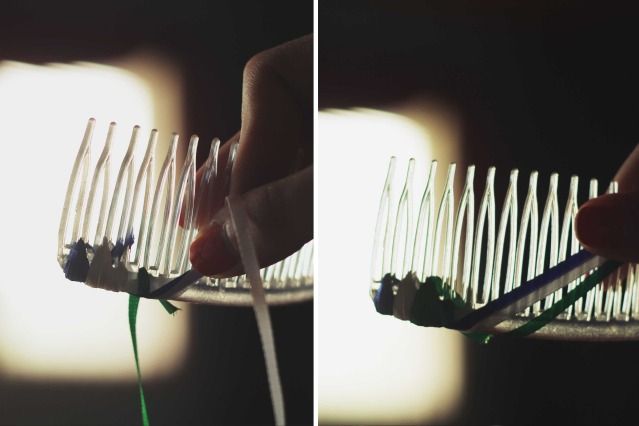
Step three: tie and glue. Just tie the string together (I suggest tying the blue to the white and then the white to the green, so that all three colors are secure), and then reinforce with hot glue. (You can also hot glue the beginning if you notice the string is a little loose.)
And there you have it! A beautiful new hair accessory I guarantee you'll be wearing non-stop.
Let me know if you have any questions.
I've never been allowed to dye my hair, so throughout the years I've had a plethora of cuts. Bob, Pixie, suuuper short, suuuper long, curly, stick straight, you name it. Once I live away from home, however, I'll be able to do whatever I want with my locks. I'm unsure what my college hair policy is, but I'm kind of hoping they don't care if hair is crazy colors, because I just might go crazy. Okay, maybe not so crazy as to dye my whole head an unnatural color (even though I would love to), but just a little bit.
We'll see though, I played around in photoshop and I actually really like a couple of the colors on me. I have my favorites, which ones are yours? And who knows, maybe in a few months I'll have crazy colored hair.
I'll post my 365 tomorrow as well as work on more outfit posts (yay!). It's been a crazy few days with the Northern Lights out, and I've been getting several good photos of them. Tomorrow is supposed to be the best day ... I expect nothing but greatness!
