

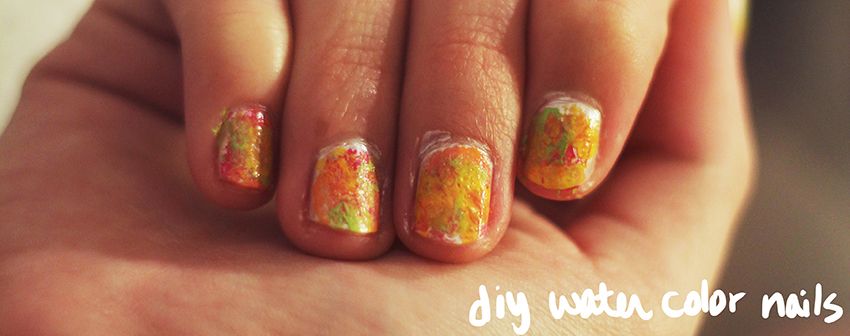
This is one of my favorite diys ever, and I'm so excited to be able to share it with you guys! I made this laptop sleeve specifically for college, to keep my laptop protected while I'm running around in between classes. There are also a lot of variations to this diy, so you can really pick and choose what you want to make a totally unique laptop sleeve!

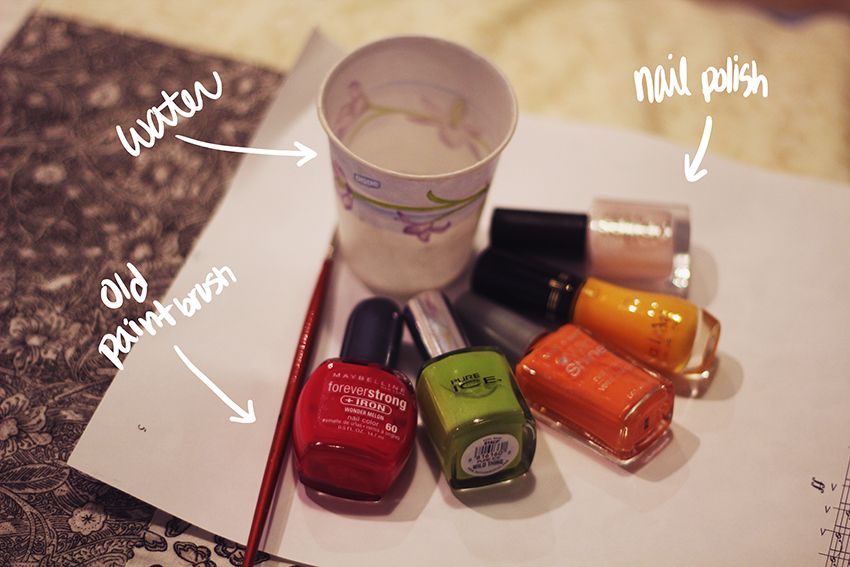
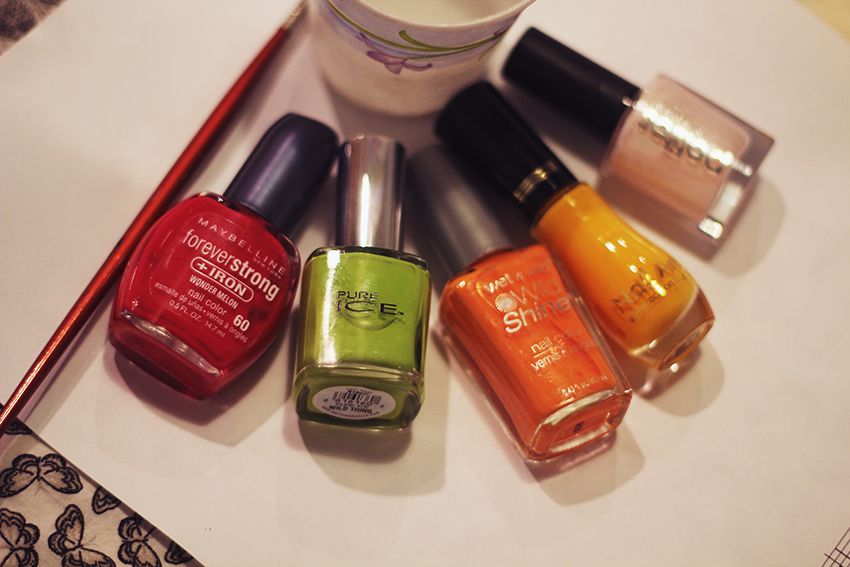
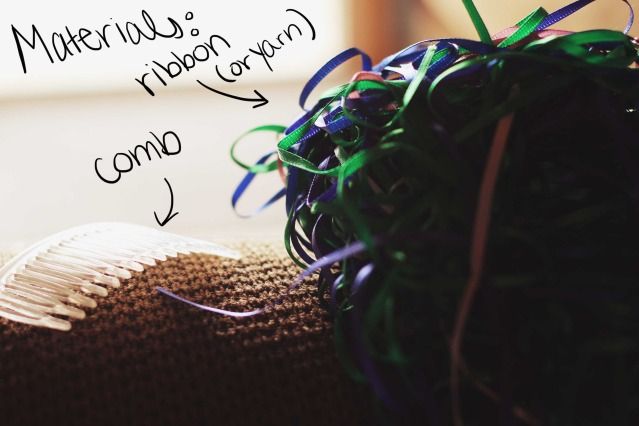
Materials: fabric, cotton lining (they use them in quilts) (the lining is just for extra cushioning), buttons, scissors, as wells as a needle and thread and a sewing machine.
Oh and you'll also need extra materials like motivation music and some liquid energy to get you through the night.


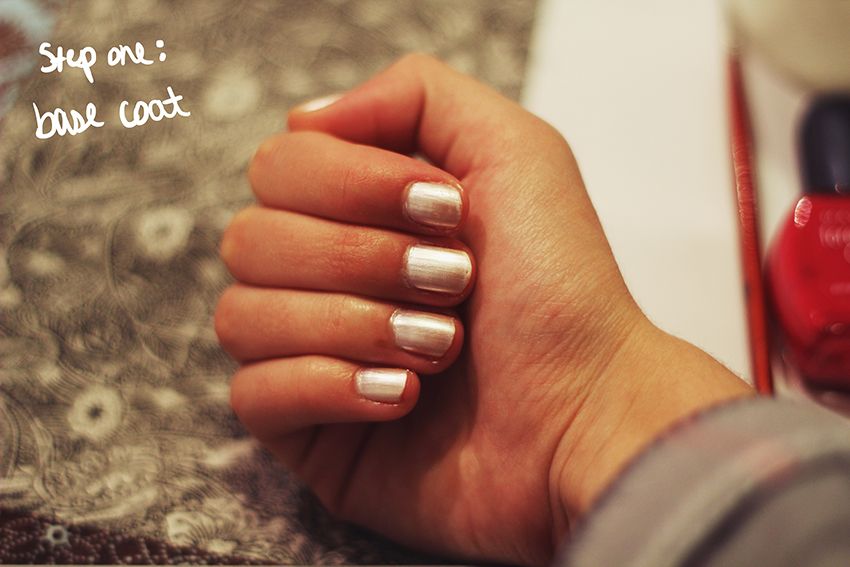
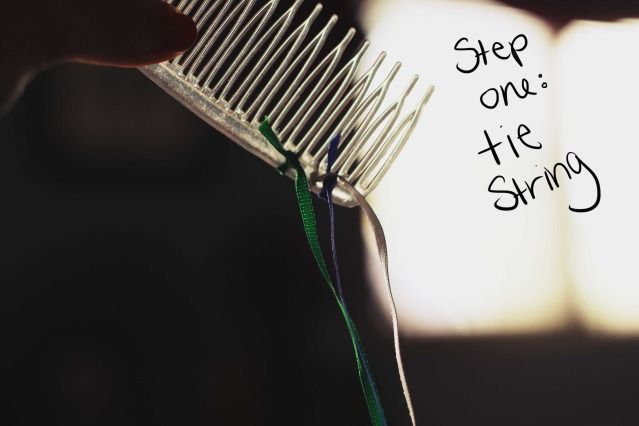
Step one: Cut out shapes
You will need four pieces of fabric and four pieces of lining total. Just trace your laptop on the fabric (leave about an inch to an inch and a half extra fabric around the edges) so that the fabric is slightly larger than the laptop. I chose to use three different fabrics: two green for the front and front inside of the sleeve, and white for the back outside and light green for the back inside.


Step two: quilt pieces
Okay, it's not really quilting, but what you do next is you take two pieces of fabric and two pieces of lining, and lay the lining in the middle of the fabric, like a sandwich. Make sure the fabric is right side out, so that when you flip your "sandwich" you see the right side of both pieces of fabric.
Then you'll go to the sewing machine and attach everything together. I chose a zigzag line to sort of mimic actual quilting, and just sewed rows along the fabric. Don't worry about back-stitching; the ends will end up getting sewed over in the next step.
Once you finish one "sandwich," just do the same thing to the remaining fabric and lining.

Step three: piece together
Next you will lay the two sandwiches together, the sides that you want to be the outside touching each other (so the wrong sides are currently on the outside). Then you will stitch the bag together, sewing along the perimeter of three of the four sides, like so:


Step four: hem
Now that you've sewn the bag together, it's time to hem! With the last side that is going to be the mouth of the bag, you'll fold over the edges and sew them together. (Make sure you don't accidentally sew the mouth closed!) (Alternatively you can hand-stitch this part to avoid stitching on the outside of the laptop sleeve by not having the needle go through the outside piece of fabric, but I'm not too particular--or patient--for that so I just used the sewing machine).
You will hem all the way around the edge. Then you can reach into your bag and pull it right side out! Isn't it so pretty?


Step five: straps
You could really do anything you want with this step. My original idea was to make the sleeve be more like an envelope, but since I didn't have enough fabric I just added straps. Making an envelope would be very easy (probably easier than straps, actually). You just make one of the sandwiches longer in step one (two pieces of fabric and two pieces of lining) to create an envelope shape.
I'll show you how to make straps though. :) Just cut out your desired length of straps that you want (we will hem them, so shoot for a little bigger than what you want), and hem up the edges (fold the edge so that you see a little bit of the right side of the fabric and sew), so that you will have a nice clean line that won't fray.
(Alternatively with the straps, you can cut two pieces, put the right sides together, sew both long edges and one short edge together, turn the fabric right side out, and hand stitch the last end for a cleaner look.)

Step six: add buttons!
It's no mystery that I love buttons. So of course this project had to include them. For your straps, Mark the length of the button on your strap with a pencil (your line can be vertical or horizontal, depending on the size of your button and/or strap). After you cut along the line, make sure that the hole is big enough so that the button will go through, but small enough so that it can stay in place.

Then you'll have to hem the edges of the button hole. ^^ Those were the settings on my sewing machine that I used (I just experimented on a scrap piece of fabric until I liked something). Basically you want the needle to stretch from left to right a lot and not move forward very much, so that you get a nice, thick line. The trick is to go slow on this part, and make sure you don't accidentally sew the hole closed.

Then on the front of your bag, you'll sew on the buttons and then button them to the straps. On the back of your bag, you'll attach the other end of the strap with a decorative button.


Step seven: touch ups
Your laptop sleeve is almost done! I noticed that there was a lot of cotton lining showing so I trimmed up the edges to get rid of any extra material. You'll want to cut at an angle towards the inside of your bag so that no cotton lining (or very little) will show. (If you don't want any showing, when you are first making the sandwich, you can leave the lining out, put the right sides of the fabric together, sew three sides, turn it right side out, stuff the lining in, and hand-stitch the last side so that, again, it will look even cleaner than what I did.)

And now you're all done! Here's what my laptop sleeve ended up looking like:


I really really love my laptop sleeve and I cannot wait to carry it around campus in the fall. The kids will think I'm so cool, haha! I'm even thinking of adding some pockets to the inside, so if you guys want me to I could make another diy for that! (And if you have any questions, feel free to ask in the comments or send me an email at introvertsintroduction@hotmail.com) Hope you enjoy!


