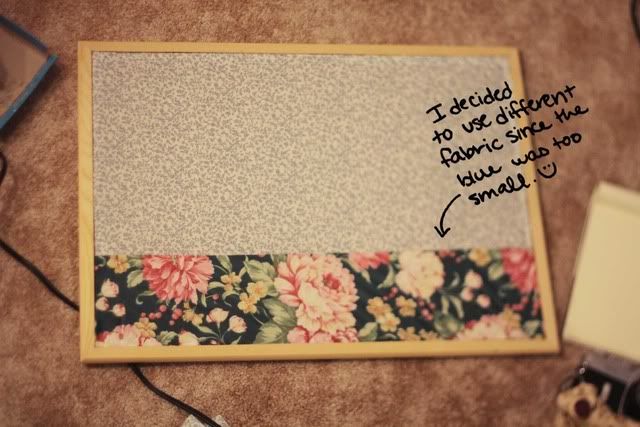
I had an old cork board lying around that I used to use to hang my jewelry on. Since then I've moved on to different ways to display my jewelry but this poor board was left collecting dust.
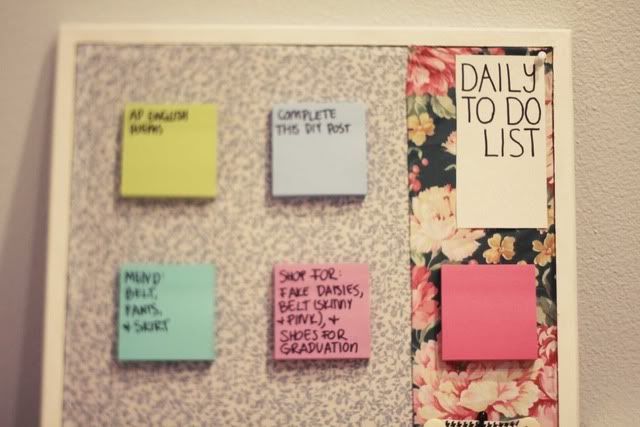
So here is a super fun, easy, and versatile project for you guys today! It's a diy to-do list board, but you can really use it for anything you want. It's a beautiful way to add color and organization to your room (something that you've seen me working on if you follow me on instagram @impulsings).
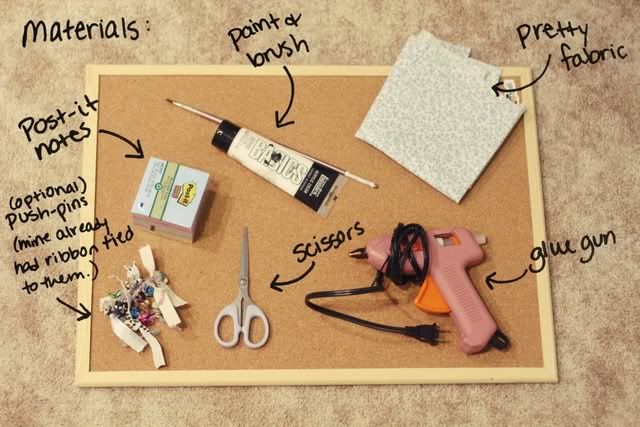
What you'll need is a cork board (they're pretty cheap on amazon), paint and paintbrush, fun fabric (I ended up using two different kinds), post-it notes, a hot glue gun, and scissors!
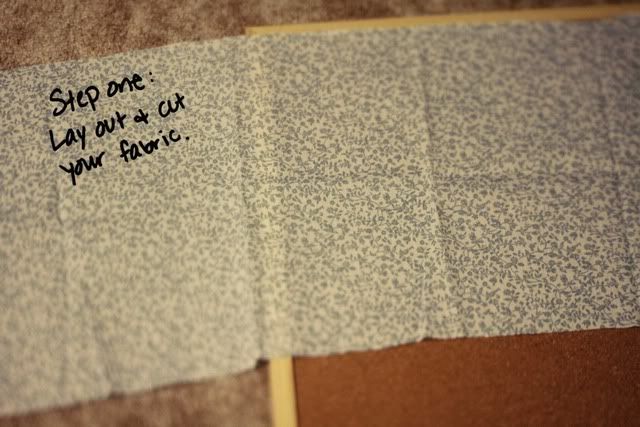
The first step is to measure and cut your fabric. You'll want it to be just a little bit bigger than your cork board so that when you glue it down you'll be able to fold it into a nice hem. Mine ended up being too small to cover the entire board, so I added even more color with different fabric.

With your hot glue gun, you'll fold down the corners of your fabric and glue away. Work in small sections to make sure everything is straight.
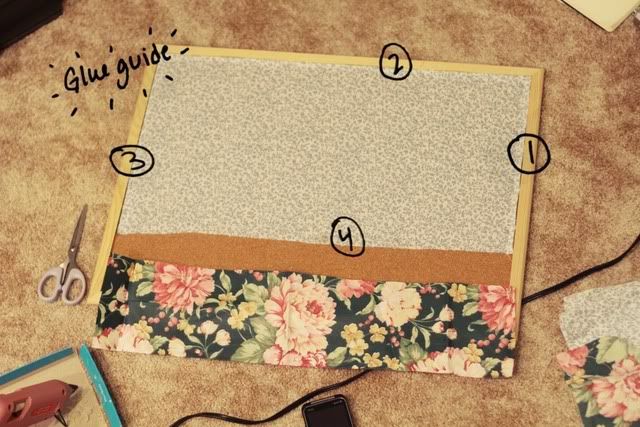
Here's what I found to be the best order to glue down the sides, so that you can easily stretch out the fabric to eliminate any wrinkles. Since I used two different fabrics I had to do this step for each piece.

This step can be optional, and if I had to redo it I would have taken out the 'daily' part as I already have some things on my list that I won't be completing for a few days. But that's okay! You just write out what you want, fold a straight line, cut, then glue it to your board.
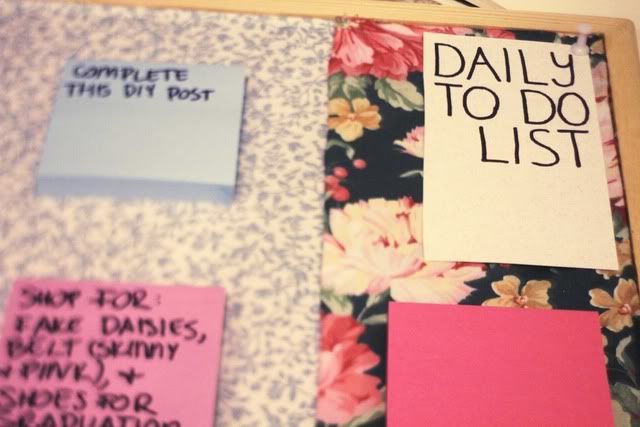
Step four is to lay out your post-it notes and glue them down to the board. I purchased mine at Office Depot in pretty colors. :) So now when you complete an item on your post-it note, you can just tear it off and a blank box is available for the next project!
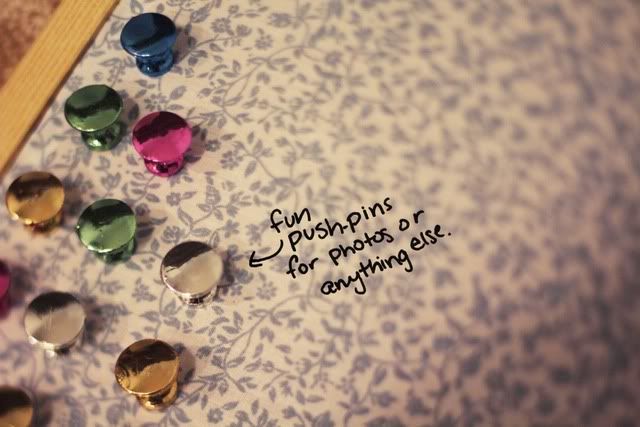
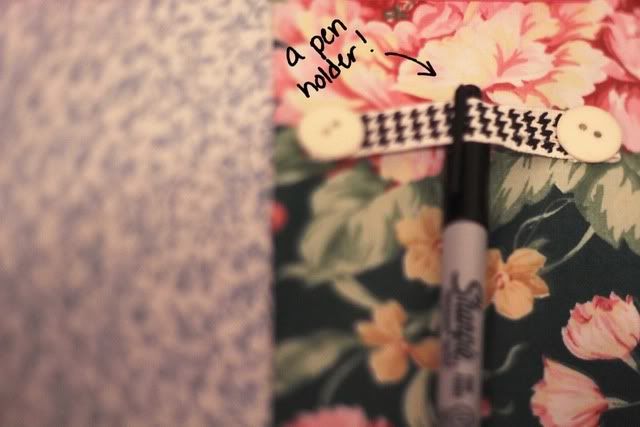
Then I added some extra little embellishments since I had a little bit of room left over on the board. I can't wait to take this to college and fill it with photos of my adventures!
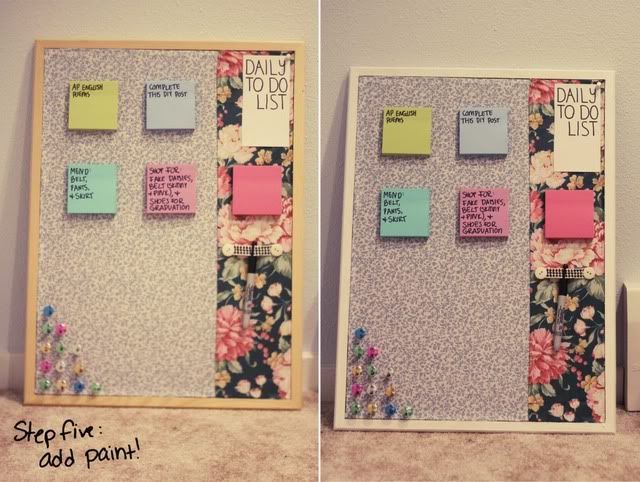
The final step is to add a coat of paint. Mine took three coats but the paint was fast-drying so it didn't take too long. The white matched my room perfectly. :)
And that is all! Pretty easy, huh? I really love how mine turned out, and the great thing about this is that I can easily use this for multiple things.
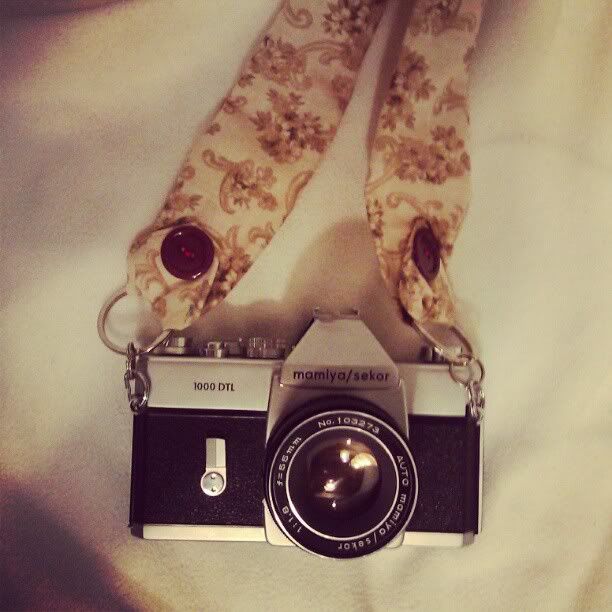
A couple days ago I ran across a diy for homemade camera straps. This was a lifesaver because I've been trying to come up with a way to make a strap for my own little camera. Needless to say, my camera is now very happy.
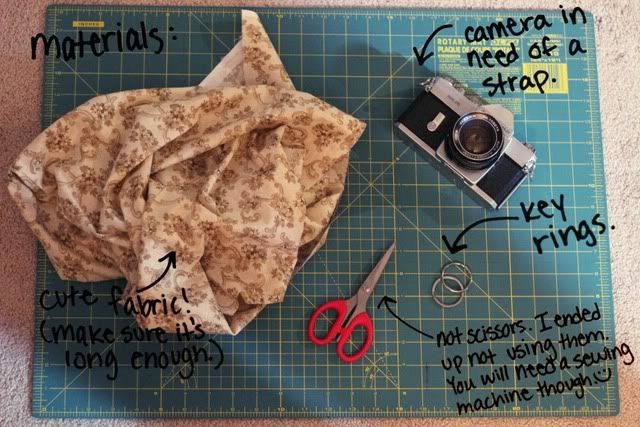
You'll need some fun fabric, key rings (two big ones and two small ones--thankfully my camera already had small ones on them), a sewing machine, and buttons.
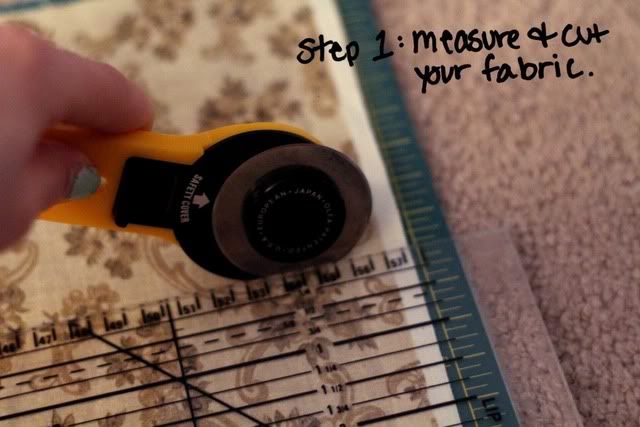
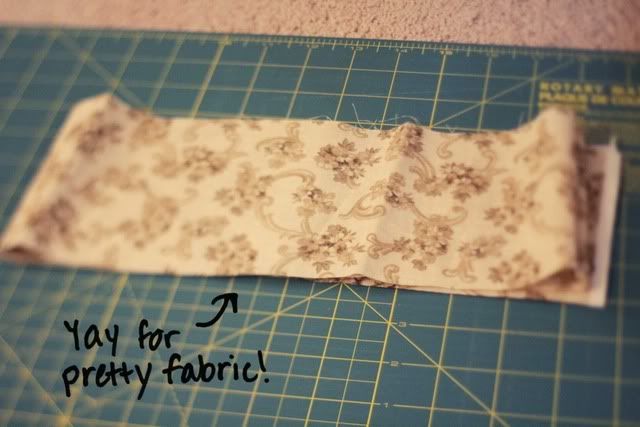
I usually try to steer away from measuring things (that's me being rebellious from hating Geometry class, haha), so I just made sure the length was good by throwing the fabric around my neck. Then I measured (aaah, can't escape it) the thickness I wanted and cut away! Now remember that your thickness should be double the thickness of what you want your strap to be because we're going to fold it and sew it together in the next step.

For this step you'll have to fold the fabric together like a hot dog (longways) with front sides together so that all you see is the back of the fabric. Then you'll sew along the edge, making sure to NOT sew the ends together.

Now that the fabric is sewed, I push the fabric right-side out so that the pretty side is showing.
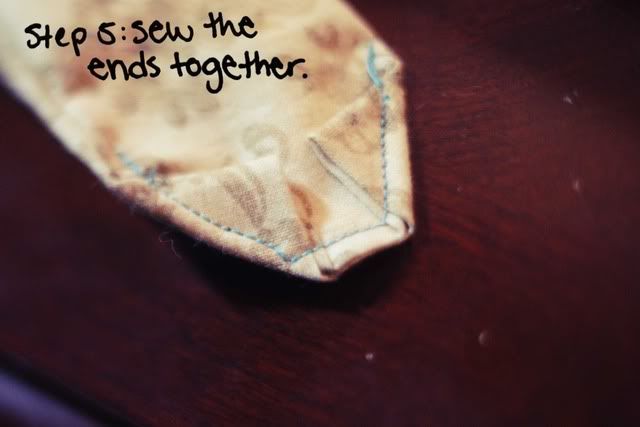
Then you push in the edge of the fabric inside itself, fold the edges, and sew them together. I used blue for my top stitch so that it would show up in photos, but the bottom stitch (the one you'll be able to see when the strap is done) is the same color as the fabric.
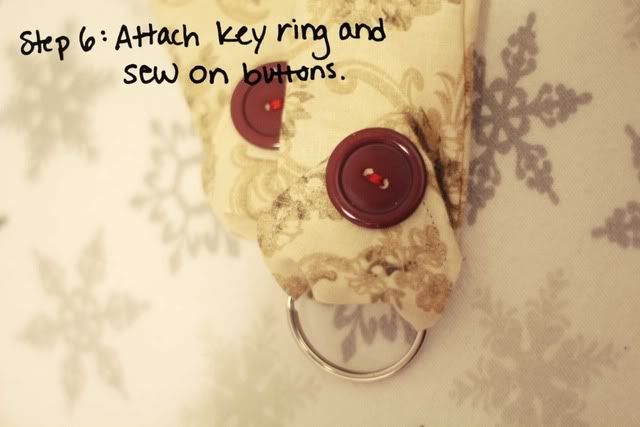
Next string the key ring through the fabric and sew a button on to make it even more pretty! Alternatively you can just sew it all together when you sew the ends up in step five, but I love buttons so I wanted to use them to attach everything.
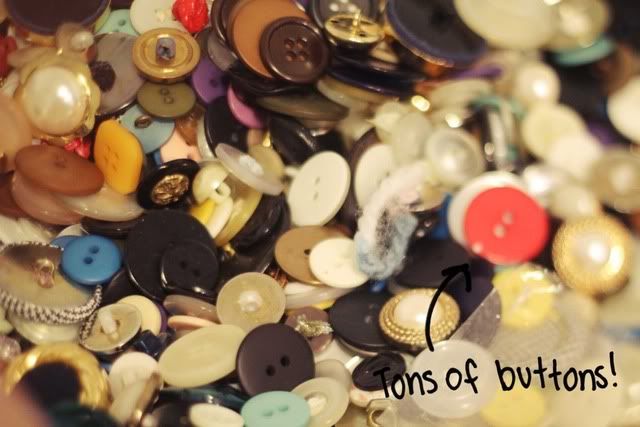
My grandma on my mom's side always bought buttons so now I have a tin box full of pretty vintage buttons to choose from.
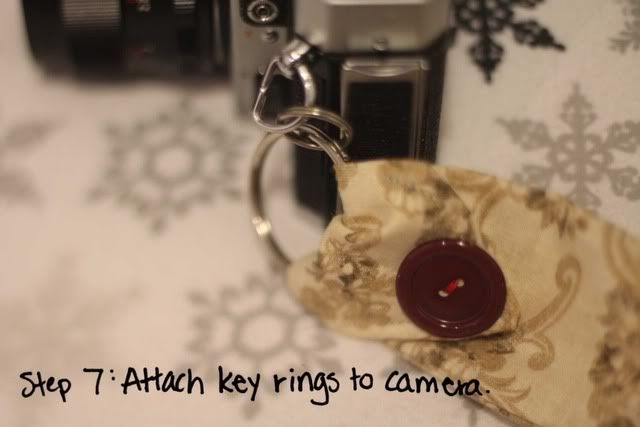

Then you just attach the key rings to the camera! My camera's previous owner was so kind as leave the small key rings on the camera so all I had to do was connect them together.
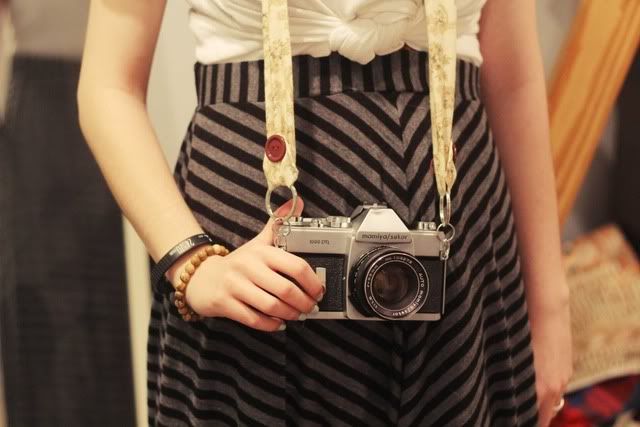
And that is all!

I hope you all enjoyed this tutorial. Let me know if you create your own camera straps. I would love to see what everyone else comes up with. Good luck and have an awesome day!

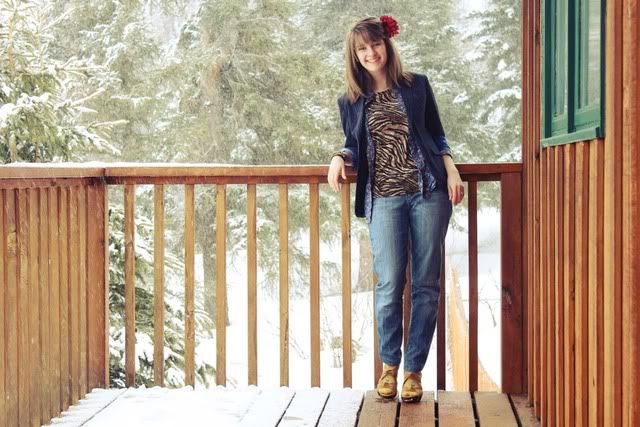
shirt: mother's closet // button down: Old Navy // blazer: Thrift Store // Jeans: DIY // hairclip: boyfriend's sister // socks: birthday present // shoes: forever 21
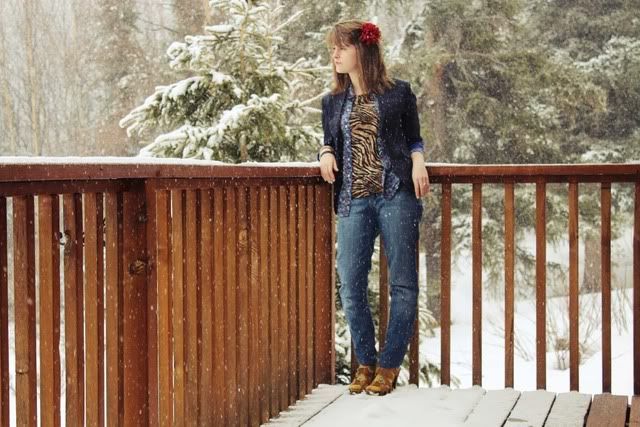
Hooray! Finally another outfit post! After a week of battling the worst cold ever, I finally felt good enough to go outside and take some photos (should read: felt good enough to put actual clothes on). Seriously, the past week I've been confined to the oversized chair in the living room in my pajamas, browsing the internet for hours while watching tv and coughing and sneezing nonstop. It's not been fun. Today I'm still sniffly and coughy and my voice sounds pretty sickly, but I'm feeling pretty good. My head is pretty congested, but hey, at least I can run around in the snow and feel okay, right?
On to the outfit! These jeans were originally flare jeans, but I have an identical pair, and since my skinny jeans recently got a hole in them, I decided to turn these into skinny jeans! They're obviously not that skinny currently, mostly because I was a little nervous that it wouldn't turn out right, but they ended up looking (and feeling) so awesome that I'm going to make them just a tad bit tighter. Lily from Love Charles Vintage has the suuuuper easy tutorial right here! It only took me ten minutes to do, and that was just because my sewing machine is old and likes to freak out on me constantly. And even if you don't change up your jeans, I highly suggest you check out her blog. She's awesome!
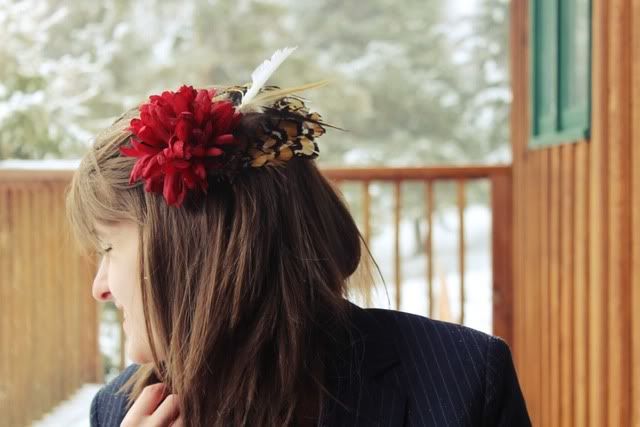
As for my hair clip, about a month ago Matt's mom cleaned out her craft closet and let me go through all the stuff she was getting rid of. Let me tell you, it was like Christmas for Lauren. Well one of the things I got was Matt's sister's shoe box filled with stuff to make headbands and hair clips. A long time ago she made them and sold them, and I got all the left over supplies! I added a flower from my own pile of junk and was ready to go.
My grandma has a quote that she hung in a picture frame and I just love it to death. "One of the great things about being disorganized is that one is constantly making exciting discoveries." And that is so so true! I love looking through my on shoe boxes filled with stuff and finding things I forgot I even had. Also, since junior high I've had a memory box and sometimes I look through it and reminisce over my life. Hoarding may seem like a bad thing, but it's really just a way to document life. See? It's definitely a positive characteristic. ;)
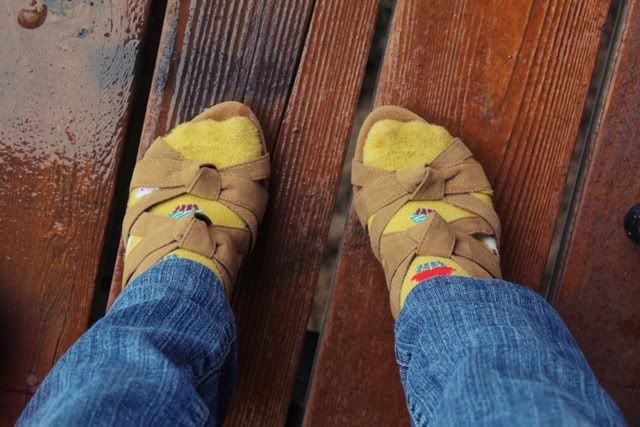
On a completely different subject, I just laughed at myself when I realized I was wearing socks with my heels. It's not that I didn't plan to wear them together. Quite the opposite. I thought socks with sandals looked good! (And the sad thing is, they do). Why is this funny? My mom and I always make fun of my dad for wearing socks with his sandals. Oh, you know those dads. Turns out I'm doing the exact same thing! Ah well, like father like daughter.

I'm really glad I'm feeling better, because this week is going to be especially exciting! Tomorrow I'm taking my friend's senior photos, and then next Saturday I'm taking someone else's portraits (I'm not going to say who just yet, but let me just say it's a huge huge honor and I cannot wait to share it with you guys!). I just love love love taking photos for people. If I never got paid I think that would be just fine because photography (and being able to share it with others for others) fills me with such joy. I just love it so much.
I hope you all have a great Easter holiday!
p.s. I just looked outside and it's snowing so hard right now! That's okay with me because Alaska needs only four more inches until they beat the state record for most snowfall. It's been a crazy snowy year. But after we reach the record, the snow had better all melt because I'm ready for summer.
day 96
my sore throat and messed up nose kept me home from school yet again and on the same chair in the living room while I sipped on water and tv all day. Thank you Alaskan weather.
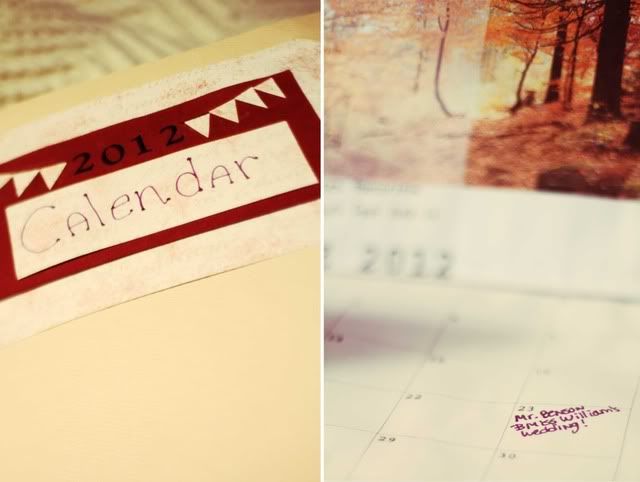
Last night I finally made a 2012 calendar book (procrastination, no?) and I'm already filling it up with photoshoots. So exciting!
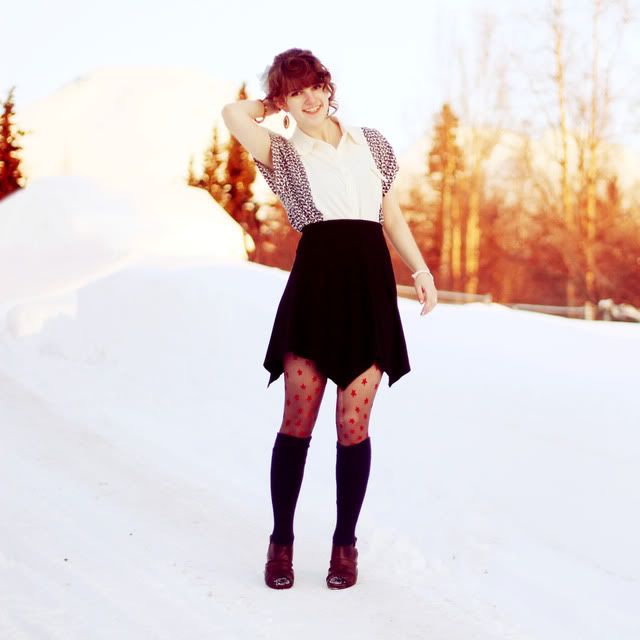
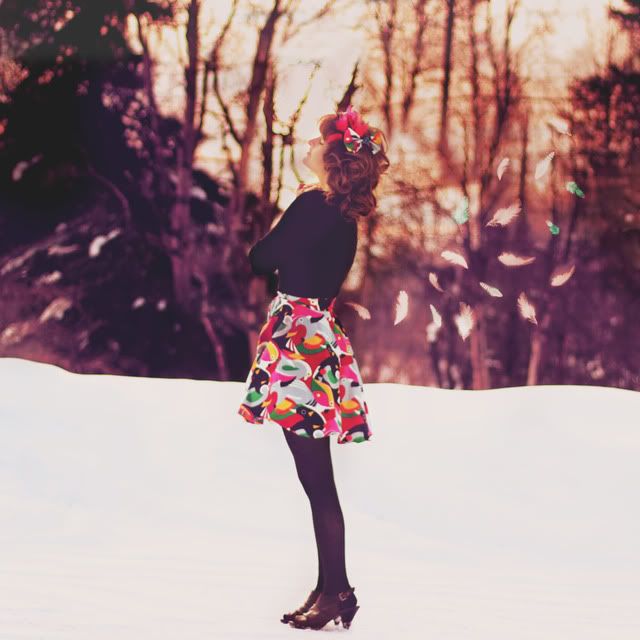
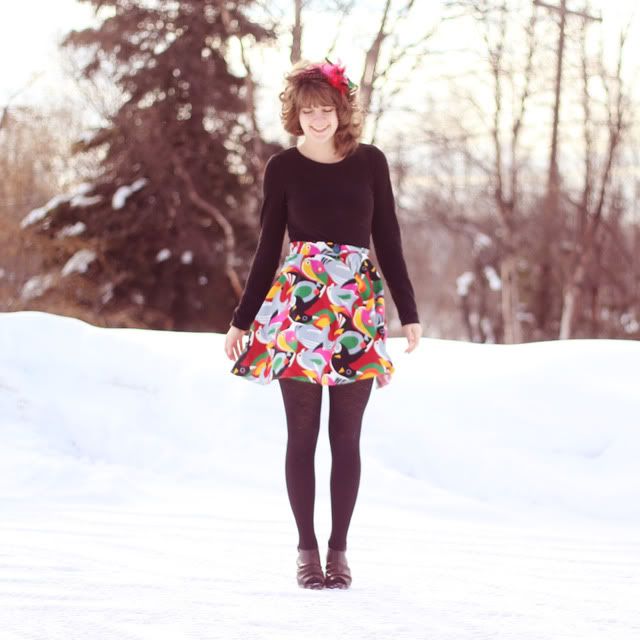
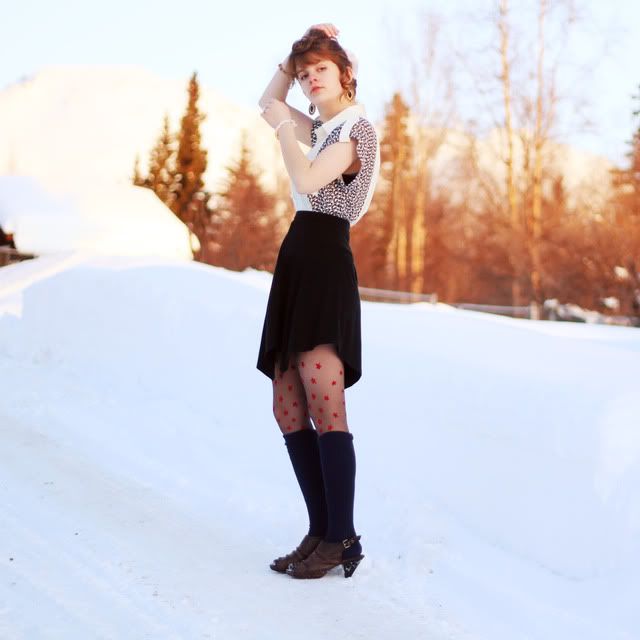
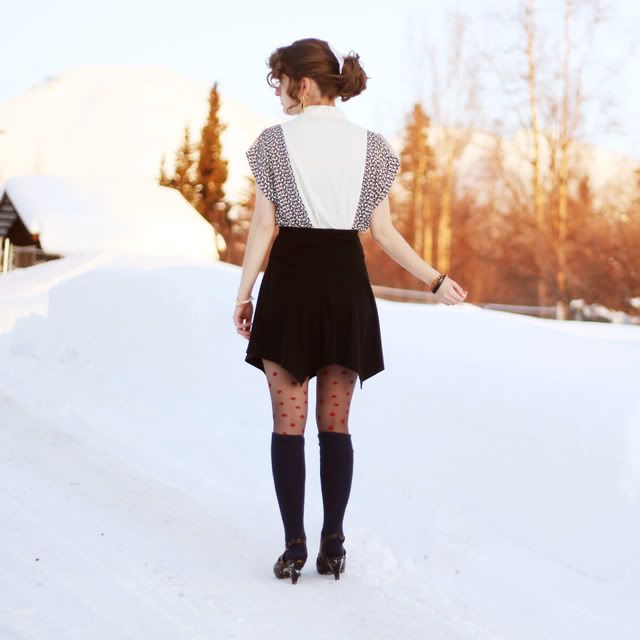
shirt: c/o sugarlips // skirt: sister's closet // tights: diy // shoes: target
Look at this gorgeous top Sugarlips sent me!
IT. HAS. CATS. ON. IT.
If you don't know anything else about me, know this: I adore cats. When I was little I would buy tons of disposable cameras and take hundreds of photos of cats (I kid you not). There are two cats living in our house at the moment. I am planning on being a crazy cat lady when I grow up. That is how much I love cats. And now my love of them can be shown through this adorable shirt!

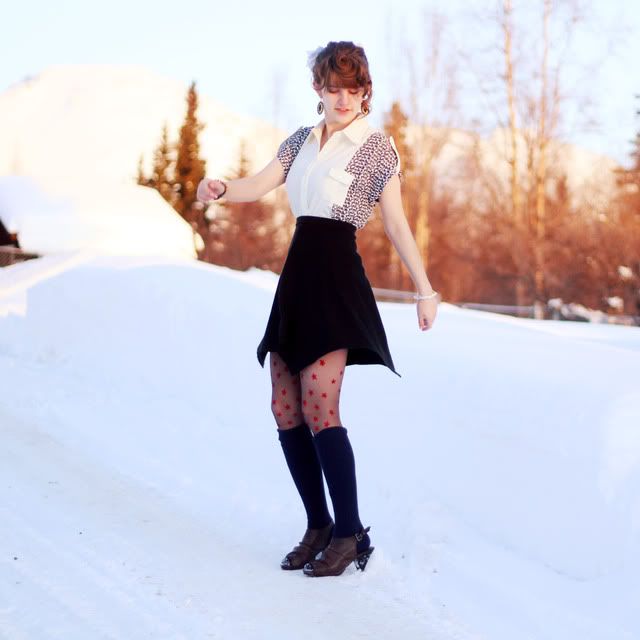
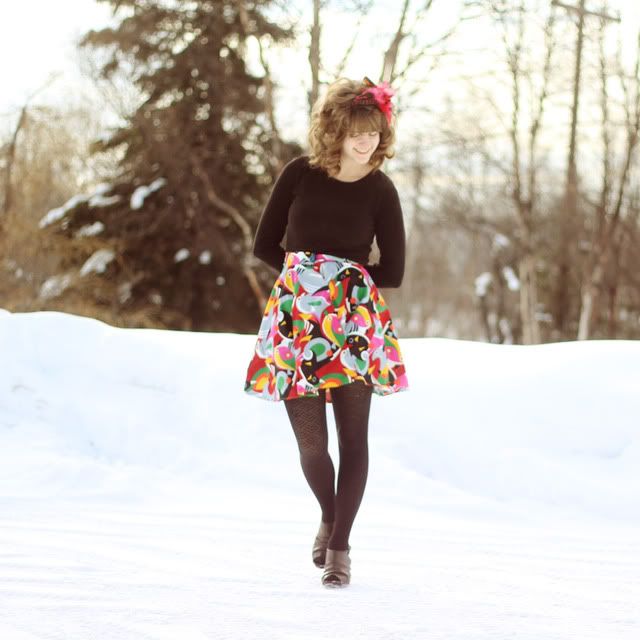
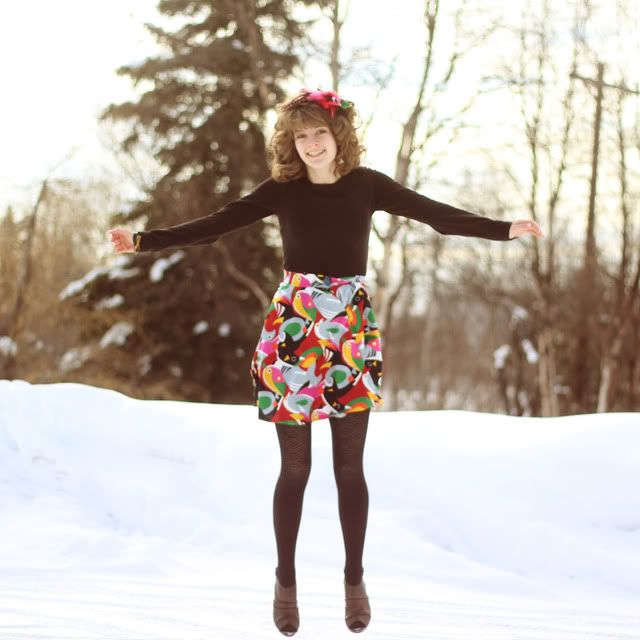
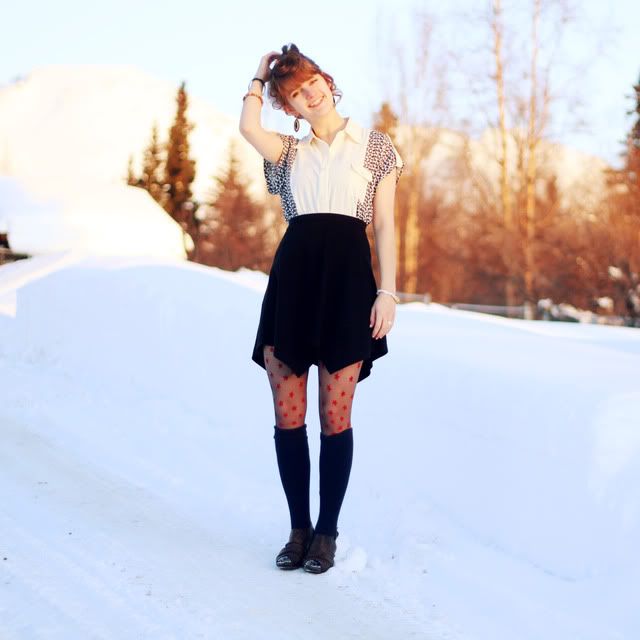
It kind of reminds me of a vintage bowling shirt with the way the pattern is confined to the sides, which is totally awesome. It's also made of a really soft material and has cool sleeves. I was really sad that it's not socially acceptable to wear the same shirt all week, because I wanted to wear it to school every day!
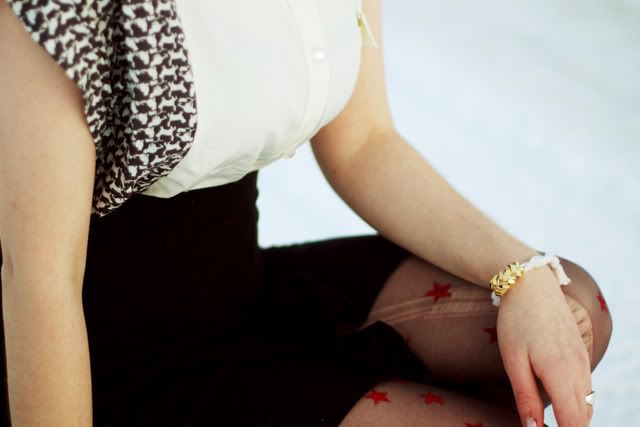

After seeing Annika's diy tights, I grabbed an old pair and started getting to work creating my own fun pattern! It was pretty easy, but if you're going to do it sitting down like I did, be sure to start at the ankles and work your way up--so much easier. And after I peeled off the tights, there were little marks of leftover red paint on my legs! It looked like I had the chicken pox, haha.

Well it's finally spring break, and I for one and super relieved. There's a ton of things I've been needing to do and just not enough time to do it. You know how that is, school taking up time you could be using to do things you're actually going to do for the rest of your life ... anybody else feel that way? Ah well. I guess there's some benefit to school somehow. Only one more semester until I graduate!


Thank you all so much for your support. It really means the world to me. And I'd love to get to know you guys! Maybe I'll come up with a reader interview thingie thing ... ooh that sounds like fun. Anyways, have an awesome weekend!