Today I'm going to show you how I edit my main outfit photo from start to finish. First of all, I shoot with a Canon t3i and 50mm 1.8 lens, use a tripod and remote, and edit with photoshop cs6 and a wacom tablet. Second of all, you can do this tutorial with any kind of camera and any kind of editing software. There's tons of free editing programs, and I believe photoshop cs2 is now available for free, so there are endless possibilities. As for cameras, you can even do this with a point and shoot. Perhaps it won't be as blurred as other, more expensive cameras, but you can even do blurs in photoshop. I did my entire first 365 with a $75 point and shoot, so you have no excuse! ;) Never let equipment get in the way of your creativity.
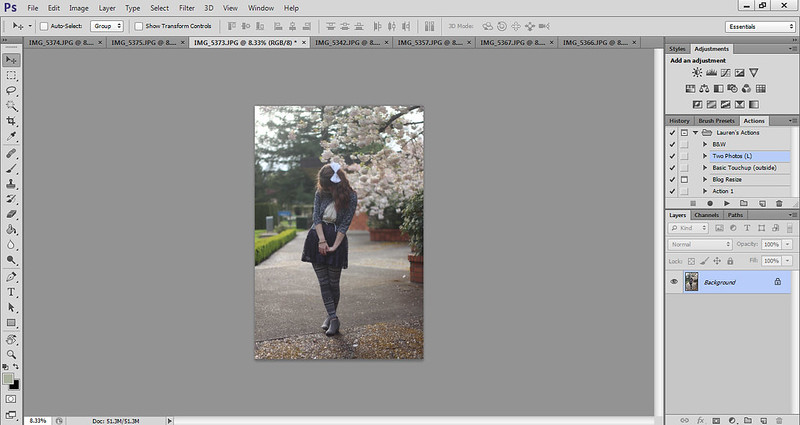
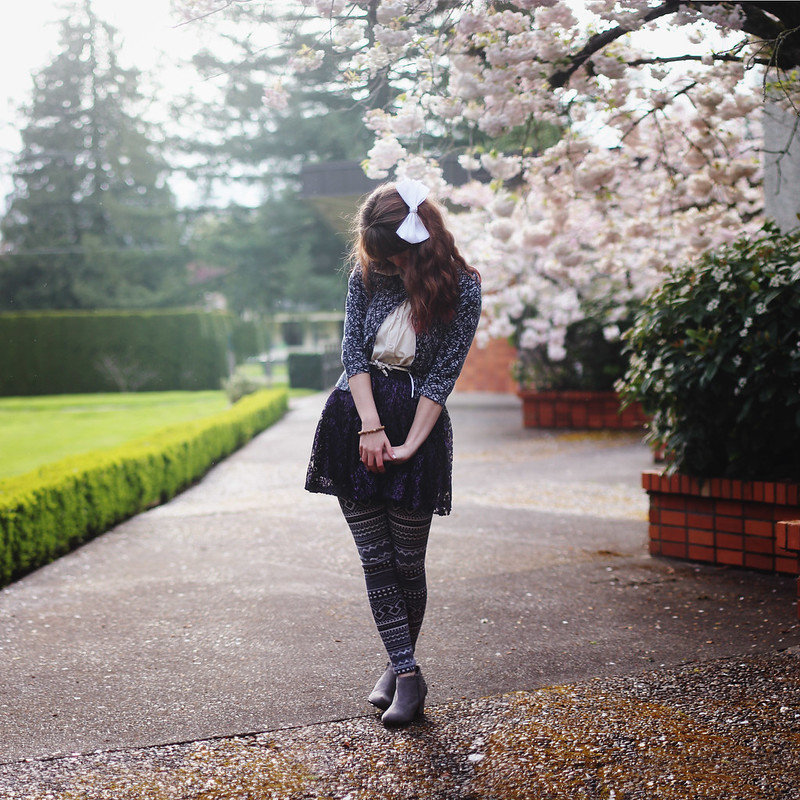
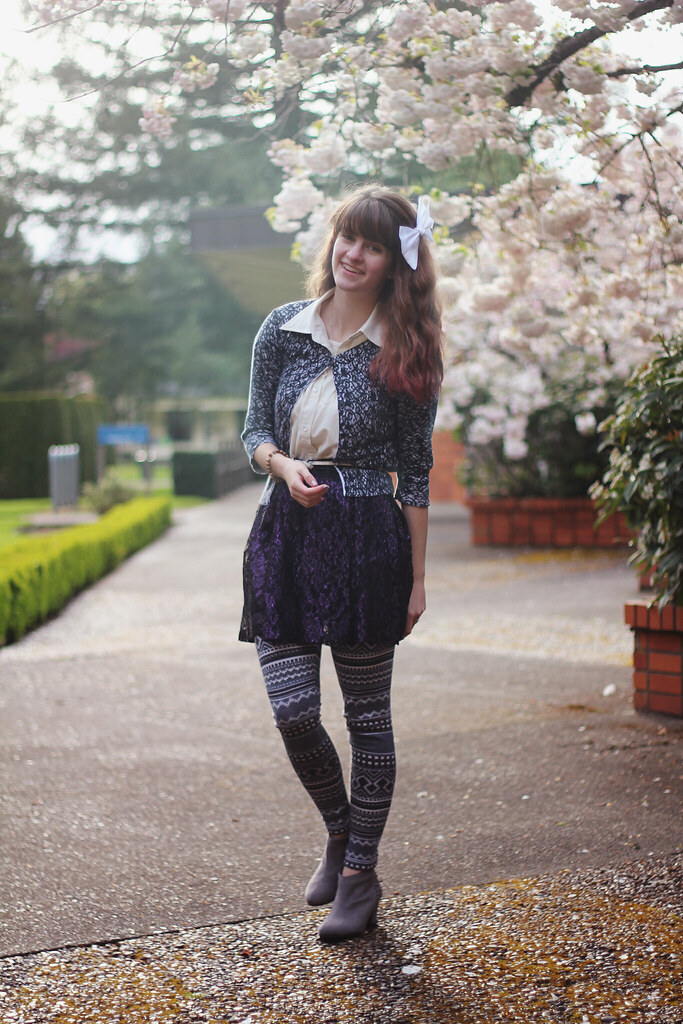
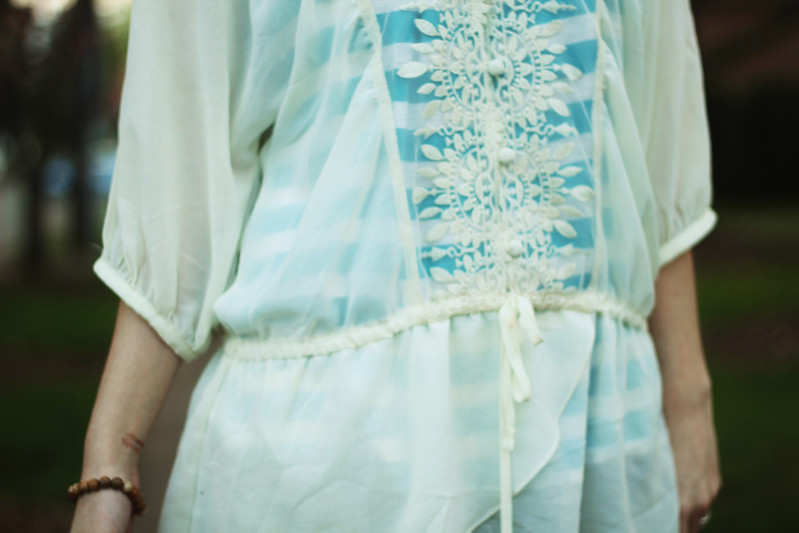
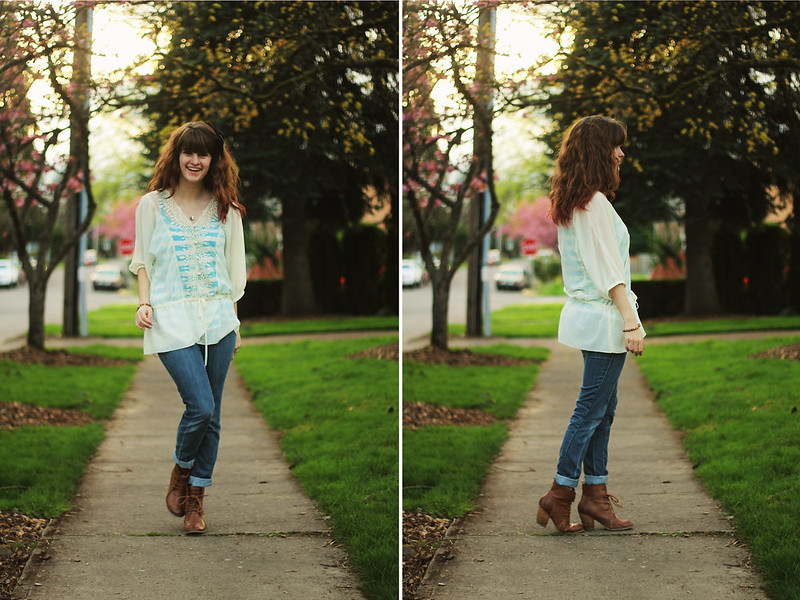
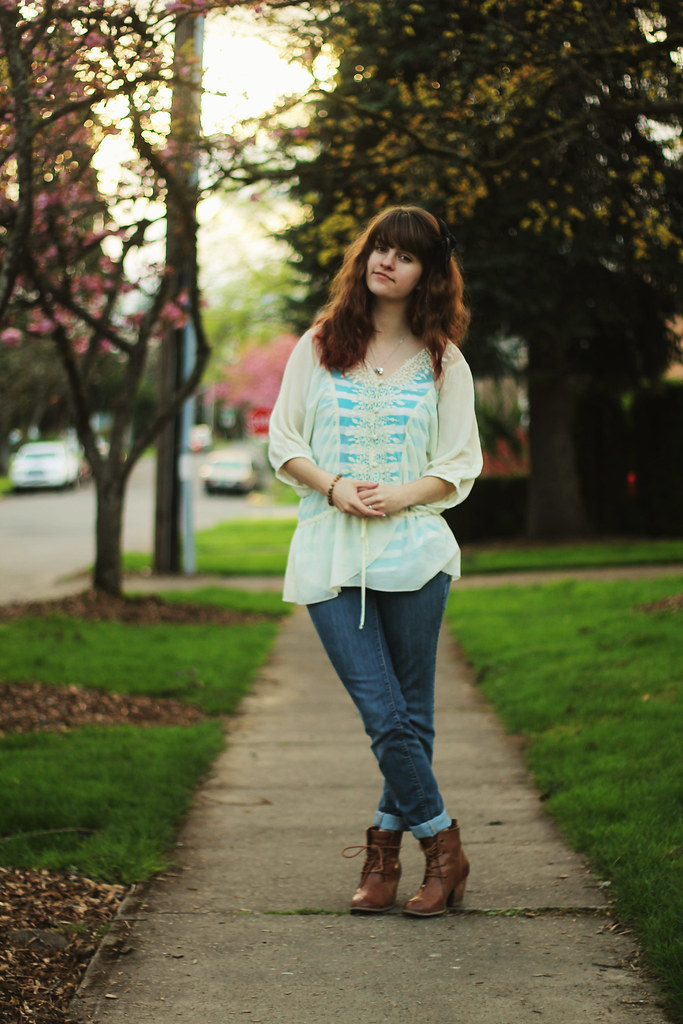
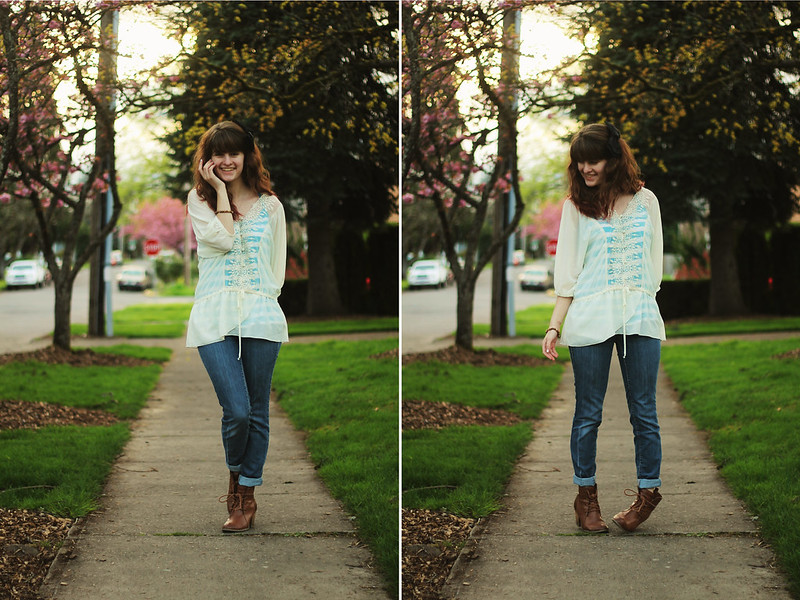
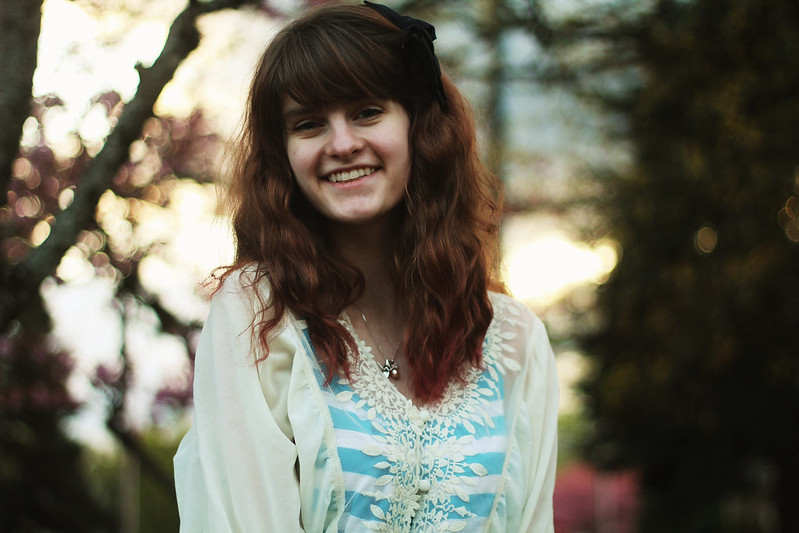
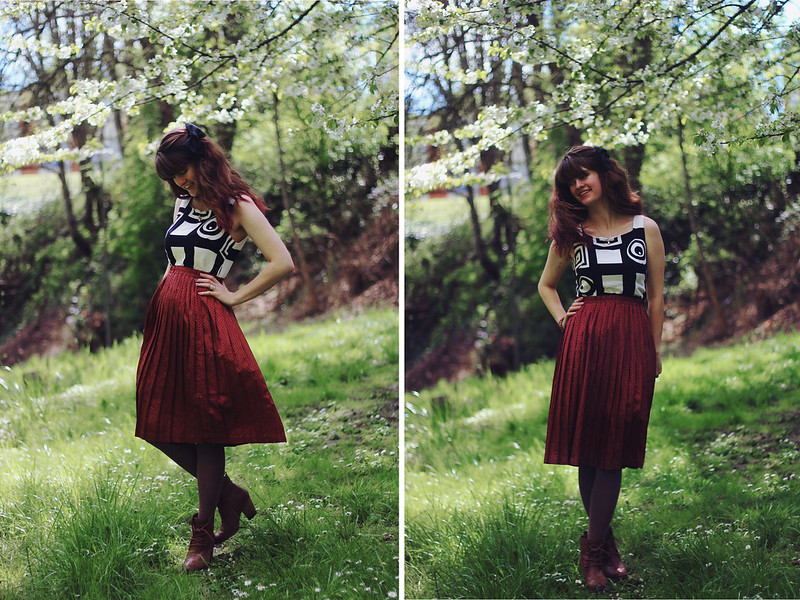
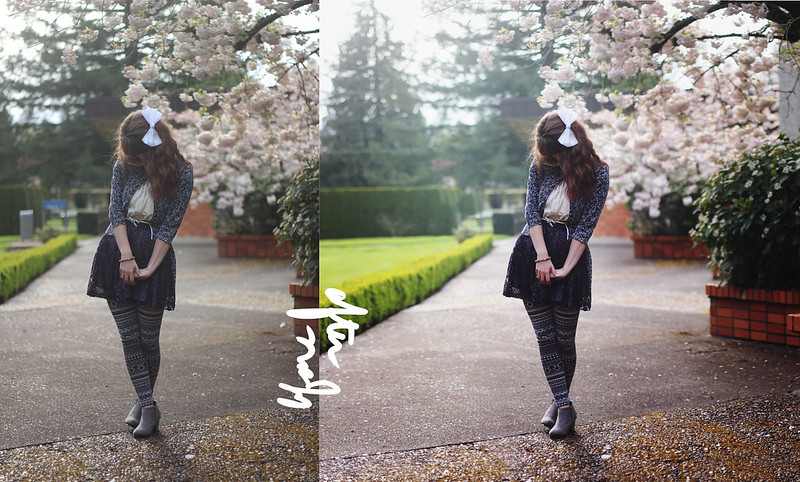
Let's begin! Here is the photo, completely unedited, in all it's glory. It's a good picture and there's nothing wrong with it, but because the camera is a machine, sometimes it doesn't capture how we remember things. So photoshop is great to fix those machinery imperfections. That's how I see using photoshop to touch up realistic pictures.
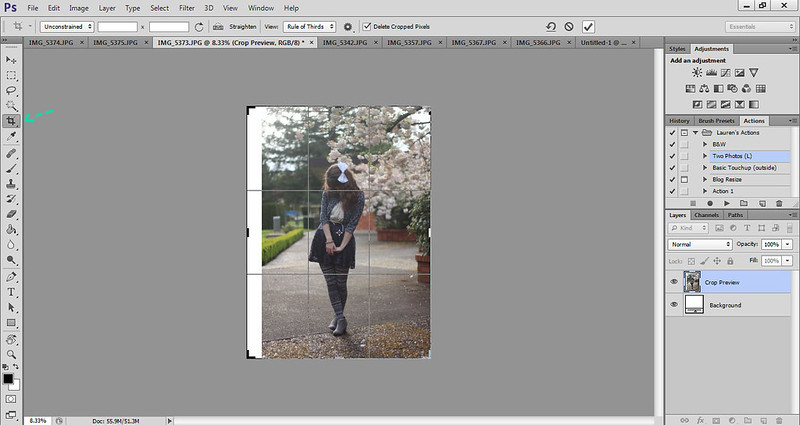
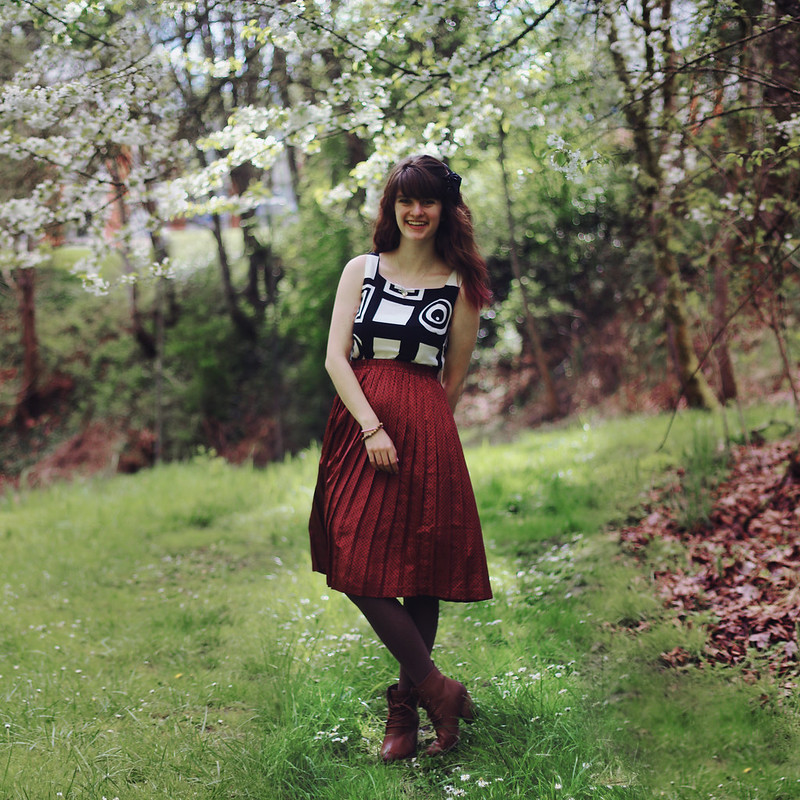
Step one: first I use the crop tool (press "c" in photoshop) and expand the photo so that I am perfectly centered. Then I press the check button on the top bar to confirm the action.

Step two: then I go to image>canvas size and adjust my width to be perfectly square.
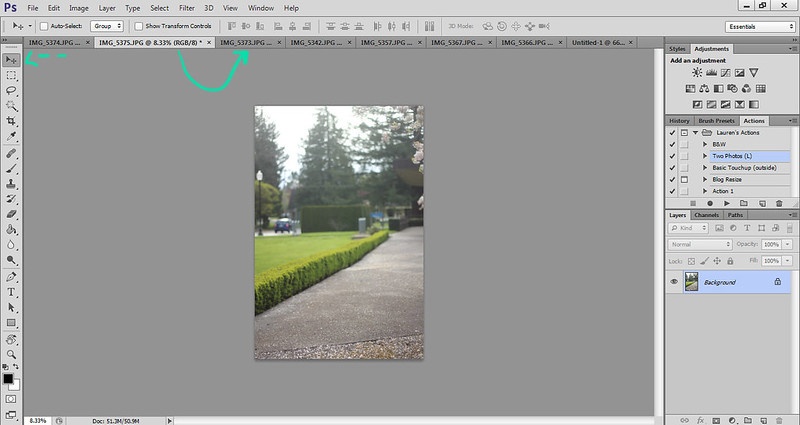

Step three: I had already taken two more photos of either side of my surroundings, and have them opened in photoshop. I use the move tool (press "v") and click on one photo and drag it over to the tab which then reveals my main photo. The second photo is now on a new layer (which you can see on the lower right side). I lower the opacity, which is on the right, right above the snapshot of the layers. Lowering the opacity allows me to line up the photo perfectly. This is also how you do the Brenier effect, which gives your photos a wide angle, shallow depth of field effect (which is actually impossible to achieve with a camera lens taking a single photo). You can do this effect on any photo, taking as many pictures to create your giant image. It's how I create most of my photos.

Step four: Then I add a layer mask by clicking the third inner button on the bottom right side. A layer mask is basically a forgiving way to erase parts of your photo. On a white layer mask (which is the default), a black paintbrush will erase, and a white paintbrush will unerase, so to speak. Don't worry if you don't quite understand it at first--it took me forever to figure out. I use the black paintbrush on the layer mask to erase the edges of my second photo, which allows for seamless transition.
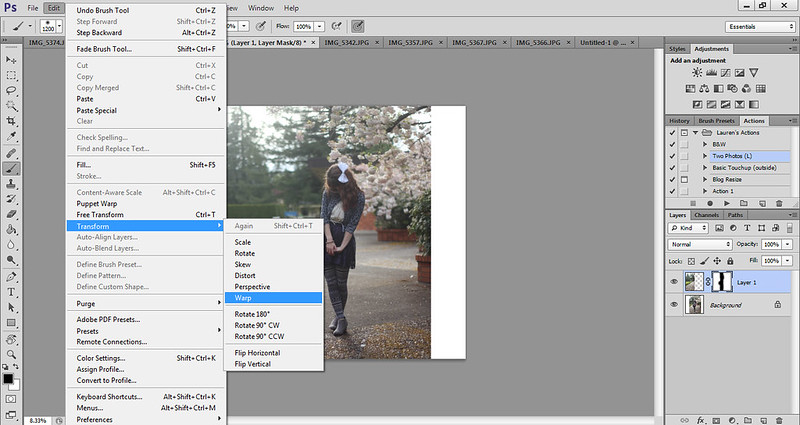
Step five: Sometimes the photos don't line up perfectly and you get repeating patterns in the ground or treeline, so the warp tool (which is only available for cs6, sorry) really comes in handy. I literally just warp the layer to stretch so that the repeating patterns disappear.
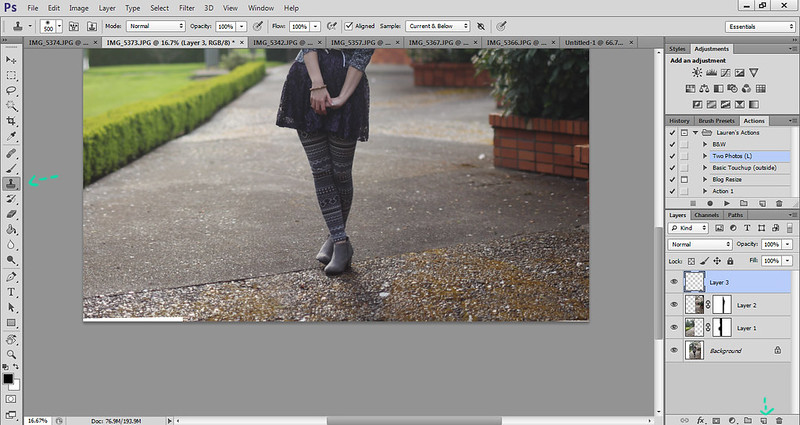
Step six: for any white space, I use the clone tool ("s"). First I create a new layer (on the lower right side), then I use the clone tool. You hold down "alt" (or "option" if you have a mac) to sample the part of the photo that you want to clone, making sure that you can sample the current layer and below, which you can toggle on the top bar. Then you paint over the white space with the same texture around it.

(I also use the clone tool to clean up the background a bit, removing any distracting elements.)
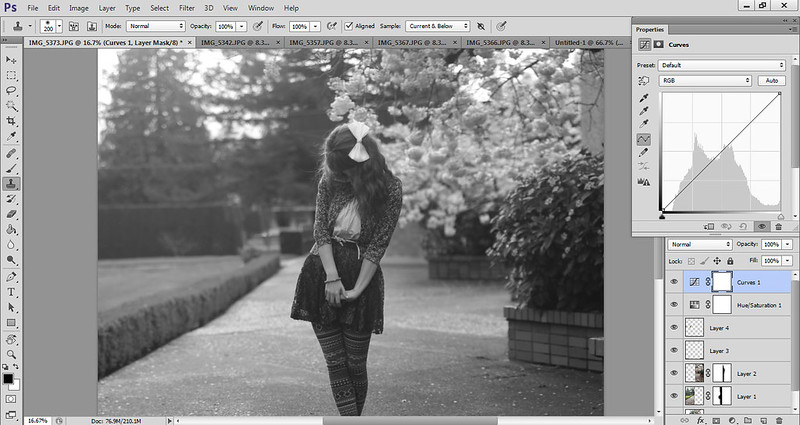

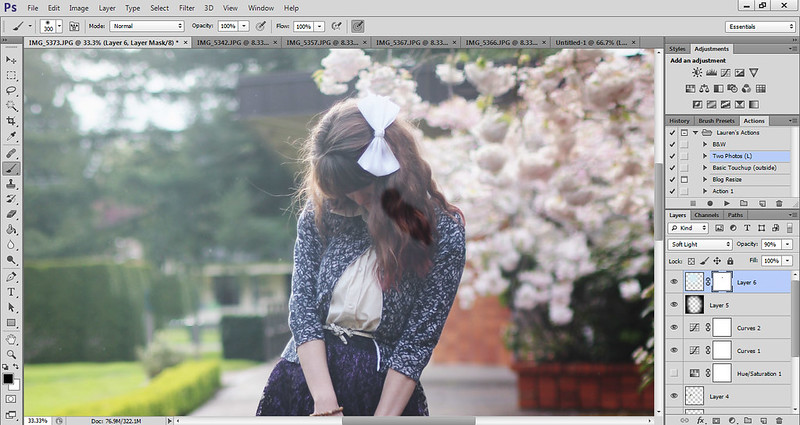
Step seven: Then I use the desaturation tool (which is under the adjustments bar, the first one on the second row) to momentarily desaturate my photo. Then I use the curves tool (the one I actually circled in the picture) to change the contrast of shadows and highlights. Turning the photo black and white takes away the distraction of having color so that I can focus solely on the tones. You can use the hand tool to click and drag on any part of the photo that you want to make darker or lighter. Basically, with the curve line, the lower you drag it, the darker that particular tone gets. The left side deals with darker tones, and the right side deals with lighter tones. An "S" curve usually gives you nice contrast.
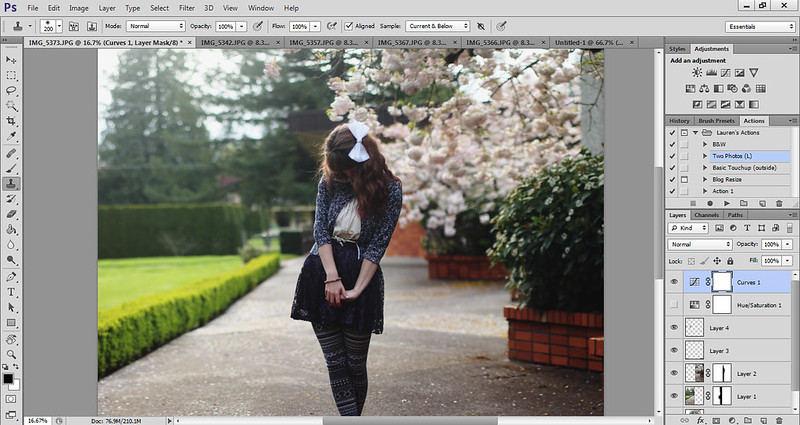
Step eight: I click the eye button next to my saturation layer to make it invisible, and you can already see a big difference in the photo.
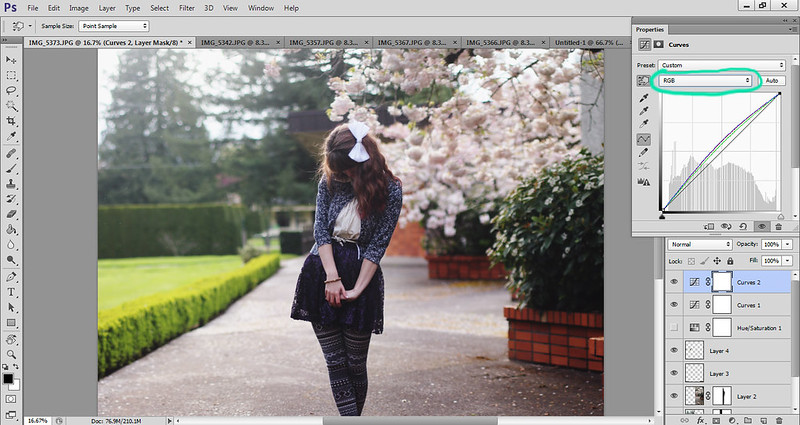
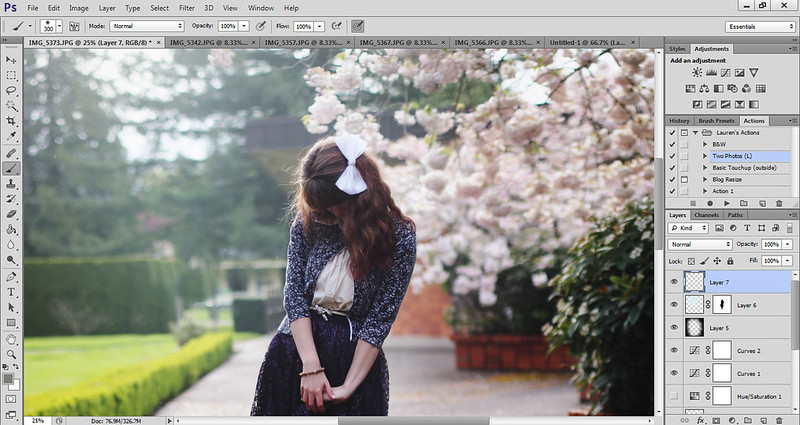
Step nine: Then I create another curves layer. This one is to adjust individual colors. The curves line then for red, for example, deals with red and its opposite, cyan. Left still deals with shadows, and right with highlights. Raising a point on the line adds more red to that particular shadow or highlight, and lowering it adds more cyan. The opposite of green is magenta, and the opposite of blue is yellow.
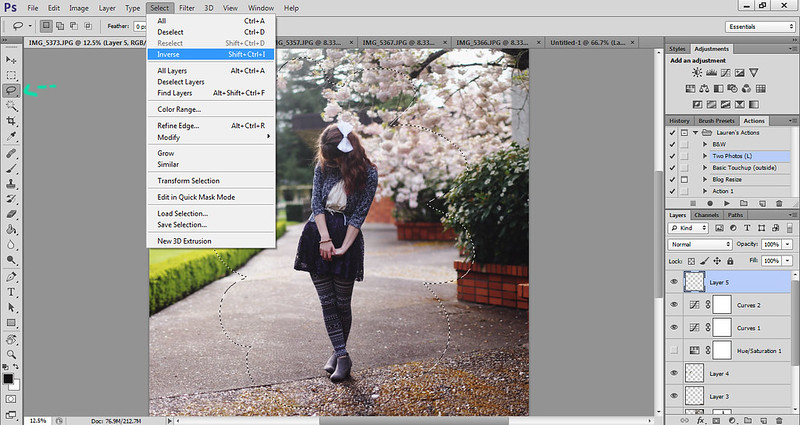
Step ten: We are nearly done now. Next I add a vignette to the photo. I create a new layer, use the lasso tool ("L"), and draw a cloud figure around me. Now I have a nice selection layer. I go to select>inverse to then select everything but me.

Step eleven: Making sure my brush is set to black (or a dark brown color), I go to edit>fill, and fill my selection with the foreground color. Then I deselect by simply clicking on the photo. This will remove those blinking lines.
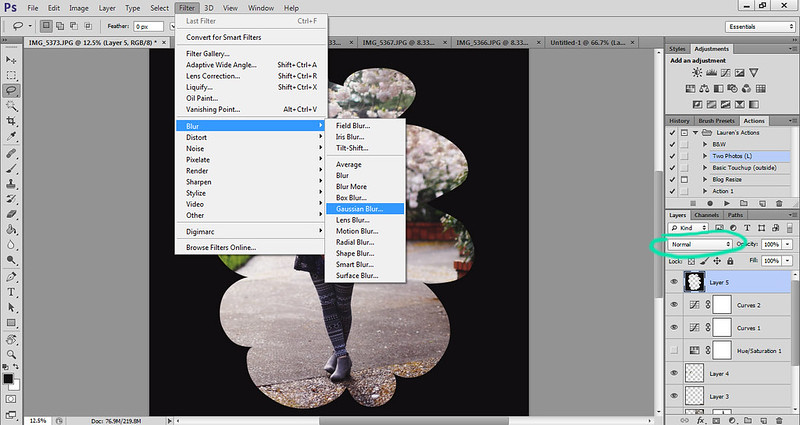
Step twelve: Then I go to filter>blur>gaussian blur, and generally do it to 333 pixels. This will blur the black border significantly.
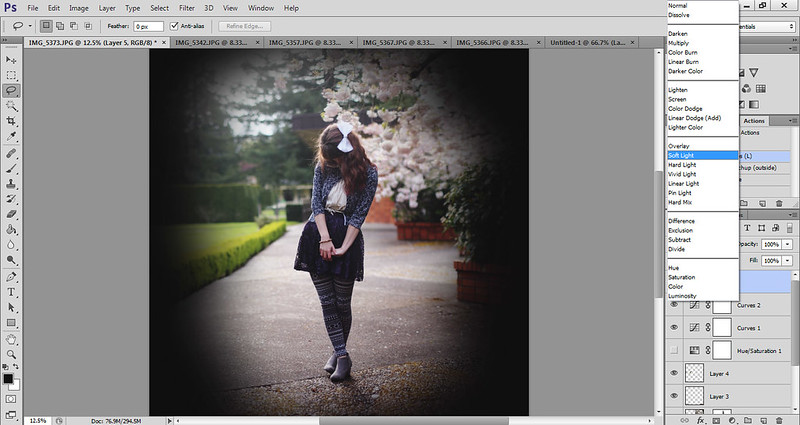
Step thirteen: After that I change the mode on the layer to soft light and lower to the opacity to about 30%, depending on the photo. And now you have a nice vignette!
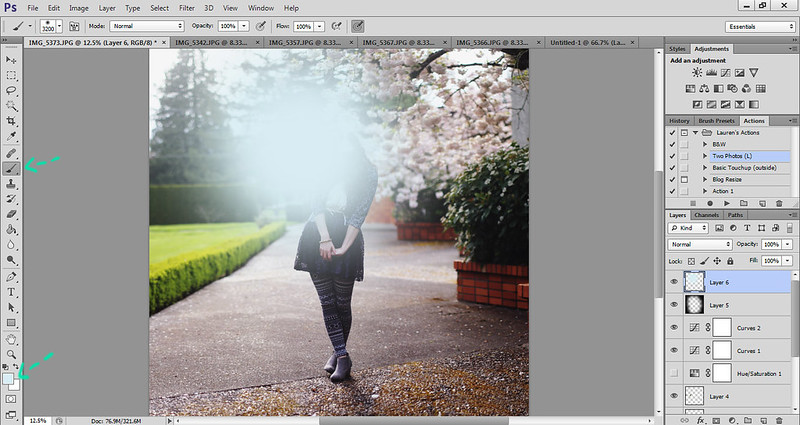
Step fourteen: This part is bonus, as I've just started doing this to my photos. To add some nice backlighting, choose a nice light color by clicking on the color box in the bottom left corner. Create a new layer, and paint a giant circle (adjust size by either using the size bar at the top left corner, or by pressing "]") on the layer. Change the mode to soft light.
Step fifteen: Then add another layer mask and paint black (ie erase) the color around your face and body. Then lower the opacity to your desired look.
Step sixteen: I then create a new layer and use the brush tool (you can change the color by holding down "alt" or "option" and clicking on whatever color within the picture you want) to remove any excess hairs that are sticking out.
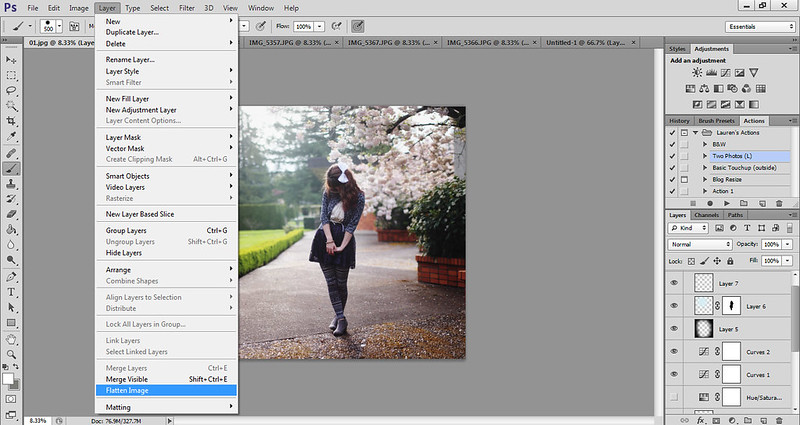
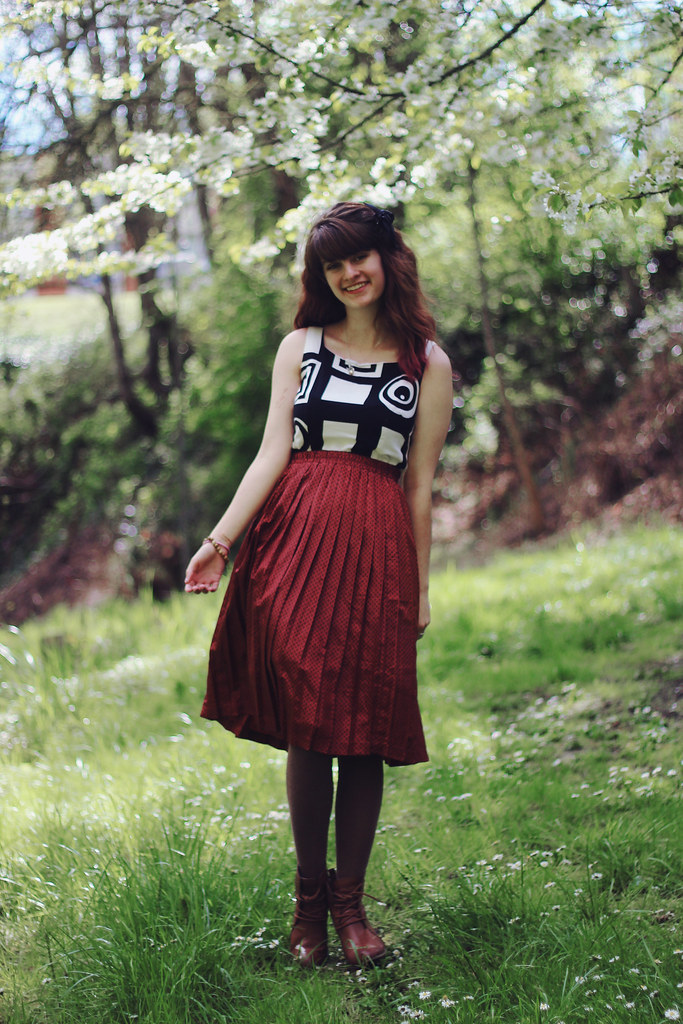
Step seventeen: Then I go to layer>flatten image (yes, discard hidden layers), which puts all the layers together. This allows you to save the file as a jpeg. Save your photo ("ctrl" + "s") and you're good to go!
I hope this tutorial comes in handy for you. This is how I edit all of my outfit photos, and the outline for how I edit my more "creative" photos. If you have any questions or need clarification on anything, please don't hesitate to ask! And if there are any other tutorials you would like to see, let me know!
Have a great day!