Hey all, today I'm launching something that I have been wanting to do for quite some time, and I would encourage you to join in!
This is the My Beautiful Backyard project, and it is a community art project inspired by the landscape and people in our homes. Whether it be through painting, drawing, writing, photography, sculpture, etc. the beauty of our backyard is seen through what we create.
This is an effort to step outside and appreciate what is in our own backyard.
You can submit your own artwork here and celebrate the beauty of your own backyard!
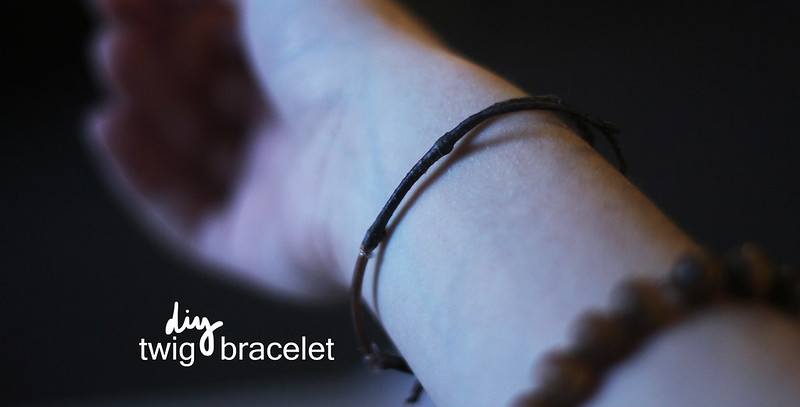
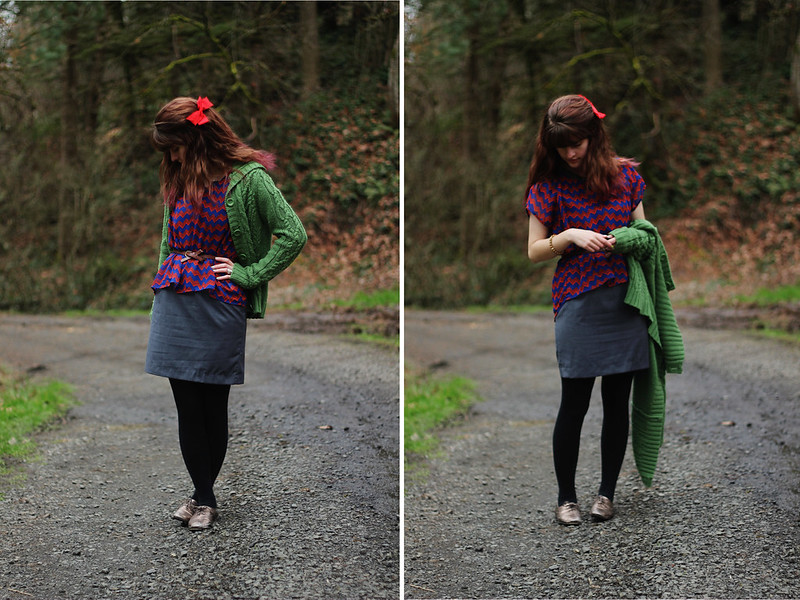
Today I'm bringing you a super fun diy that is really easy to do and costs virtually no money. It's the diy twig bracelet, and it's an awesome way to combine the great outdoors with more modern, metallic feelings.
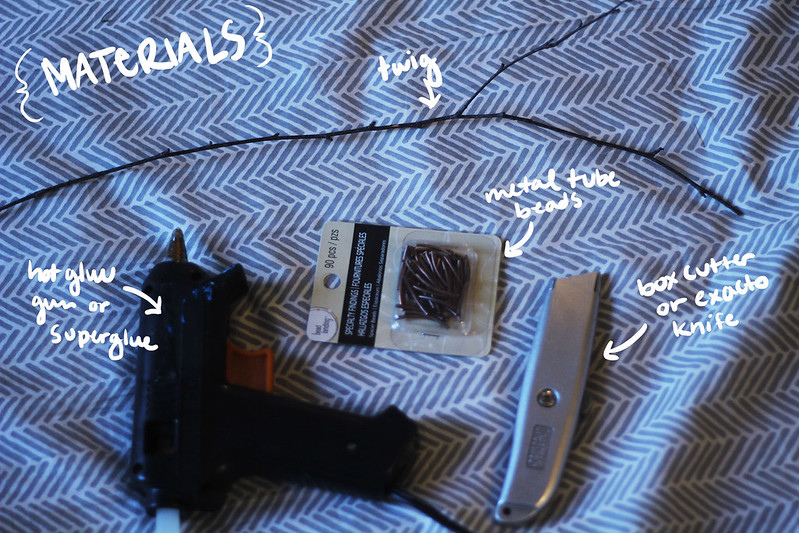
First and foremost, there is a list of materials you will need:
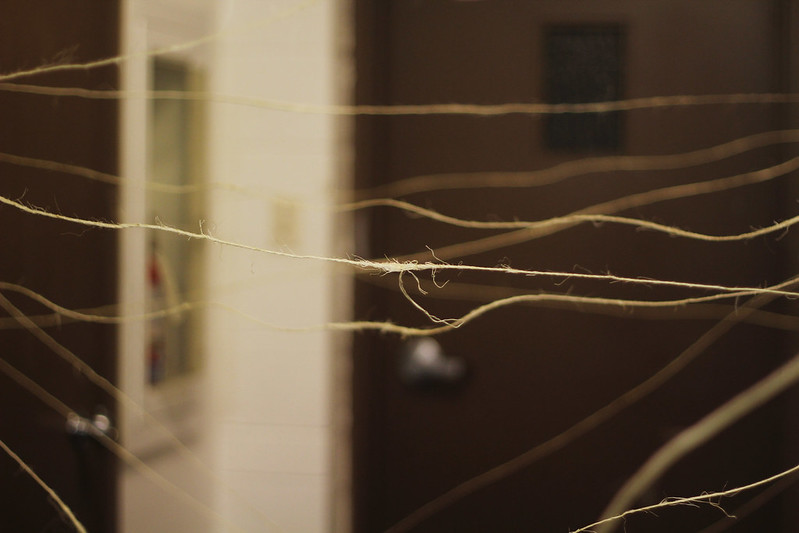
1. Twig of considerable length, preferably wet from the rain (It has to go around your wrist at least once and will need to be formed into a circular shape.)
2. Metal tube beads (I got mine at Michael's for about $3. Just make sure the holes are thick enough for the twig to be able to go through.)
3. Box cutter or exacto knife
4. Hot glue gun or super glue (Super glue will work better, but I didn't have any on hand so I used a glue gun.)
step one; measure your wrist.
This is a pretty straightforward step. Make sure you'll be able to get the bracelet on and off easily. You should gently mold the twig into the rounded shape that you desire, as it is easily breakable at this stage.. Then cut the twig at the appropriate length.
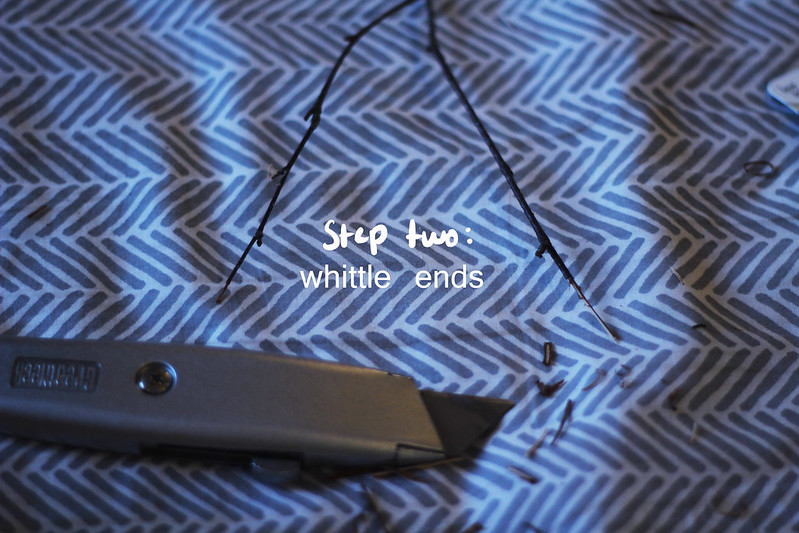
step two; whittle ends.
Trim down both ends of the twig so that they fit nice and comfortably in the bead. Each end should take up half the space in the bead, so that when you glue everything together, both sides will be attached securely.
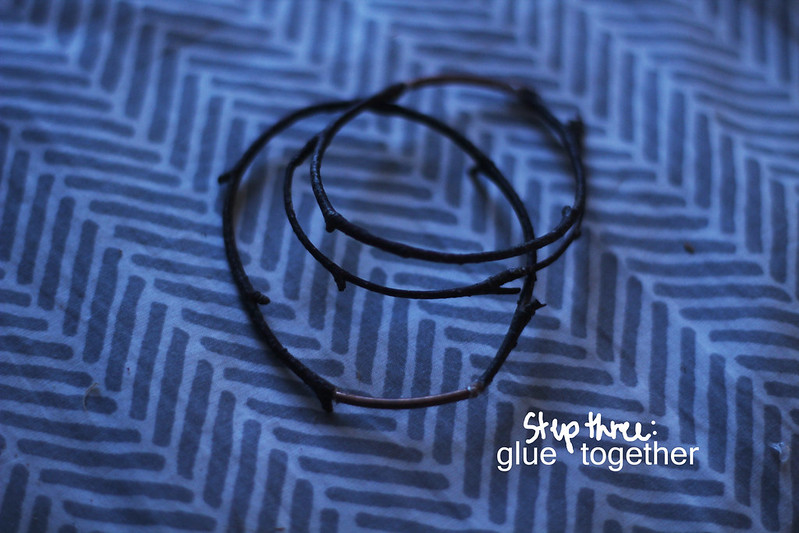
step three; glue together.
Take one whittled end of the twig, put hot glue/super glue on the end, and slide it into the bead. Seal it with a little bit of glue. Allow it to dry, and then do the same thing do the other end.

And there you go! You have a beautiful twig bracelet that all your friends will be jealous of. If you have any questions, please don't hesitate to ask.
Have a great day!
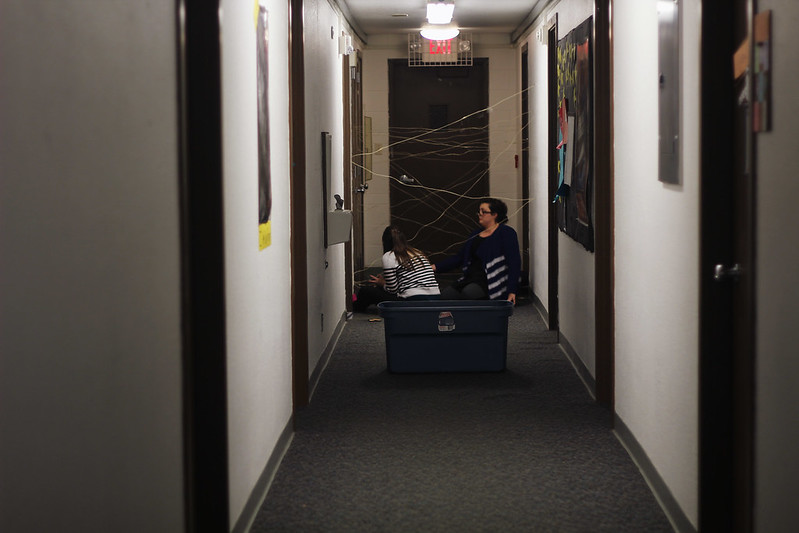
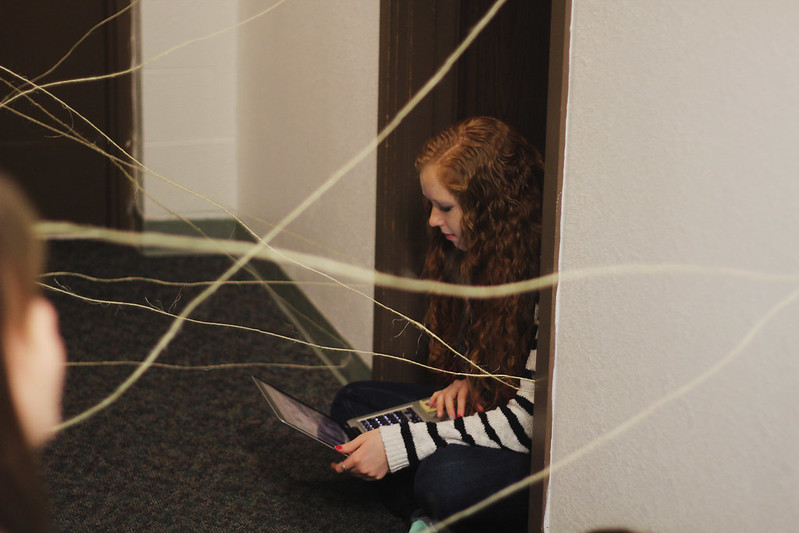
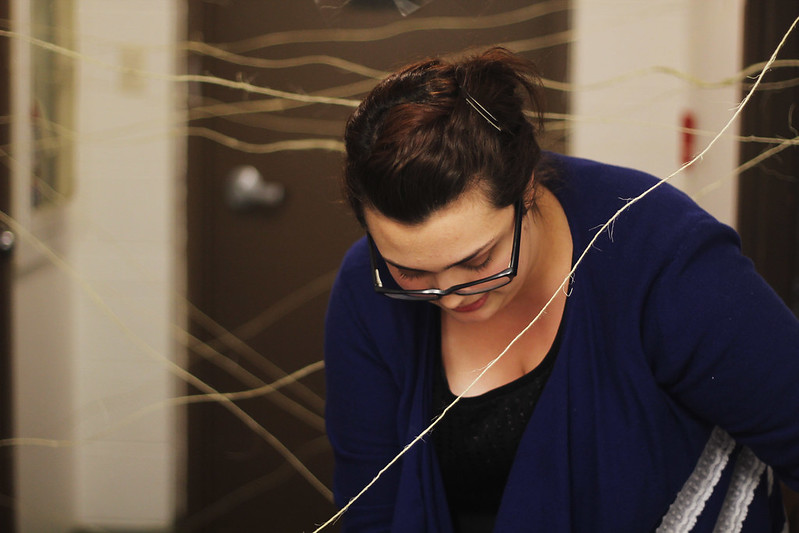
"Do you have what it takes to be a world class spy? If you wish to join the ranks of the greatest spies of all time, then come join us for a chance to test your skills. Your mission? Dodge the land mines, jump over the fence, hop on the rocks in the river, jump over the ravine, roll on the ground, go through the lasers, and diffuse the bomb! The fate of the world is in your hands!"
That was our anthem a couple weeks ago as my friends and I made and proceeded to spend the entire night completing an obstacle course. I snapped a few photos of the event in between dubstep Legend of Zelda music and timers and sweat flying everywhere. I am proud to say that I ended up with the fastest time, 15.1 seconds, and rightly so considering I did that course a billion times and was so exhausted by the end. But it was totally worth it.
Basically, our floor is the coolest ever. How can you argue with a spy training center?