+ behind the scenes photos
"Gold" behind the scenes video from Lauren Parker on Vimeo.
For this installment of film friday, I'm showing not only a behind the scenes video for one of my recent photos, but I also have some behind the scenes, before and afters and other fun photos from this shoot to share with you!
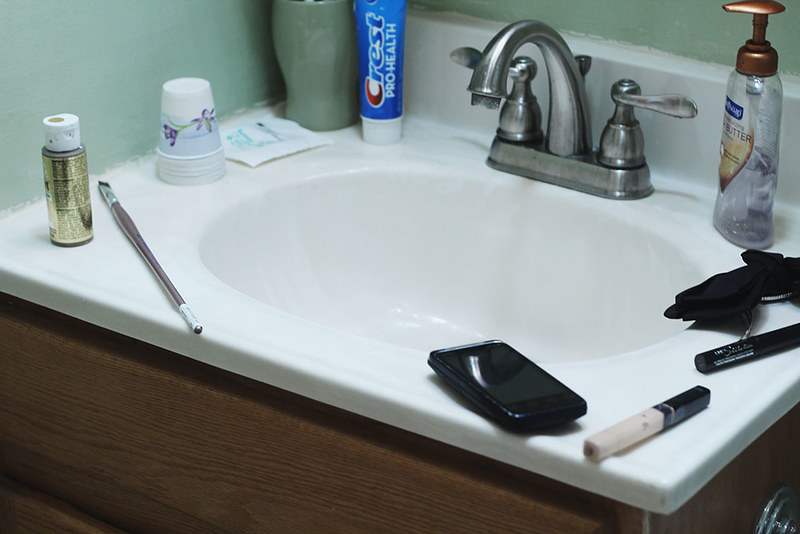
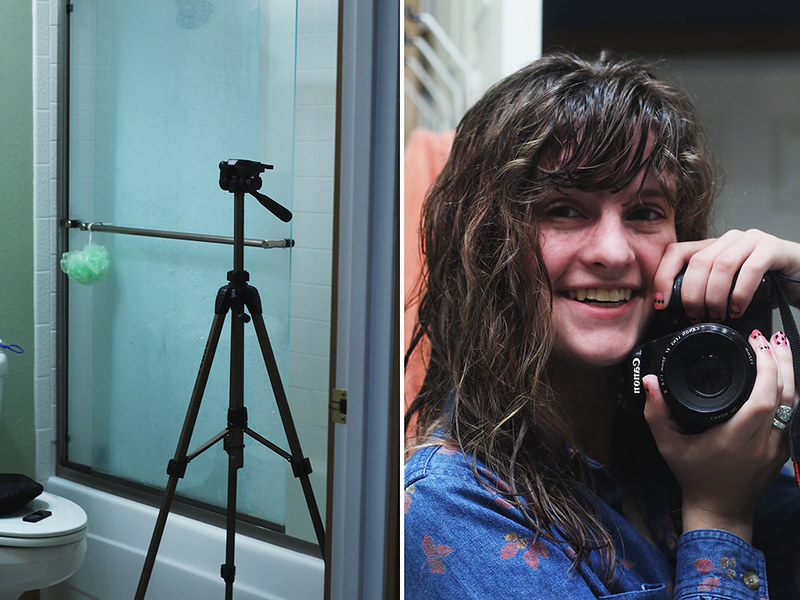
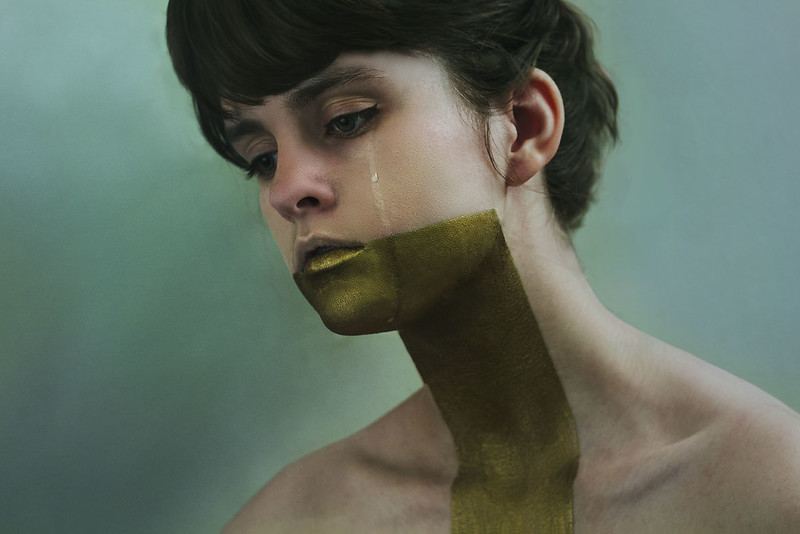
For "Gold" I shot in my bathroom, which is really quite nifty when I'm trying to get paint on and off my face (I took a shower immediately after the photo to get the paint off, which is why my hair is wet in that picture). You don't have to have a fancy studio or fancy lighting equipment to produce great images. I've been tempted recently to purchase lighting to practice with, but until I save up money and convince myself the purchase is justified, I'll continue improvise with what I have.

Here was the setup. I had my tripod standing right outside the bathtub facing me (as I was standing in front of the wall). I actually held a reflector in one hand and my remote which triggered the shutter button in the other. The available lighting was my ceiling light, so I used the reflector to bring some brightness into my face.
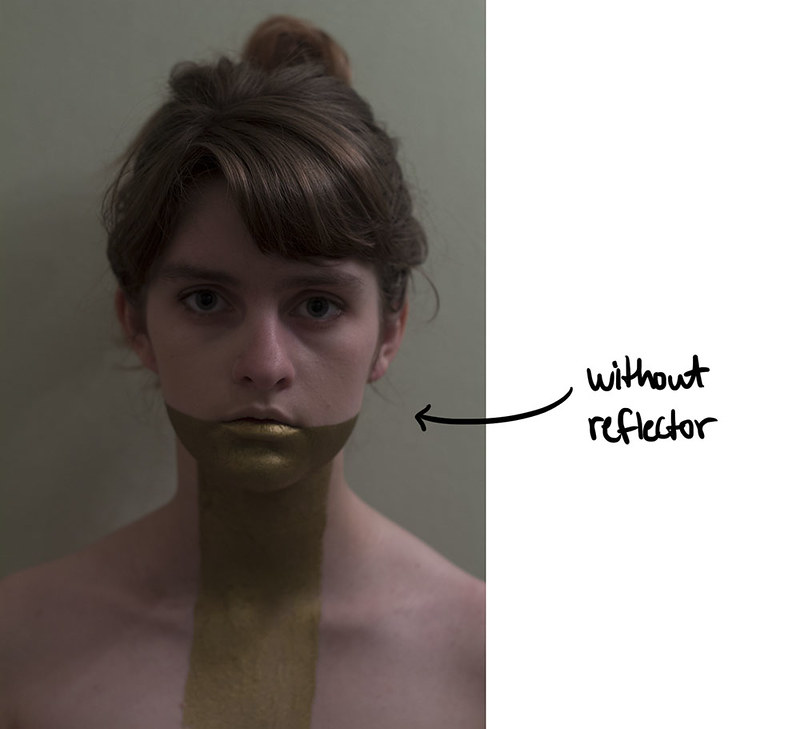
You can see the difference between using and not using a reflector really well here. For the longest time I didn't own one because I didn't see the point (that is, until I saw with my own eyes what a difference it made when I had to hold one for photos), but manipulating light to your advantage will greatly add to the quality of your photos.
Another thing I do for all of my creative or client photos is that I shoot in RAW. I didn't understand the importance of this until I did a lot of research and messed around with it a lot. Long story short, when you shoot a photo in RAW, you're saving all the information. So when I go to process it, I can change the white balance, color saturation, sharpness, practically anything, and I don't lose any of the photo information. If I shoot in only JPEG, it doesn't save all the information that was there at the time of shooting, only the information I had my settings on. In RAW, it saves all the settings (in a nutshell). This is a good, quick overview of the difference, and this shows you side-by-side photo comparisons.
Here is the example of an outtake between unprocessed RAW, and processed RAW:

Like I said before, for my creative and client shots (or even if I'm going on a trip), I always shoot in RAW because those photos have the potential to be printed or bought by stock agencies, so I need them to have the highest quality as possible. For any photo I put on Introvert's Introduction or the rest of the internet, I shoot in JPEG (or save a copy of a RAW file as a JPEG) because 1. I don't want high resolution images to be floating around for people to steal, and 2. There's really no need to create a photo that requires a lot of flexibility (or takes up a lot of space). When I'm out taking outfit photos, I have the time to make sure everything looks perfect, so I don't need to have the option to change white balance in a RAW format when I go back later to process the photos. I've already taken the time to do it with JPEG. If you have any questions or comments or further insight about this or anything else, please don't hesitate to leave a comment or contact me via email. I'd love to help you in any way I can!
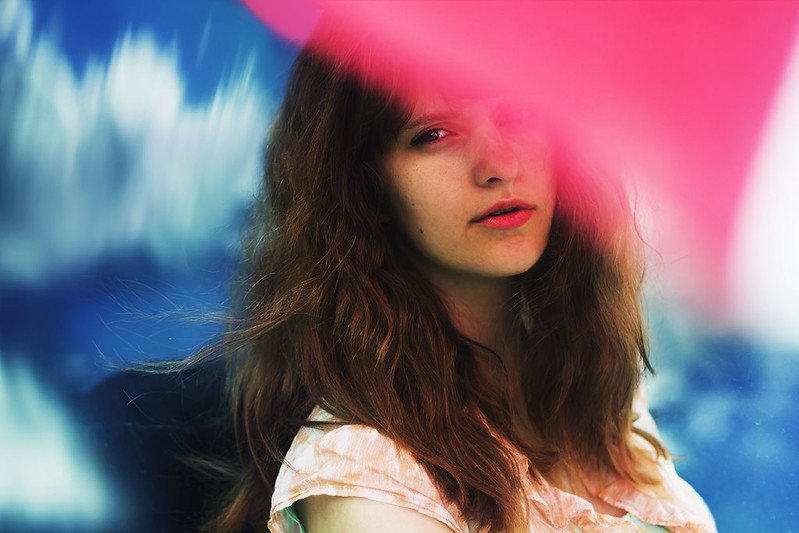
And here is the final image!
I hope you have a great weekend!

