
(Experimented with colors in this one ... not sure if I like it.)
day 115
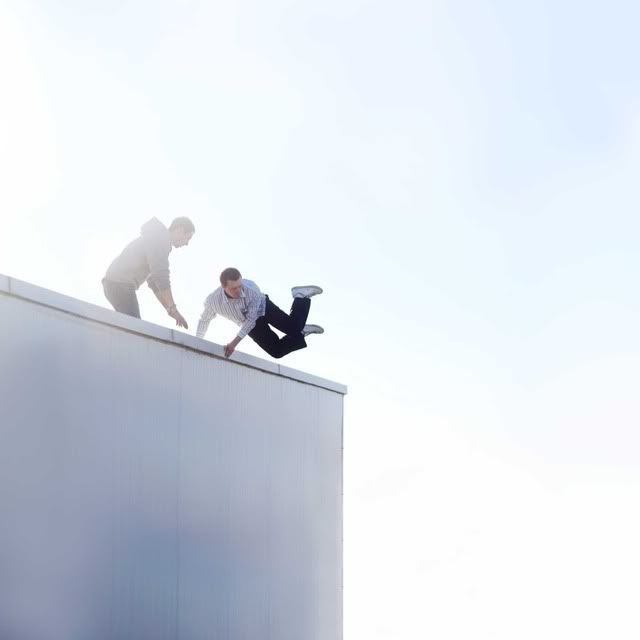
(part of a scene from Matt's movie. No actors were harmed, haha.)
day 114
Sorry I didn't have time to update anything yesterday. Some teachers really like to hit us hard on the last few weeks of school and frankly it's all I can do to give any sort of effort. I never thought I would be one to get senioritis, but I think I have it the worst of all. I'm just so ready to be free from people who complain and are hurtful and mean. Only a few more weeks and then I never have to see their faces again.
On the plus side, yesterday was our senior fun day, but I opted to skip and go shopping instead. All by myself too. I came home with so many colorful things, which is exciting because my wardrobe definitely lacks bright, fun colors. Also Matt finished up filming his video, so I have a lot of photos from that. I probably won't be able to get them up on here until this weekend though. School has that uncanny knack of taking up a lot of my time spent doing things I actually want to do ... oh well. Only sixteen more days!
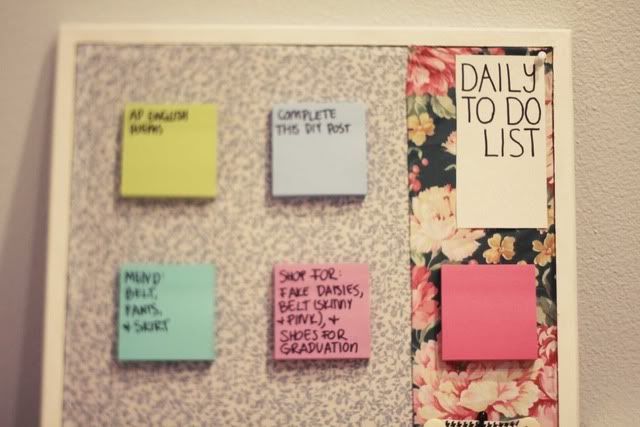
I had an old cork board lying around that I used to use to hang my jewelry on. Since then I've moved on to different ways to display my jewelry but this poor board was left collecting dust.
So here is a super fun, easy, and versatile project for you guys today! It's a diy to-do list board, but you can really use it for anything you want. It's a beautiful way to add color and organization to your room (something that you've seen me working on if you follow me on instagram @impulsings).
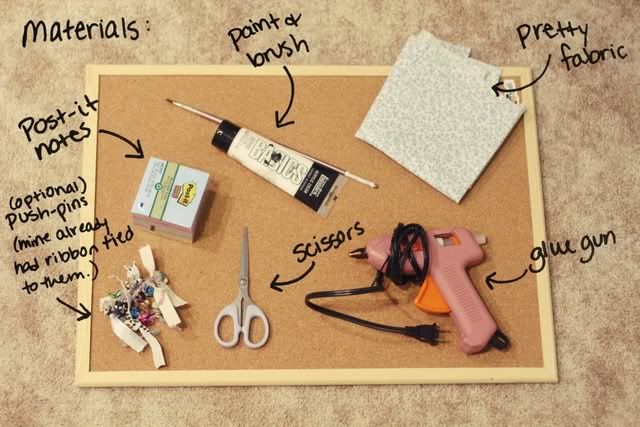
What you'll need is a cork board (they're pretty cheap on amazon), paint and paintbrush, fun fabric (I ended up using two different kinds), post-it notes, a hot glue gun, and scissors!
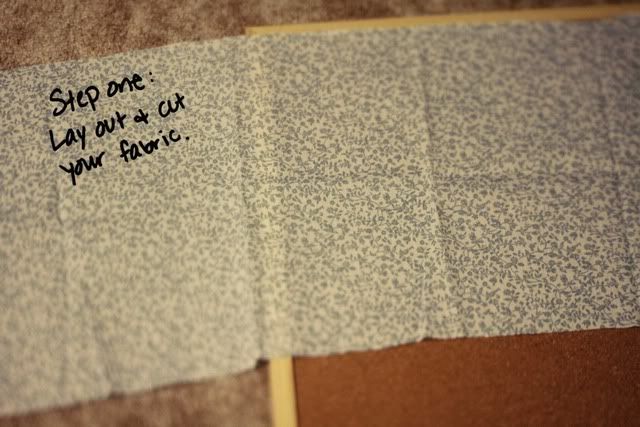
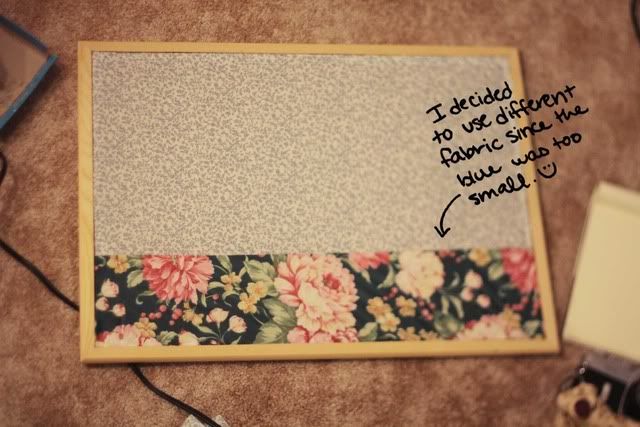
The first step is to measure and cut your fabric. You'll want it to be just a little bit bigger than your cork board so that when you glue it down you'll be able to fold it into a nice hem. Mine ended up being too small to cover the entire board, so I added even more color with different fabric.
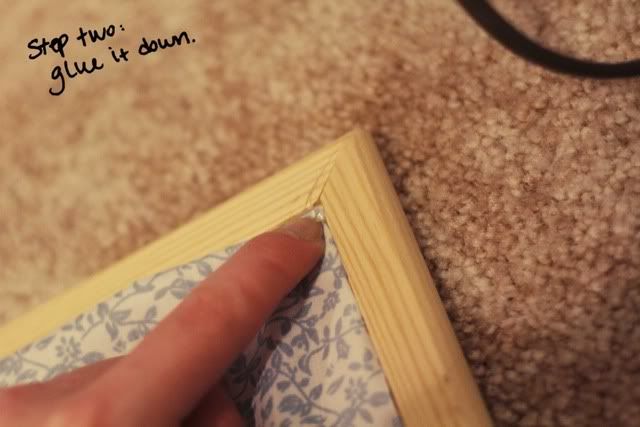
With your hot glue gun, you'll fold down the corners of your fabric and glue away. Work in small sections to make sure everything is straight.
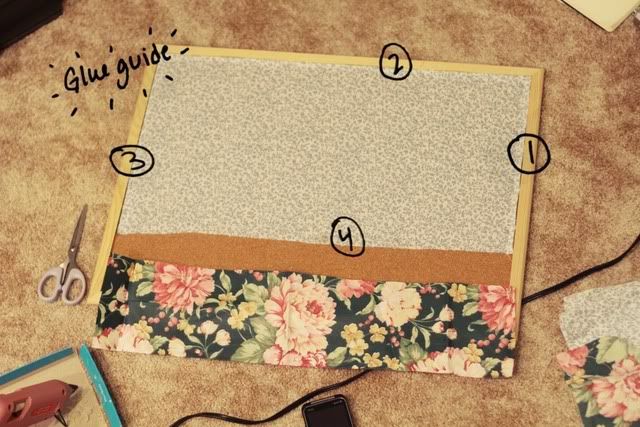
Here's what I found to be the best order to glue down the sides, so that you can easily stretch out the fabric to eliminate any wrinkles. Since I used two different fabrics I had to do this step for each piece.

This step can be optional, and if I had to redo it I would have taken out the 'daily' part as I already have some things on my list that I won't be completing for a few days. But that's okay! You just write out what you want, fold a straight line, cut, then glue it to your board.
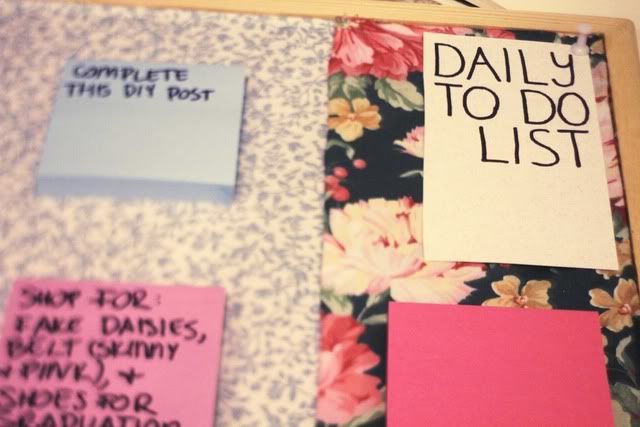
Step four is to lay out your post-it notes and glue them down to the board. I purchased mine at Office Depot in pretty colors. :) So now when you complete an item on your post-it note, you can just tear it off and a blank box is available for the next project!
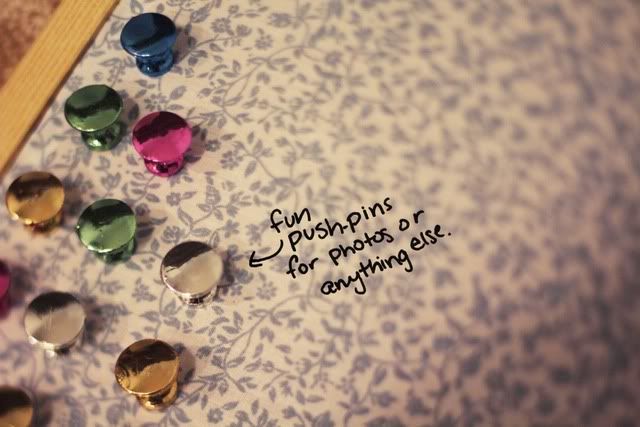
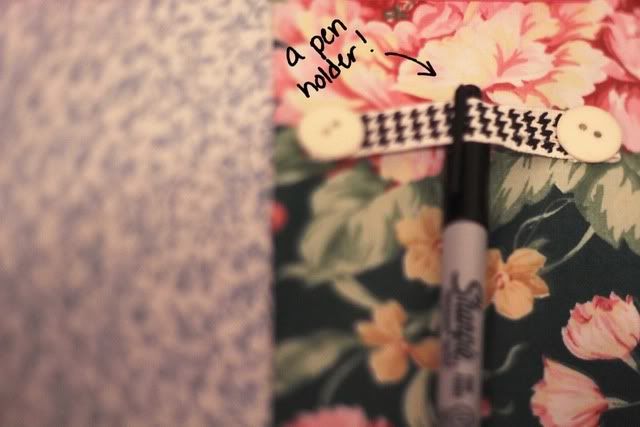
Then I added some extra little embellishments since I had a little bit of room left over on the board. I can't wait to take this to college and fill it with photos of my adventures!
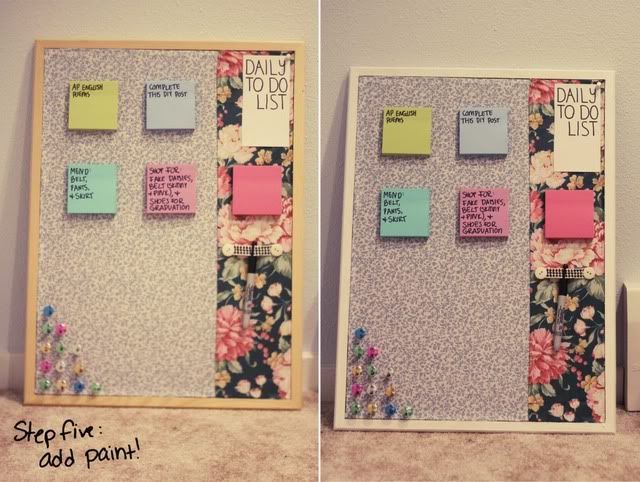
The final step is to add a coat of paint. Mine took three coats but the paint was fast-drying so it didn't take too long. The white matched my room perfectly. :)
And that is all! Pretty easy, huh? I really love how mine turned out, and the great thing about this is that I can easily use this for multiple things.


