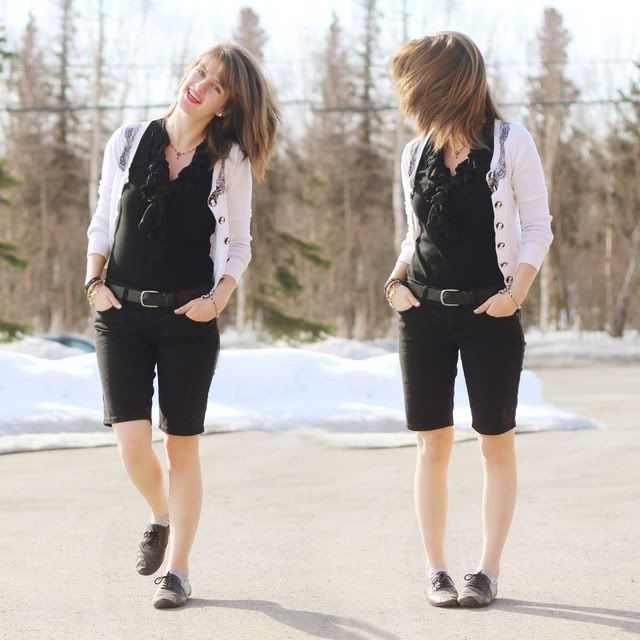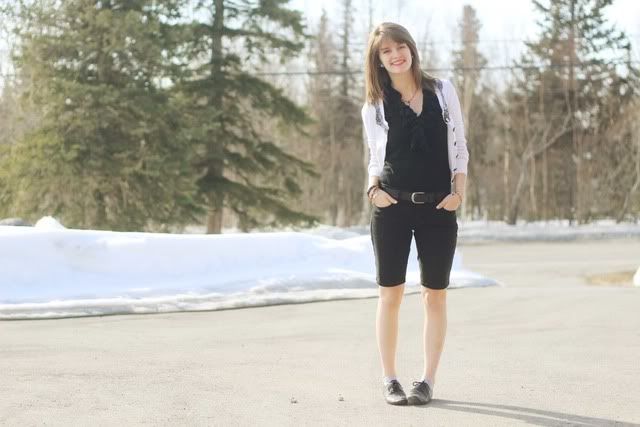
day 108
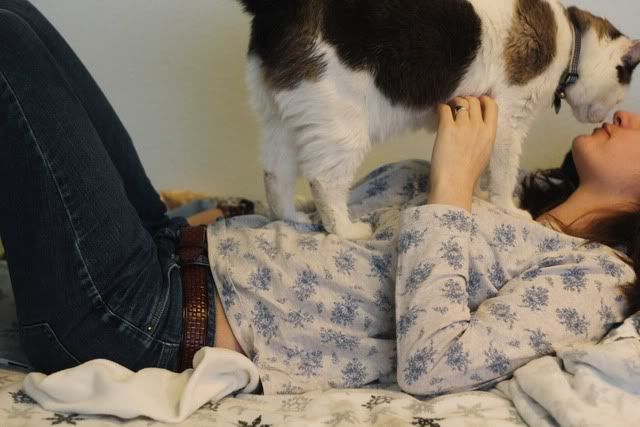

day 107
This is a bit of a stretch for my style, but still within the realm of it, I think.
The reason for this photo is that I have an assignment to design a cover for the book I'm writing and this is (nearly) the background image (the actual image is right below). I'm super pleased with how this turned out and maybe one day people will be able to hold it in their hands!


A couple days ago I ran across a diy for homemade camera straps. This was a lifesaver because I've been trying to come up with a way to make a strap for my own little camera. Needless to say, my camera is now very happy.
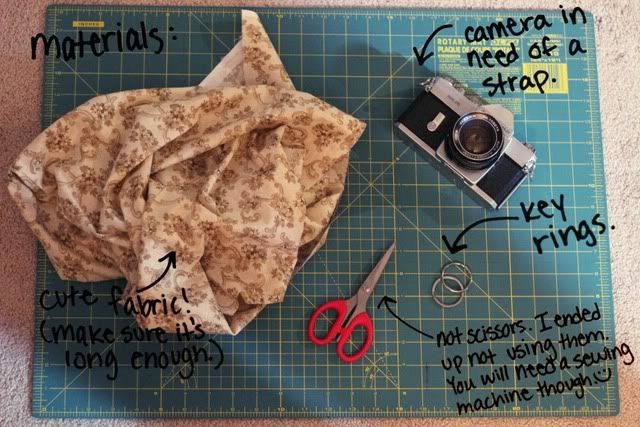
You'll need some fun fabric, key rings (two big ones and two small ones--thankfully my camera already had small ones on them), a sewing machine, and buttons.
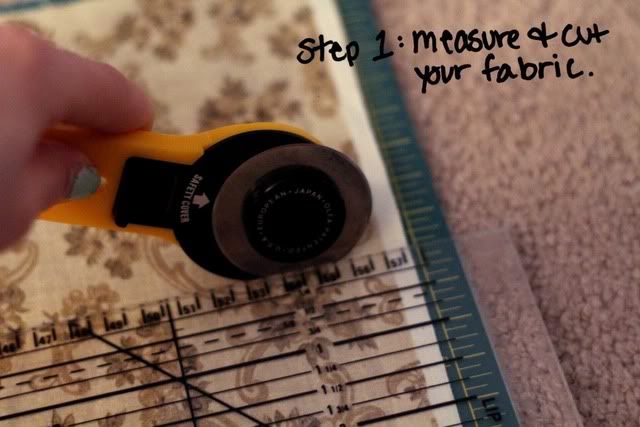
I usually try to steer away from measuring things (that's me being rebellious from hating Geometry class, haha), so I just made sure the length was good by throwing the fabric around my neck. Then I measured (aaah, can't escape it) the thickness I wanted and cut away! Now remember that your thickness should be double the thickness of what you want your strap to be because we're going to fold it and sew it together in the next step.
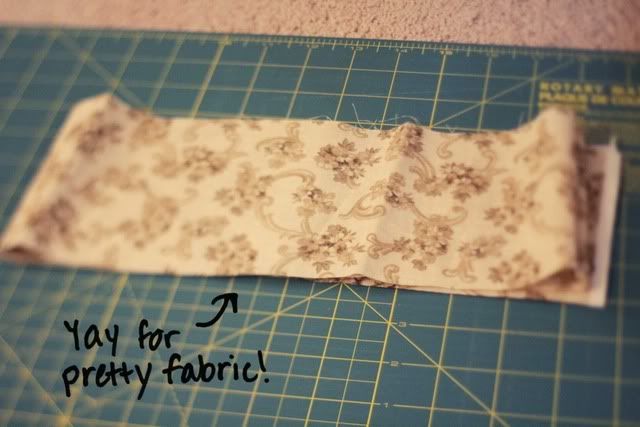
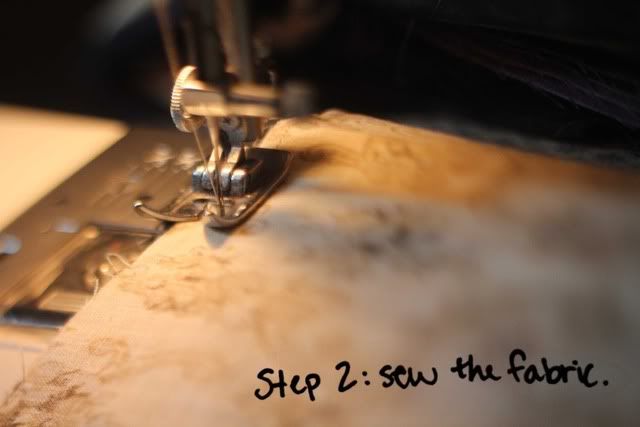
For this step you'll have to fold the fabric together like a hot dog (longways) with front sides together so that all you see is the back of the fabric. Then you'll sew along the edge, making sure to NOT sew the ends together.

Now that the fabric is sewed, I push the fabric right-side out so that the pretty side is showing.
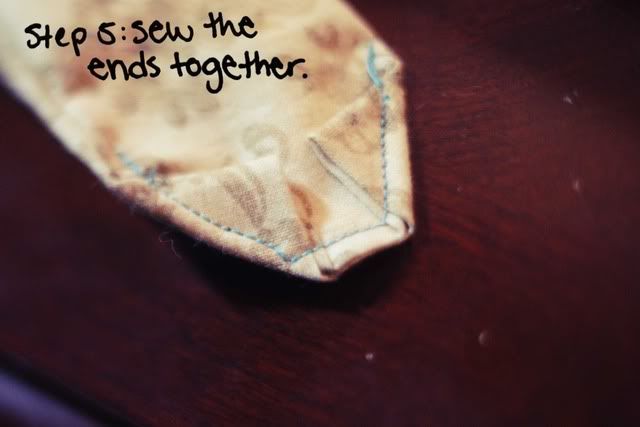
Then you push in the edge of the fabric inside itself, fold the edges, and sew them together. I used blue for my top stitch so that it would show up in photos, but the bottom stitch (the one you'll be able to see when the strap is done) is the same color as the fabric.
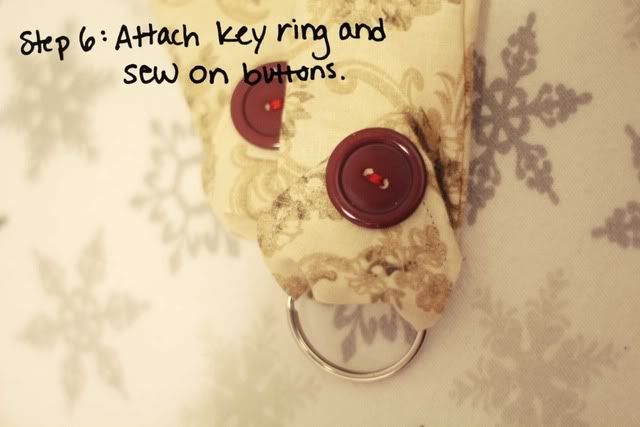
Next string the key ring through the fabric and sew a button on to make it even more pretty! Alternatively you can just sew it all together when you sew the ends up in step five, but I love buttons so I wanted to use them to attach everything.
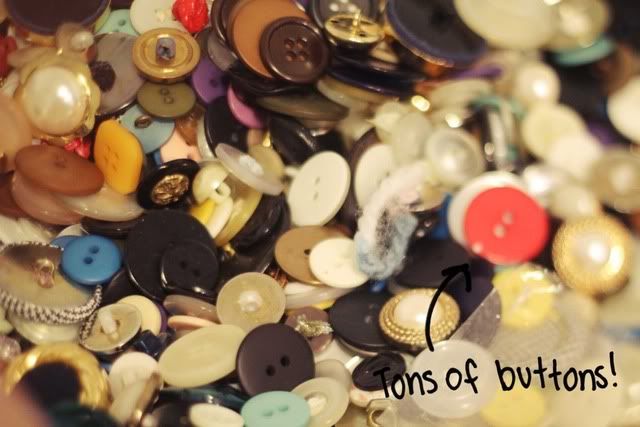
My grandma on my mom's side always bought buttons so now I have a tin box full of pretty vintage buttons to choose from.
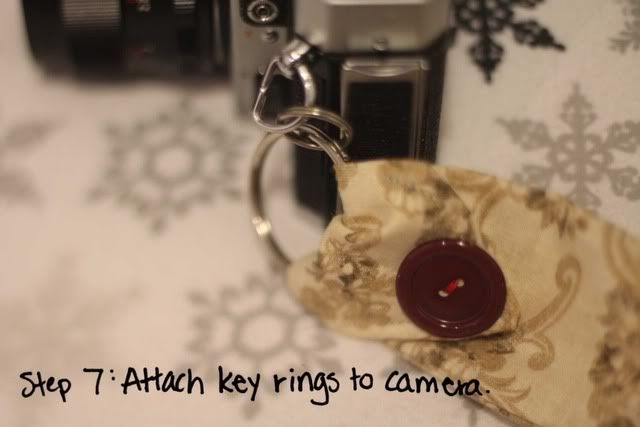

Then you just attach the key rings to the camera! My camera's previous owner was so kind as leave the small key rings on the camera so all I had to do was connect them together.
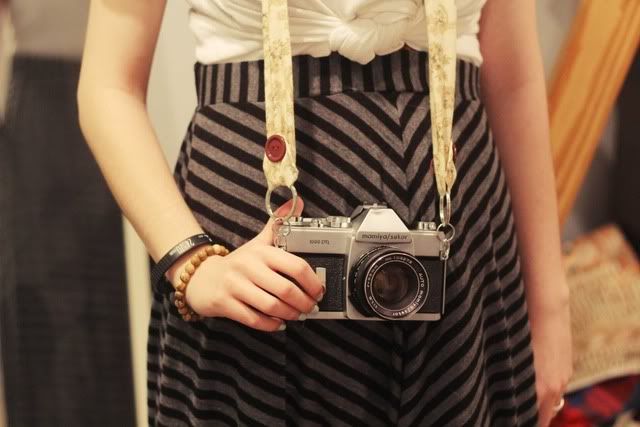
And that is all!

I hope you all enjoyed this tutorial. Let me know if you create your own camera straps. I would love to see what everyone else comes up with. Good luck and have an awesome day!
